Remove plug on top of control to ensure the swashplate feedback pin is properly positioned in the center
of the control module when installing control.
1. Install a new gasket (D150).
2. If you removed screen (D084), install a new one. Install with the mesh facing outward (see drawing).
Proper screen orientation
P106 618E
D084
D084
Incorrect screen
orientation
Correct screen
orientation
3.
If previously removed, install orifices (F100) using a 3 mm internal hex wrench. Torque to 2.5 N•m [1.8
lbf•ft].
4. Install the control module and six cap screws (D250).
5. Using a 5 mm internal hex wrench, torque the cap screws (D250) to 13.5 N•m [10 lbf•ft].
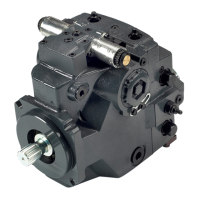
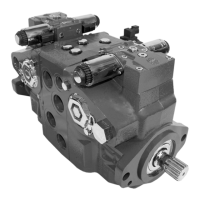
Control module and solenoid removal/installation
P106 052E
D025
D1
D025A
D025A
D150
5 mm
13.5 N•m
[10 lbf•ft]
D250
D050 (3X)
D050 (3X)
D084
5 N•m [4 lbf•ft]
4 mm
5 N•m
[4 lbf•ft]
4 mm
F100 (2X)
D300 (2X)
2.5 N•m
[1.8 lbf•ft]
3 mm
Service Manual
H1 45/53/60/68 Tandem Closed Circuit Axial Piston Pumps
Minor repair
48 |
©
Danfoss | June 2018 520L0928 | AX00000103en-US0303
 Loading...