Chapter 5 – Maintenance and Adjustments 64
Loading Boot 1 and Boot 2 and Firmware
1) Connect the printer to your PC using a serial cable
2) Launch the NETira CT configuration utility, and query (connect) to the printer, (see section
3.3 for more information on NETira CT).
It is recommended that the configuration be saved before downloading firmware, and restored
when finished. Be sure to check the box labeled “Include Sensor Calibration Data on Open”
when restoring the configuration.
3)
Go to the Tools>Upgrade>Firmware. Select the binary files (BIN files) for each of the Boot
files.
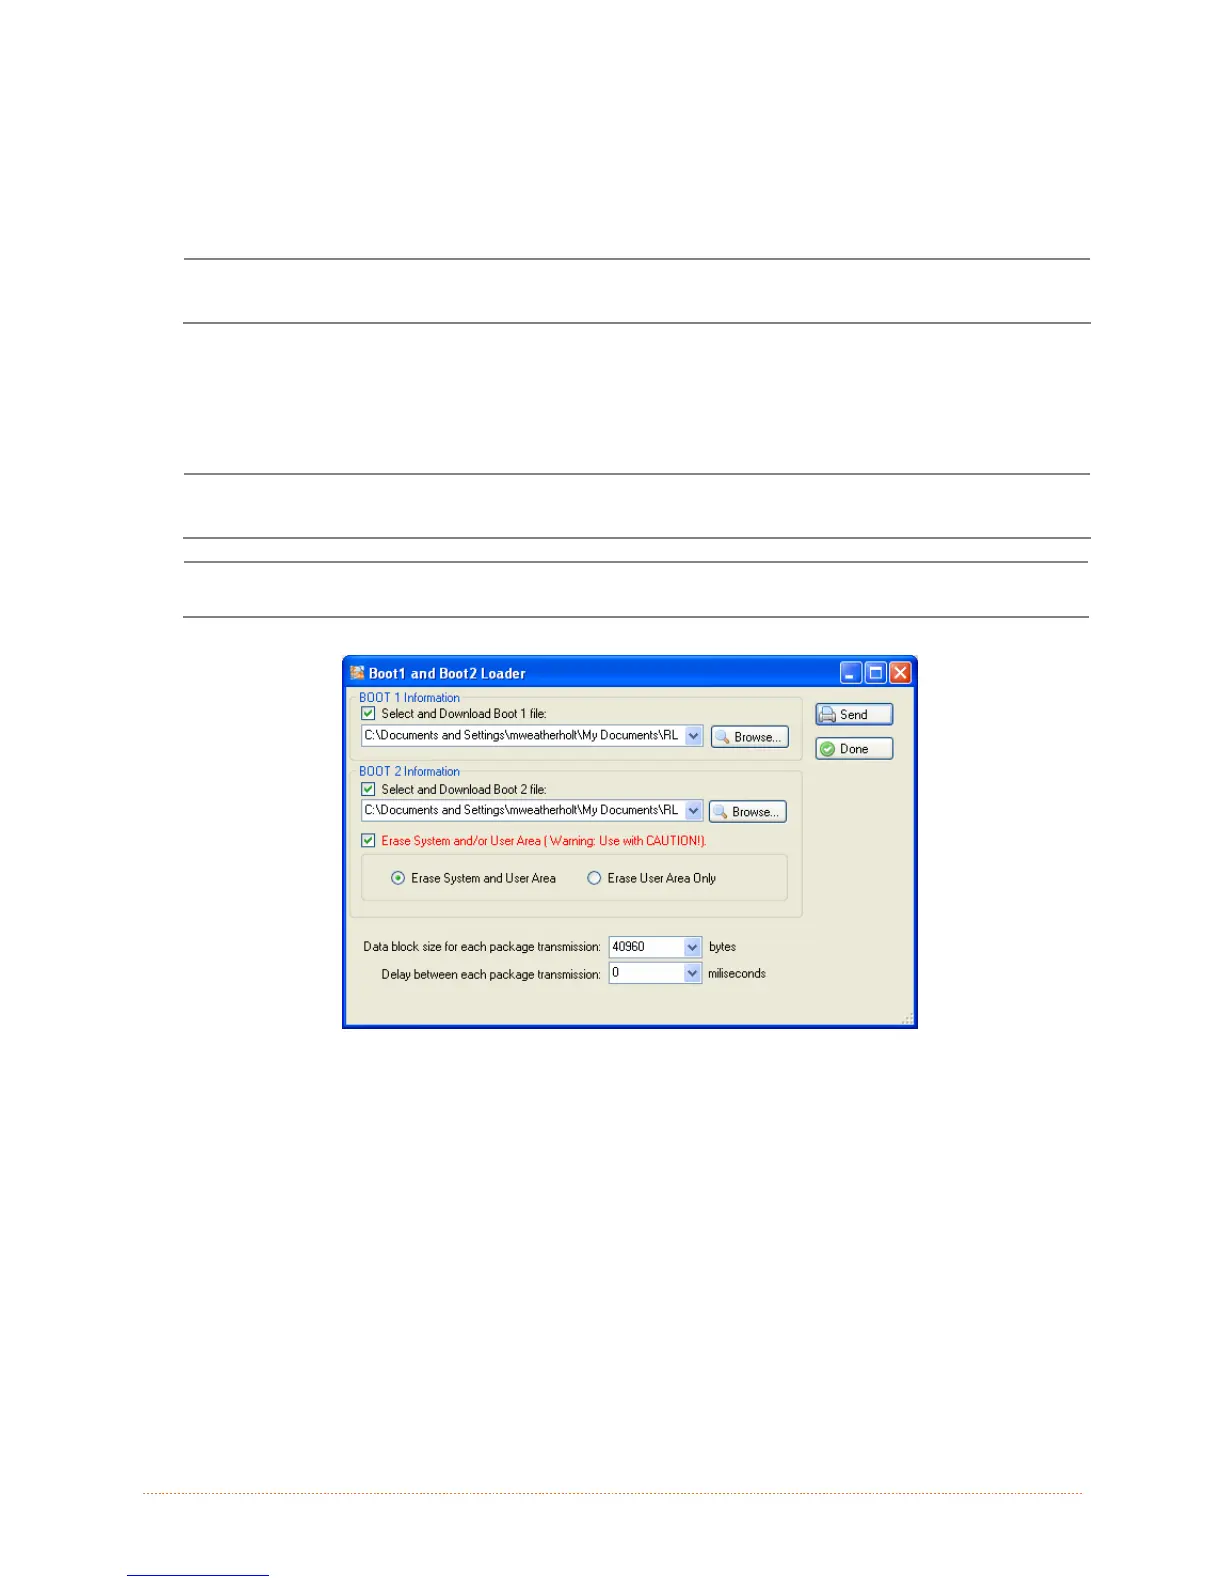
4) Check the “Select and Download Boot 1 file:”, “Select and Download Boot 2 file:” and “Erase
System and/or User Area” boxes and click send to initiate the download.
Be sure only that only one communication cable is connected to the printer before attempting
the firmware upgrade. Do not attempt to send any other data or perform operations via the
front panel when the firmware is downloading.
Always Check “Erase System and/or User Area” box unless otherwise instructed.
5) Once the Boot Loader files have been loaded, the firmware version can now be updated using
the procedure outlined in section 5.7.
 Loading...