A26618-A
ENG
Warning!
Before beginning any work on
the printer ensure that the
power cable is not connected.
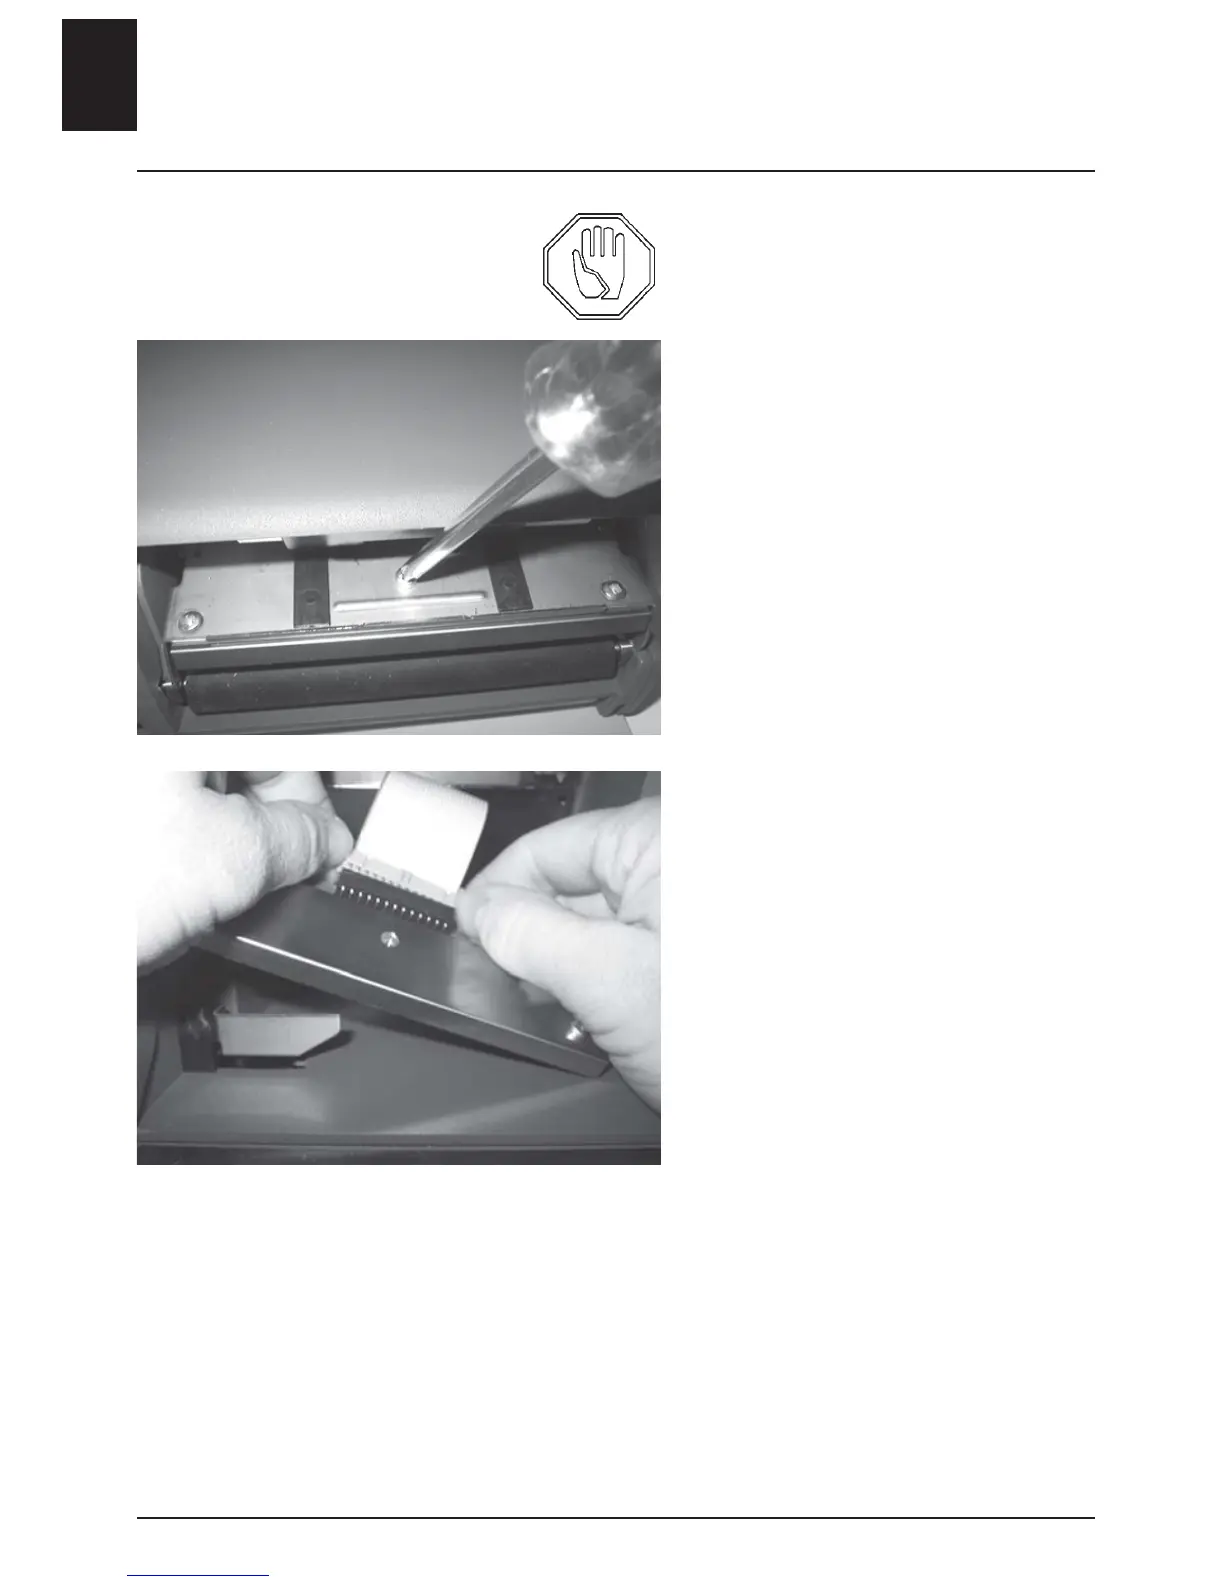
- Open the printer.
- Turn the release lever to PRINT.
- Remove the retaining screw.
- Press carefully on the front part
of the head so that the two screw
heads become free.
- Carefully loosen the connector at
the rear.
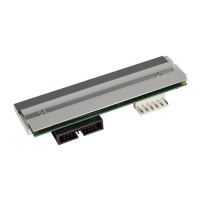
• Handle the print head with
care.
- Mount the new print head.
- Insert the connector at the rear.
- Replace the retaining screw.
- Turn the release lever to lift the
printhead.
- Close the printer.
- Feed in the media.
- Turn the release lever to PRINT.
Changing the print head
• Ensure that the printed pattern
is even across the entire width of
the print surface. Any secondary
adjustment should be made accord-
ing to instructions in the “Print
head adjustment” section.
10 - ENGLISH
- Exit test mode by shutting off the
power switch.
For information on the printer’s status:
Conduct a test print
- Load the media.
Use an approximately 110 mm wide print width.
- Hold in the start button.
- Turn on the power switch.
A test print will occur.
 Loading...