Using Your Projector 15
3
Using Your Projector
Turning Your Projector On
NOTE: Turn on the projector before you turn on the source (computer, DVD
player, etc.). The Power button light blinks blue until pressed.
1
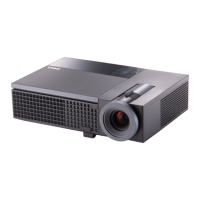
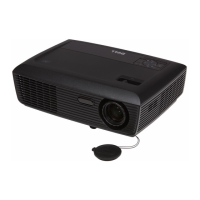
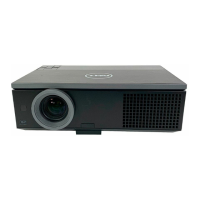
Remove the lens cap.
2
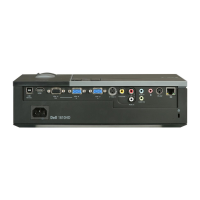
Connect the power cord and appropriate signal cables. For information about
connecting the projector, see "Connecting Your Projector" on page 9.
3
Press the
Power
button (see "Using the Control Panel" on page 20 to locate the
Power
button).
4
Turn on your source (computer, DVD player, etc.)
5
Connect your source to the projector using the appropriate cable. See
"Connecting Your Projector" on page 9 for instructions to connect your source to
the projector.
6
By default, the input source of projector is set to VGA-A. Change the input source
of projector if necessary.
7
If you have multiple sources connected to the projector, press the
Source
button
on the remote control or control panel to select the desired source. See "Using the
Control Panel" on page 20 and "Using the Remote Control" on page 22 to locate
the
Source
button.
Turning Your Projector Off
NOTICE: Unplug the projector after properly shutting down as explained in the
following procedure.
1
Press the
Power
button.
NOTE: The "Press Power Button to Turn off Projector" message will
appear on the screen. The message disappears after 5 seconds or you can
press the Menu button to clear it.
2
Press the
Power
button again. The cooling fans continue to operate for 120
seconds.
 Loading...