Removing and Installing Parts 85
2
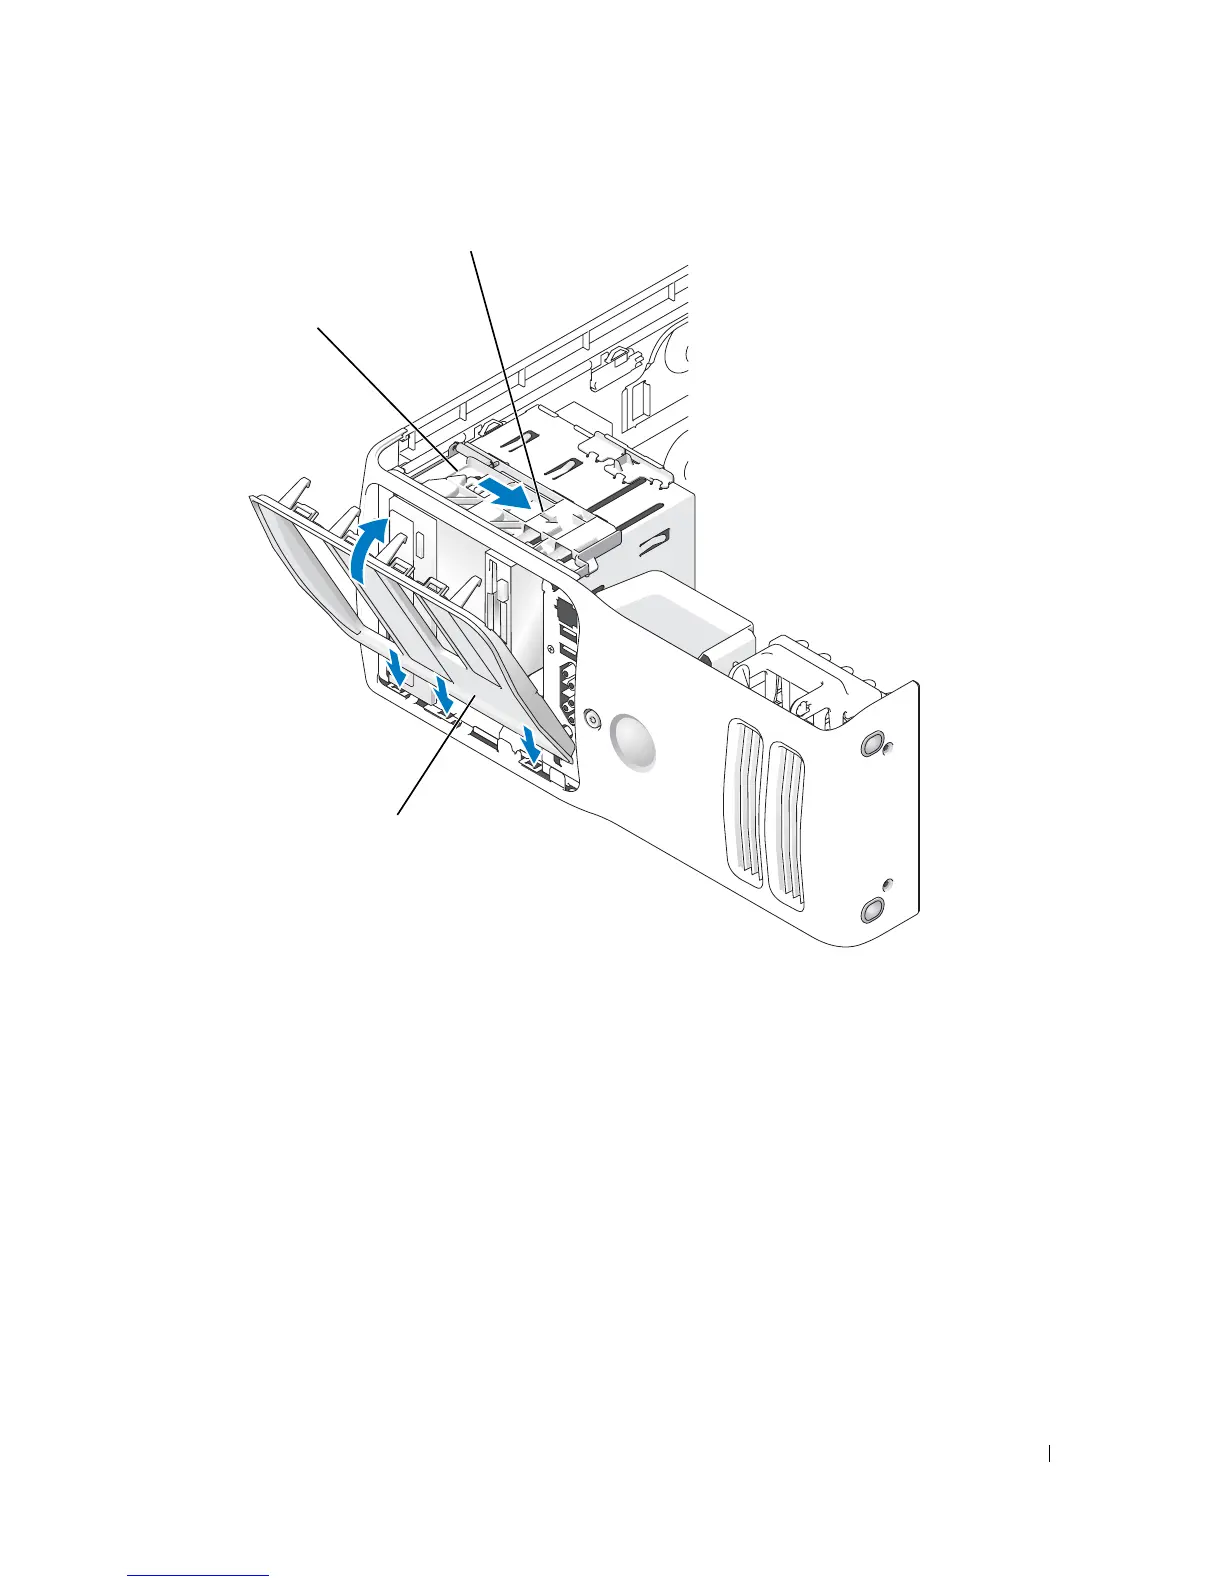
Align the drive panel tabs with the side-door hinges.
3
Rotate the drive panel toward the computer until the sliding plate lever clicks into place and
the drive panel snaps into place on the front panel.
Drives
Your computer supports:
• Two hard drives (Serial ATA)
• Two FlexBay drives (can contain an optional floppy drive or optional Media Card Reader)
• Two CD or DVD drives
General Installation Guidelines
Connect hard drives to the connector labeled "SATA" and connect CD/DVD drives to the
connector labeled “IDE".
drive panel
sliding plate
s
ng p
ate
ever
 Loading...