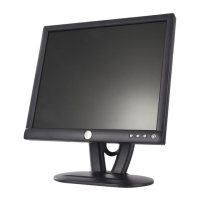
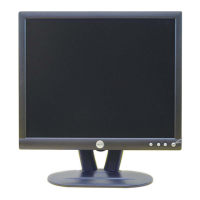
Dell E193FPc
7
3.3 Adjusting the Picture
To set the OSD menu, perform the following steps:
Briefly press the SELCT / MENU button to activate the OSD menu.
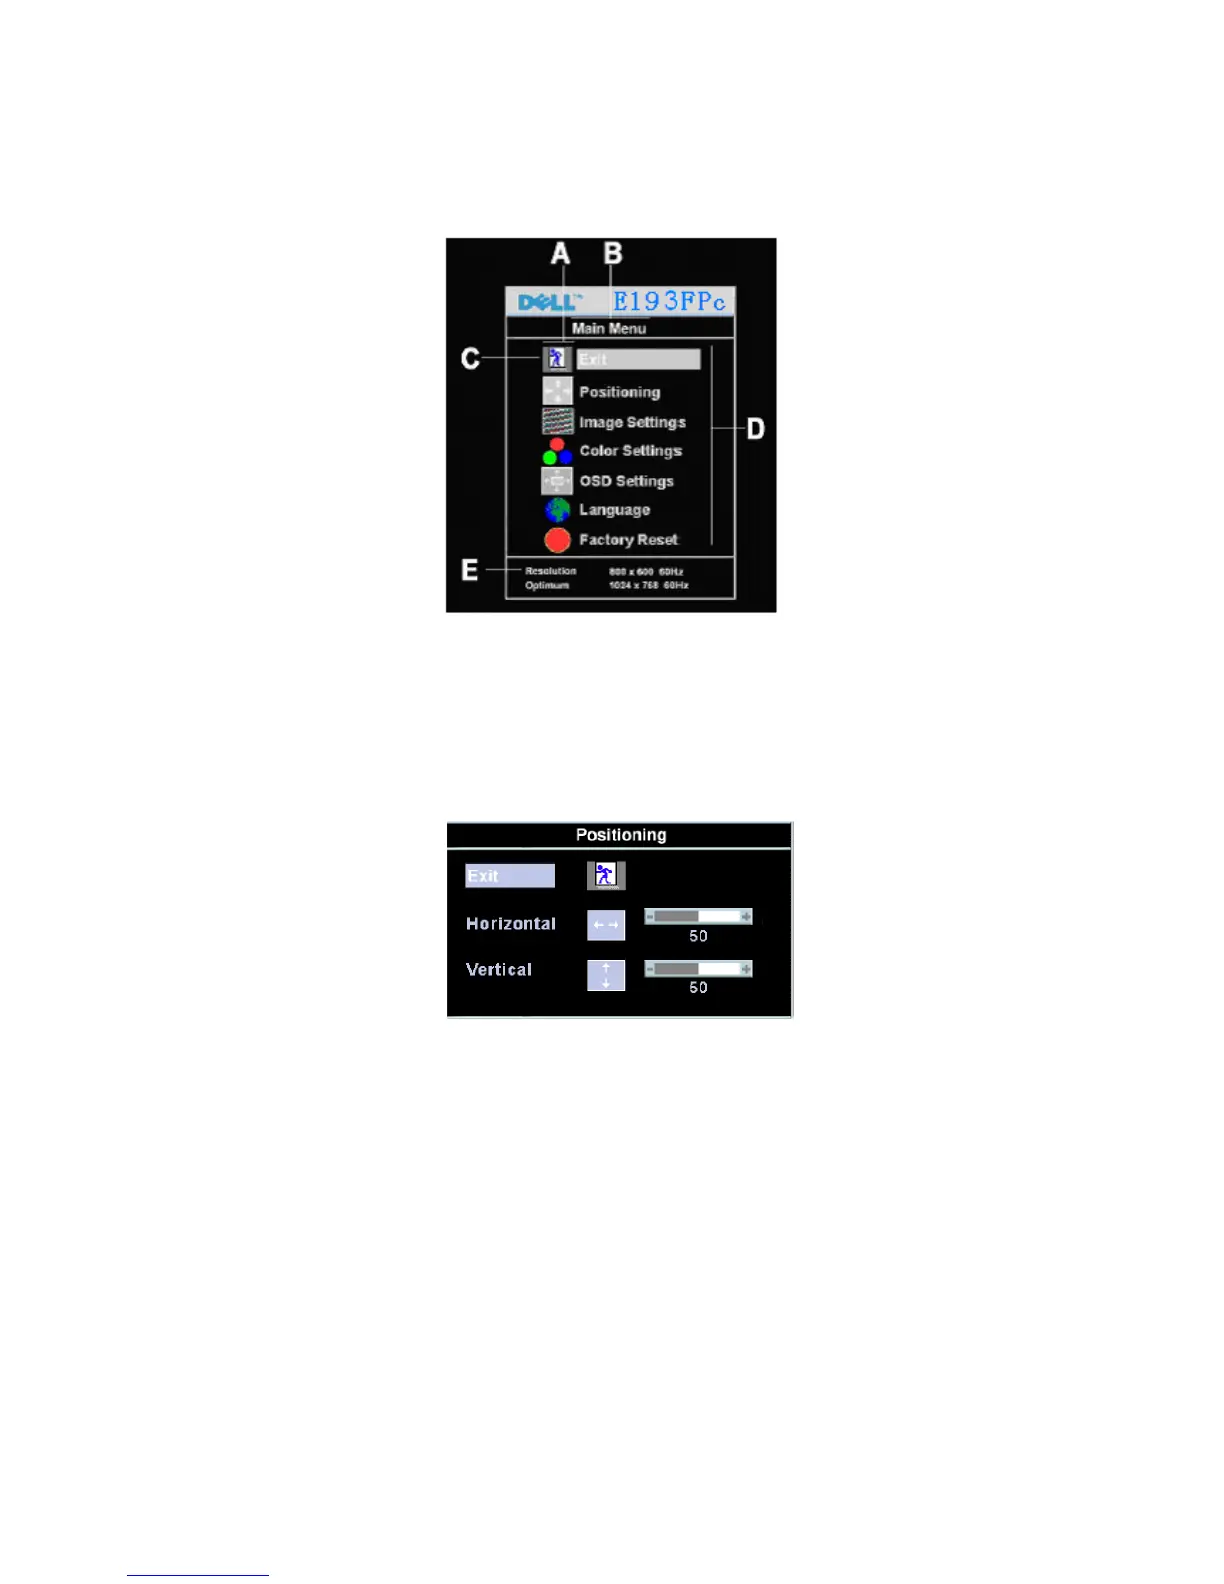
The main menu appears on the screen with icons for the setting functions.
The first symbol (Exit) is highlighted.
Necessary, press the - or + button to mark another icon (e.g. Positioning). Press the SELECT/MENU button
to select the highlighted icon.
The corresponding setting window (here: Positioning) is displayed.
The first symbol (Exit) is highlighted.
If necessary, press the – or + button to mark the desired icon.
Press the SELECT/MENU button to select the highlighted function.
Press the – or + button to adjust the value for the selected function.
Press the SELECT/MENU button to exit the function.
Press the SELECT/MENU button to exit the sub-menu when “Exit” function is highlighted.
All changes are stored automatically.
Adjusting the brightness and contrast
 Loading...