Do you have a question about the Dell Latitude E5410 and is the answer not in the manual?
| RAM | Up to 8GB DDR3 |
|---|---|
| Graphics | Intel HD Graphics |
| Operating System | Windows 7 Professional |
| Chipset | Intel QM57 Express |
| Processor | Intel Core i5 |
| Storage | Up to 500GB HDD |
| Display | 14.1-inch (1280x800 or 1366x768) |
| Battery | 6-cell Lithium Ion |
| Optical Drive | DVD+/-RW |
| Wireless | Wi-Fi 802.11a/g/n, Bluetooth |
| Ports | 4 x USB 2.0, VGA, Ethernet, eSATA/USB combo, headphone/microphone jack |
| Dimensions | 13.3 inches |
Steps to remove the access panel from the computer.
Steps to replace the access panel in reverse order.
Steps to remove the display assembly from the computer.
Steps to replace the display assembly in reverse order.
Steps to remove the battery from the computer.
Steps to replace the battery in reverse order.
Steps to remove the Bluetooth board from the computer.
Steps to replace the Bluetooth board in reverse order.
Access the one-time boot menu for device selection and diagnostics.
Steps to enter System Setup to change user-definable settings.
Features an enhanced one-time boot menu for easier access.
Test the physical functionality of the hard drive.
Steps to remove the LED cover from the computer.
Steps to replace the LED cover in reverse order.
Steps to remove the coin-cell battery from the computer.
Steps to replace the coin-cell battery in reverse order.
Indicates computer status through various LED lights.
Indicates battery charge status and adapter connection.
Indicates status of Num Lock, Caps Lock, and Scroll Lock.
Table of LED codes and troubleshooting steps for POST errors.
Steps to remove the fan from the computer.
Steps to replace the fan in reverse order.
Steps to remove the fingerprint reader from the computer.
Steps to replace the fingerprint reader in reverse order.
Steps to remove the hard drive from the computer.
Steps to replace the hard drive in reverse order.
Steps to remove the heat sink from the computer.
Steps to replace the heat sink in reverse order.
Steps to remove the keyboard from the computer.
Steps to replace the keyboard in reverse order.
Steps to remove the display bezel from the computer.
Steps to replace the display bezel in reverse order.
Steps to remove the camera from the display assembly.
Steps to replace the camera in reverse order.
Steps to remove the display panel, brackets, and hinges.
Steps to replace the display panel, brackets, and hinges.
Steps to remove the LED board from the computer.
Steps to replace the LED board in reverse order.
Steps to remove the memory card from the computer.
Steps to replace the memory card in reverse order.
Steps to remove memory modules from the computer.
Steps to replace memory modules in reverse order.
Steps to remove the modem daughter card from the computer.
Steps to replace the modem daughter card in reverse order.
Steps to remove the optical drive from the computer.
Steps to replace the optical drive in reverse order.
Steps to remove the palm rest from the computer.
Steps to replace the palm rest in reverse order.
Steps to remove the SIM card from the computer.
Steps to replace the SIM card in reverse order.
Steps to remove the processor from the computer.
Steps to replace the processor in reverse order.
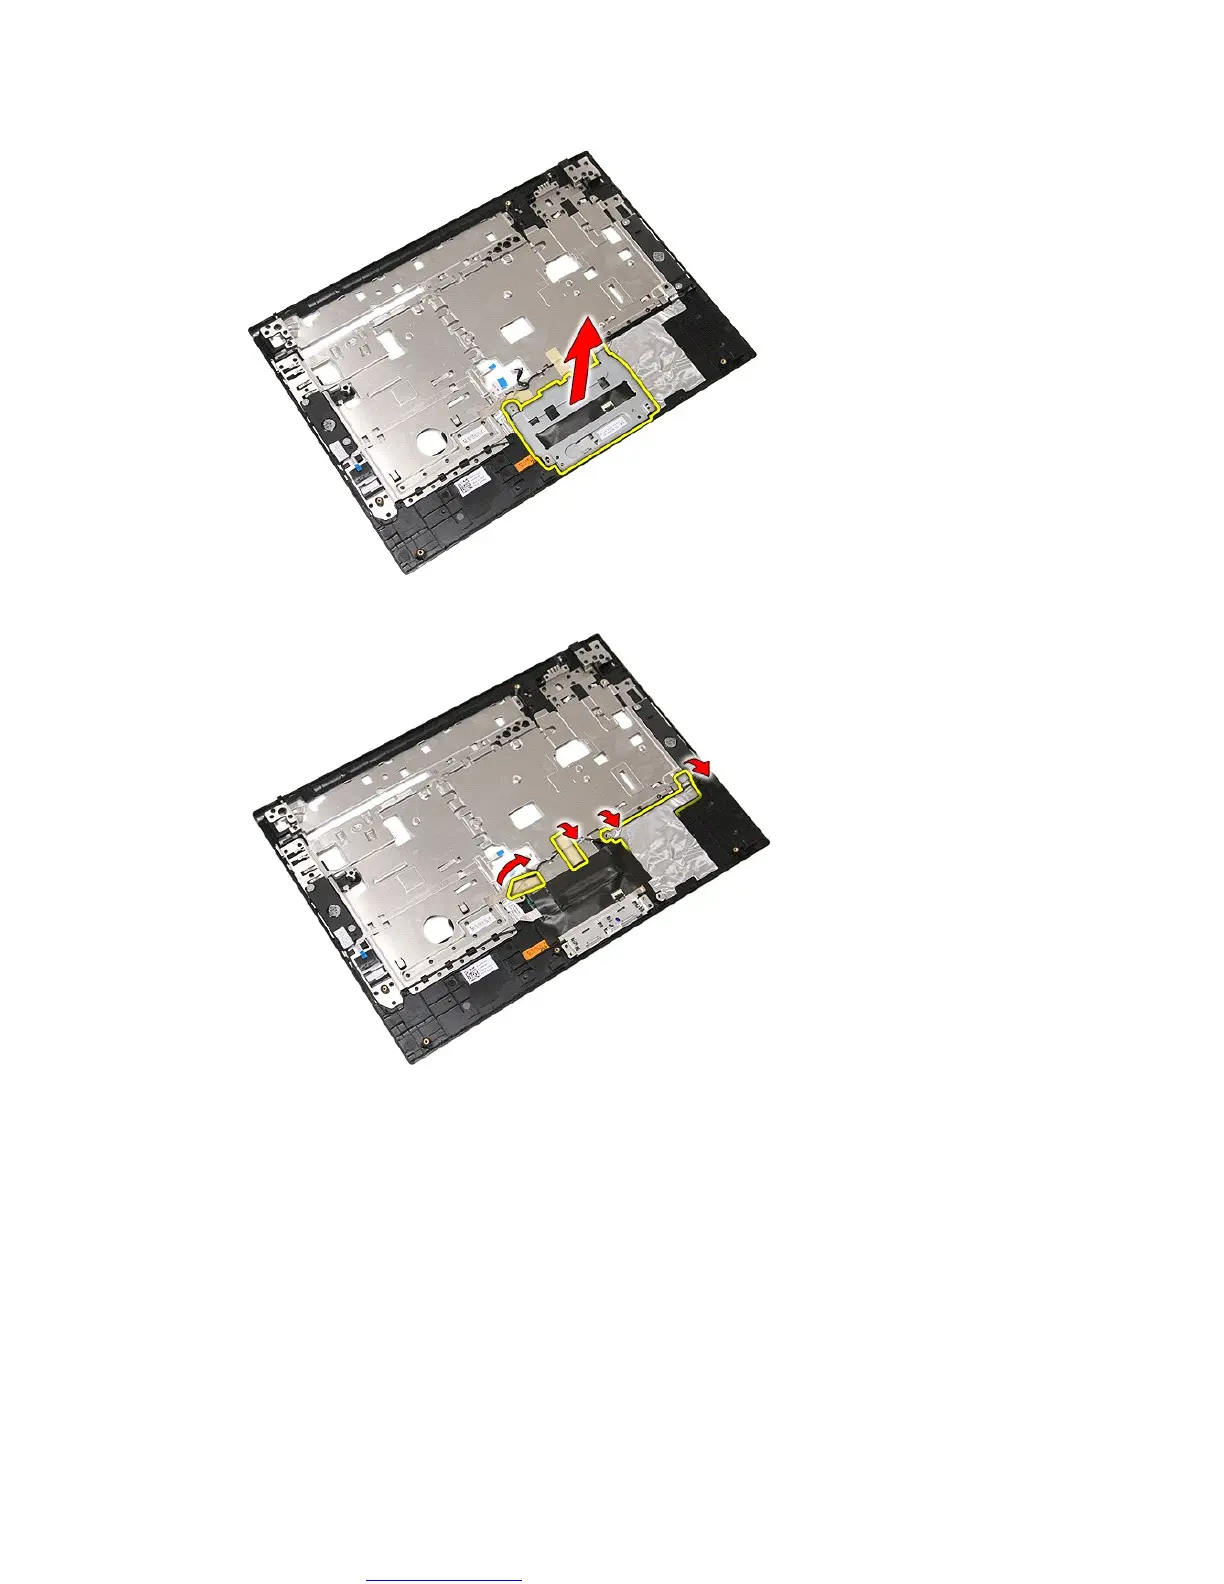
Steps to remove the speakers from the computer.
Steps to replace the speakers in reverse order.
Details about the computer's chipset, data bus, and DRAM bus.
Information on processor types, cache, and specifications.
Details on memory type, slots, capacities, and limits.
Specifications for video type, controller, and output.
Steps to remove the system board from the computer.
Steps to replace the system board in reverse order.
Steps to remove the WLAN card from the computer.
Steps to replace the WLAN card in reverse order.
Essential safety guidelines and preparation steps before servicing.
List of tools required for performing procedures in this manual.
Steps for safely shutting down the computer before service.
Steps for reconnecting devices and turning on the computer.
Steps to remove the WWAN card from the computer.
Steps to replace the WWAN card in reverse order.