52 │ Setting up the monitor
Connecting your monitor
WARNING: Before you begin any of the procedures in this section,
follow the Safety instructions.
NOTE: Dell monitors are designed to work
optimally with the Dell-
supplied cables inside the box. Dell does not guarantee the video quality
and performance if non-Dell cables are used.
NOTE: Route the cables through the cable-management slot before
connecting them.
NOTE: Do not connect all the cables to the computer at the same time.
NOTE: The images are for the purpose of illustration only. The
appearance of the computer may vary.
To connect your monitor to the
computer:
1. T
urn off your computer and disconnect the power cable.
2. Connec
t the DisplayPort or HDMI cable, and the USB Type-C cable from your
monitor to the computer.
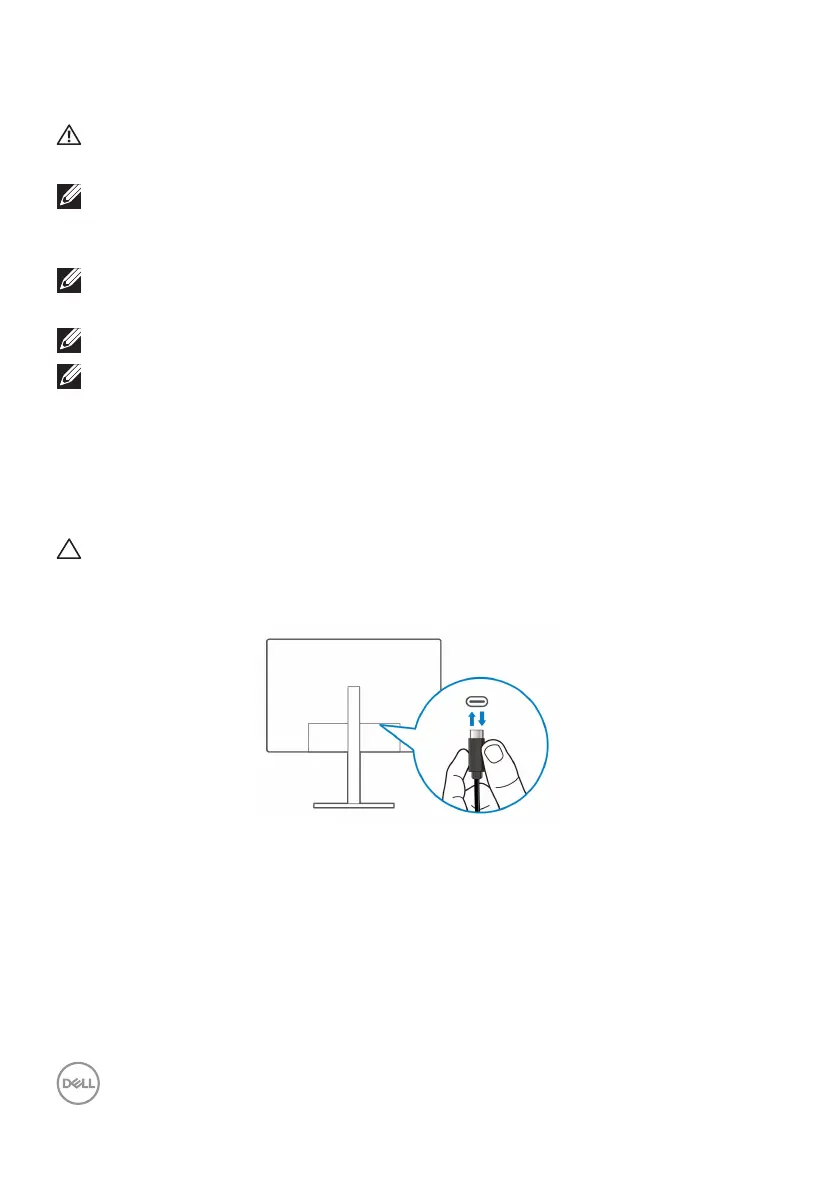
CAUTION: To avoid bending the connectors of USB Type-C cable,
gently hold both sides of the connector, and then vertically insert it
into/pull it out from the USB Type-C port of the monitor.
3. C
onnect the USB peripherals to the USB 3.2 Gen1 downstream ports on the
monitor.
4. Pl
ug the power cables for your computer and monitor into a nearby outlet.
5. T
urn on the monitor and the computer.
If your monitor displays an image, installation is
complete. If it does not display an
image, see Common problems.
 Loading...