3
Part B: Install the USB driver on Your Computer
4. Plug in the power cord and perform following steps to enter download mode.
NOTE: Please DON’T press power button to turn on the projector when entering
download mode.
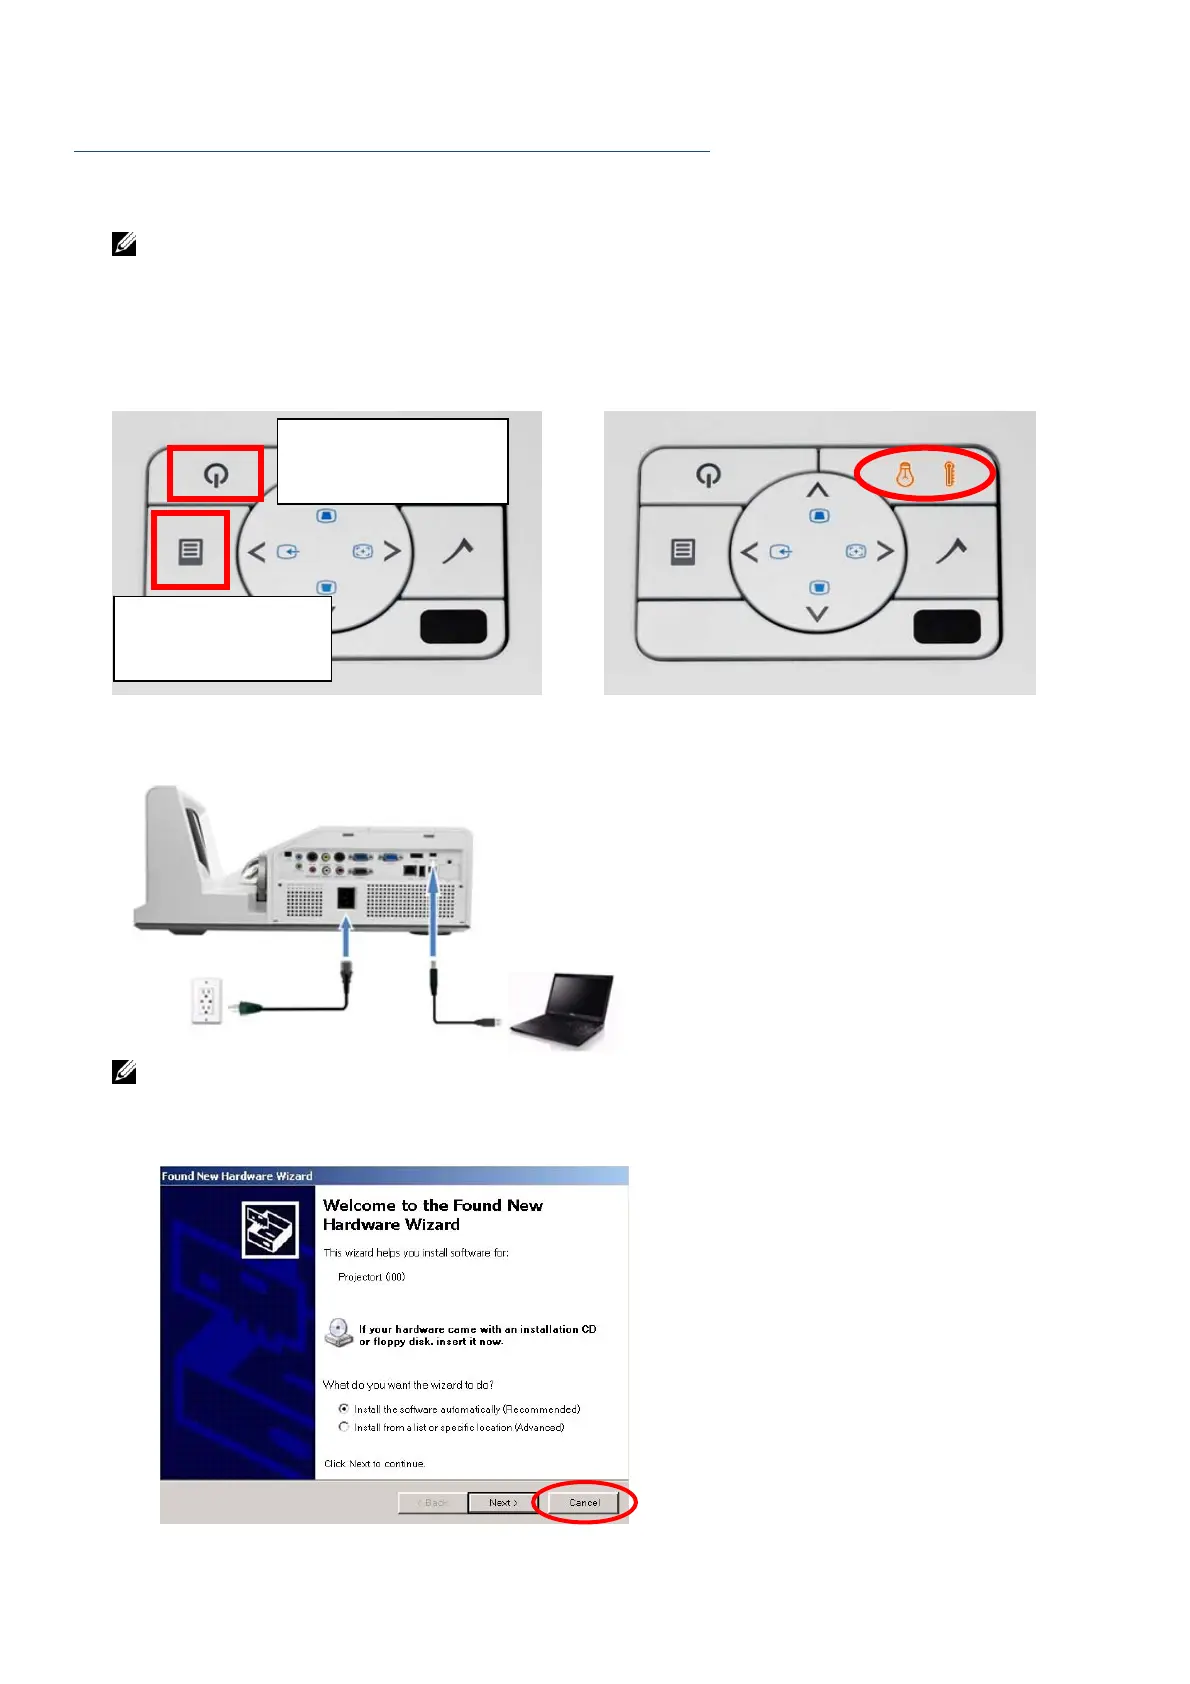
Step A: Press the Menu button and hold it.
Step B: Continuously hold the Menu button and press the Power button simultaneously.
Step C: Release the buttons after Temp and Error LED LEDs are both lighted up.
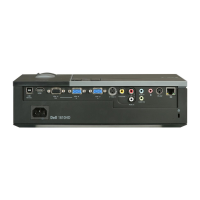
5. Connect the Mini USB (type A to Mini-B) cable to the projector and the computer.
NOTE:
a. If Windows XP pop-up this diagram, please click Cancel. Windows 7/8/8.1 OS does not
pop-up this diagram.
Step A. Press and hold the
“Menu” button.
Step B. Press the “Power”
button for a second.
 Loading...