- 12 -
5. Disassembly and Assembly Procedures
NOTE:
This “Disassembly and Assembly Procedures” is for EMEA only, not for other regions. Please note
that Dell will deem warranty void if any disassembly is done on the monitors.
5.1 Disassembly SOP
Preparation before disassemble
1. Clean the room for disassemble
2. Identify the area for monitor
3. Check the position that the monitors be placed and the quantity of the monitor; prepare the area for
material flow; according to the actual condition plan the disassemble layout
4. Prepare the implement, equipment, material as bellow:
1) Working table
2) Philips-head screwdriver
3) Gloves
4) Cleaning cloth
5) ESD protection
6) Curve cushion
S1
Turn off power
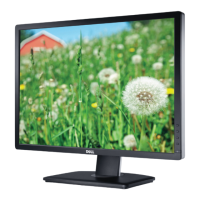
S2
Place the monitor on the curve cushion
in original packaging
Press and hold the stand release button
at the back of the display
Lift the stand assembly up and away
from the monitor
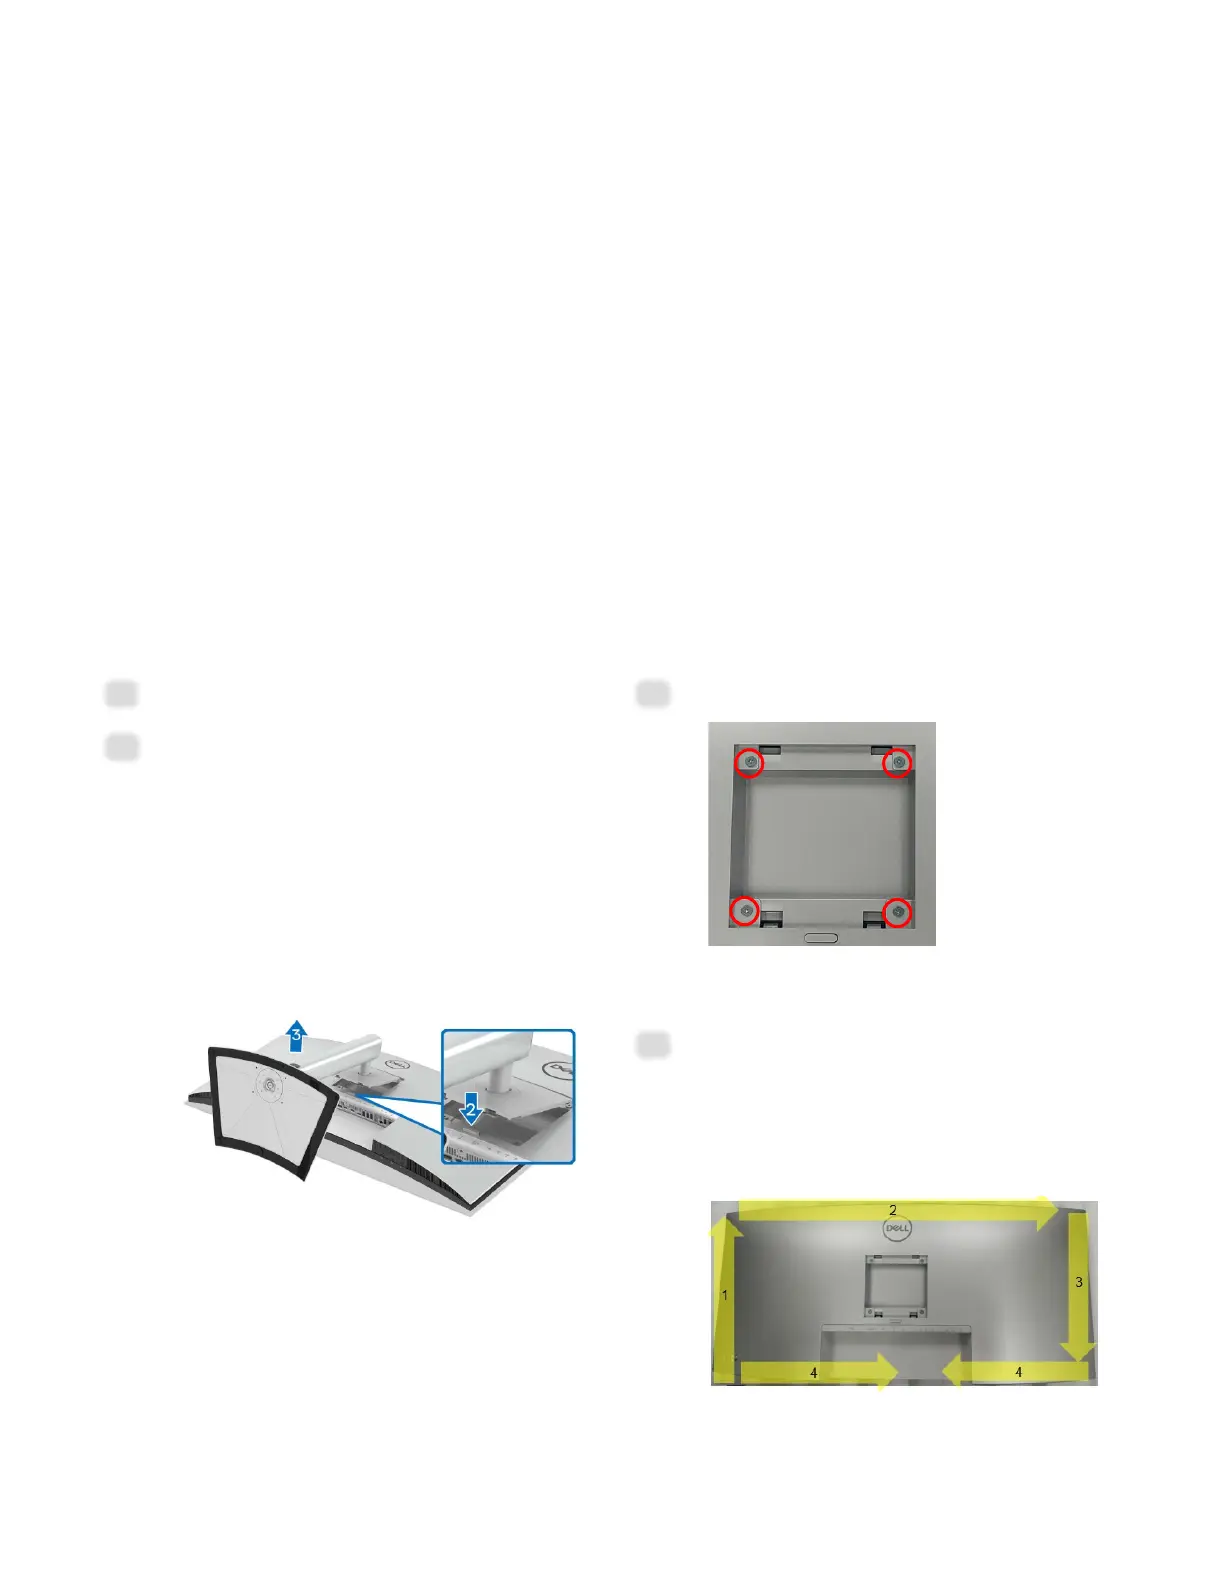
S3
Unlock 4 screws on “Rear Cover”
(Screw Torque:8-10Kgf)
S4
Use hands or Bar Scraper to
disassemble “Rear Cover” from “Middle
Frame”
Notice the disassembly order:
Left Side=>Top Side =>Right Side
=>Bottom Side
 Loading...