10
5. The button ashes to indicate that the selection has
been saved.
The appliance exits the menu and is ready for use.
7.4 Default values (reset)
This resets all menu settings and programmed quantities back
to the default values.
To reset the default values, proceed as follows:
1. Position the steam spout over the drip tray;
2. Access the settings menu;
3. Turn the steam dial to the position;
4. Press the button. The three lights ash simulta-
neously to conrm that the original settings have been
restored.
5. The and lights ash to indicate that the
steam dial must be closed again (○symbol).
When the steam dial has been closed, the appliance is ready for
use.
8. HOW TO MAKE ESPRESSO COFFEE
8.1 Tips for a hotter coee
For hotter espresso coee, you should:
• You are recommended to warm the cups before making
coee by rinsing them with a little hot water.
• Attach the lter holder to the appliance with the lter in
place but without adding coee. Using the same cup
as will later be used to make the coee, press the 1 cup
button and deliver hot water into the cup to heat it.
• Raise the coee temperature in the settings menu.
• Rest the cups you will be using on the cup warmer (A4)
which becomes hot during operation.
8.2 How to prepare espresso coee using pre-
ground coee
1. Place the ground coee lter (C2 or C3) in the lter holder
(g. 6). To make one coee, use the lter with the
symbol on the bottom, to make two coees, use the lter
with the symbol on the bottom.
2. To make just one coee, place one level measure of pre-
ground coee (about 7 g) in the lter (g. 7). To make two
coees, place two loosely lled measures (about 7+7 g) of
pre-ground coee in the lter. Fill the lter a little at a time
to prevent the pre-ground coee from overowing.
Important:
For correct operation, before lling with pre-ground coee,
make sure there are no coee residues left in the lter from the
last time you made coee.
3. Distribute the pre-ground coee evenly and press lightly
with the presser (g. 8).
Correct pressing of the pre-ground coee is essential to
obtain a good espresso. If you press too rmly, the coee
will be delivered slowly and will be strong. If you press
too lightly, the coee will be delivered quickly and will be
weak.
4. Remove any excess coee from the rim of the lter holder
and attach the lter holder to the appliance. To attach cor-
rectly, align the lter holder handle with the INSERT sym-
bol (g. 9), attach the lter holder and rotate the handle
towards the right until aligned with the CLOSE symbol.
5. Place the cup or cups under the lter holder spouts (g.
10).
6. Make sure the lights corresponding to the coee buttons
are on, then press the or coee button. The
appliance proceeds to make the coee and delivery is in-
terrupted automatically.
7. To remove the lter holder, turn the handle from right to
left.
Danger of burns!
To avoid splashes, never remove the lter holder while the
appliance is delivering coee. Always wait for a few seconds
after delivery.
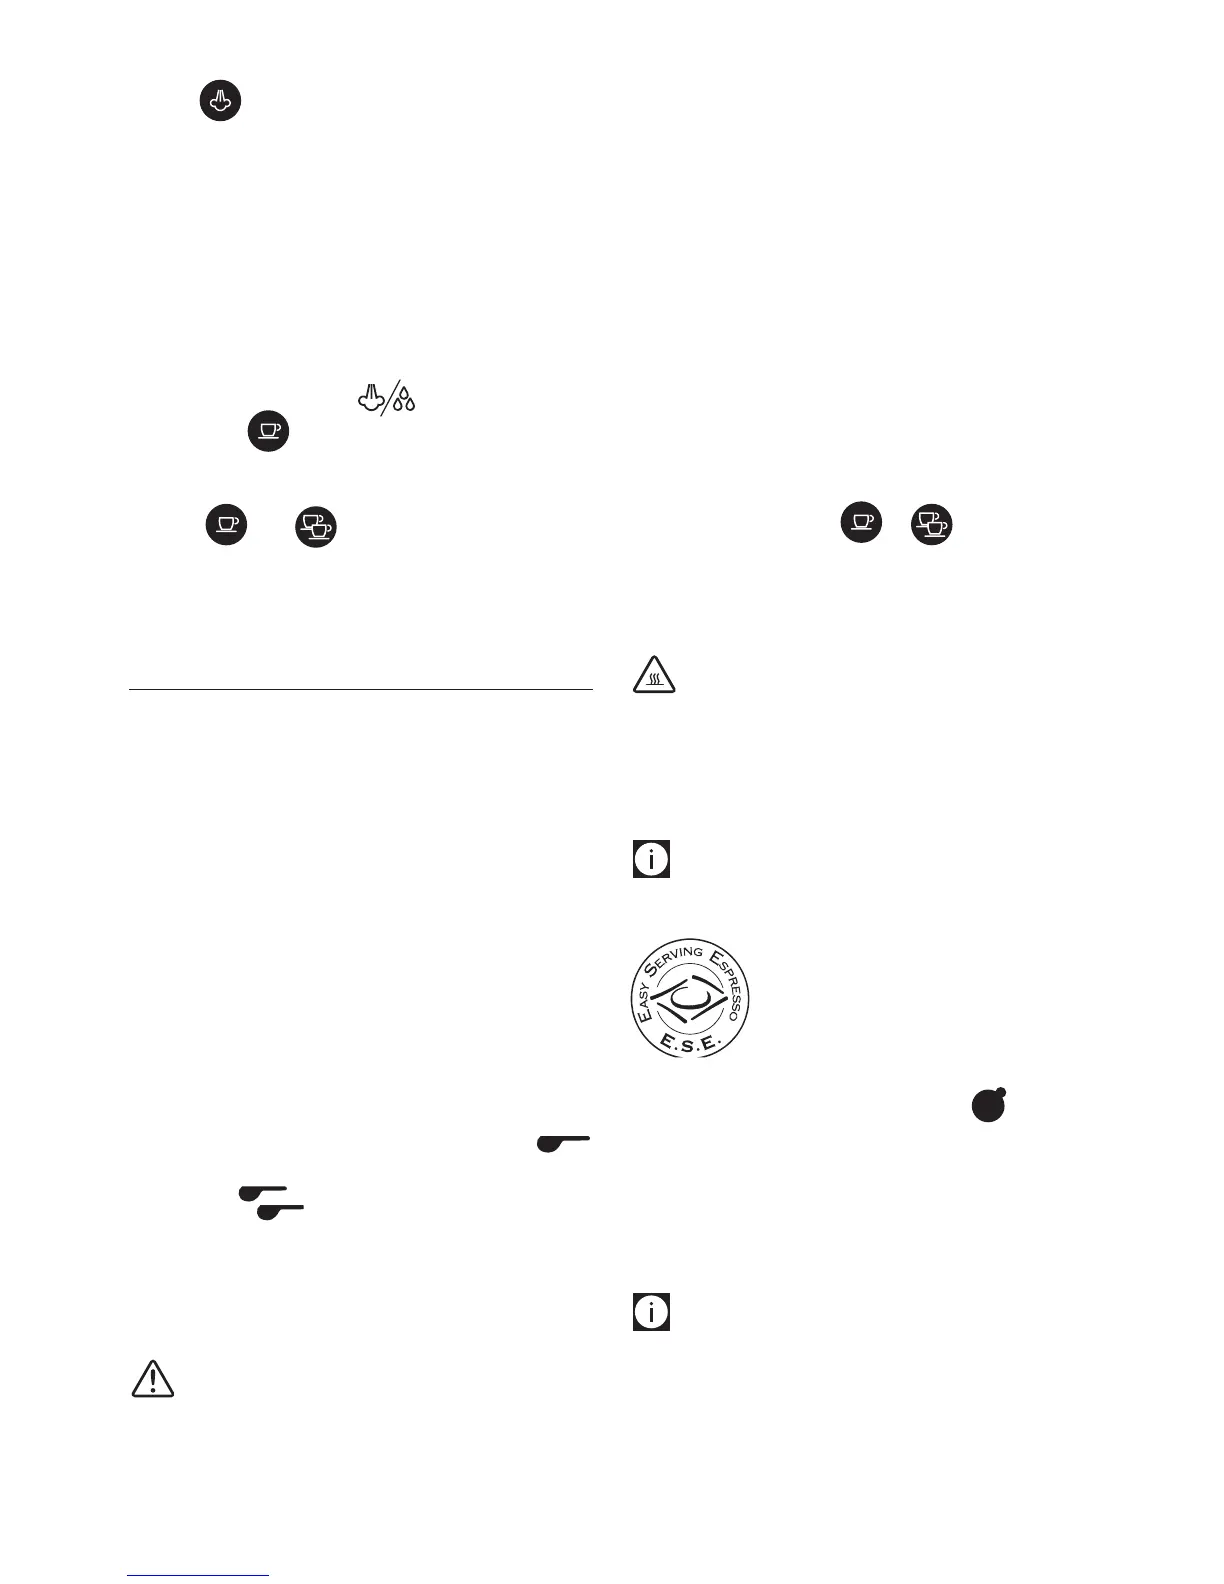
8.3 How to make espresso coee using pods
Please note:
Use pods conforming to the ESE standard, indicated on the pack
by the following symbol.
The ESE standard is a system accepted by lead-
ing pod producers and enables espresso coee
to be prepared simply and cleanly.
1. Place the lter for coee pods (with the symbol on
the bottom) in the lter holder.
2. Insert the pod, centring it as far as possible on the lter
(g. 11). Always follow the instructions on the pod pack to
position the pod on the lter correctly.
Proceed as described in points 4 to 6 in the previous section.
Please note:
• While the appliance is making coee, delivery can be in-
terrupted at any moment by pressing the coee button
pressed previously.
• At the end of delivery (within 3 seconds), to increase the
amount of coee in the cup, press and hold the coee but-
 Loading...