fig. 20
fig. 21
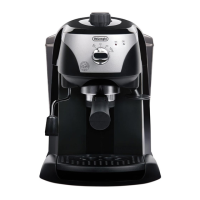
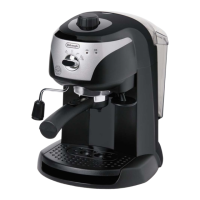
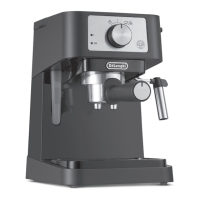
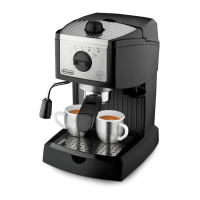
Coffee Maker
9
IMPORTANT: to ensure hygiene, you are recommended to
follow this procedure each time you make cappuccino to avoid
milk stagnating in the milk circuit. Leave to cool slightly before
cleaning.
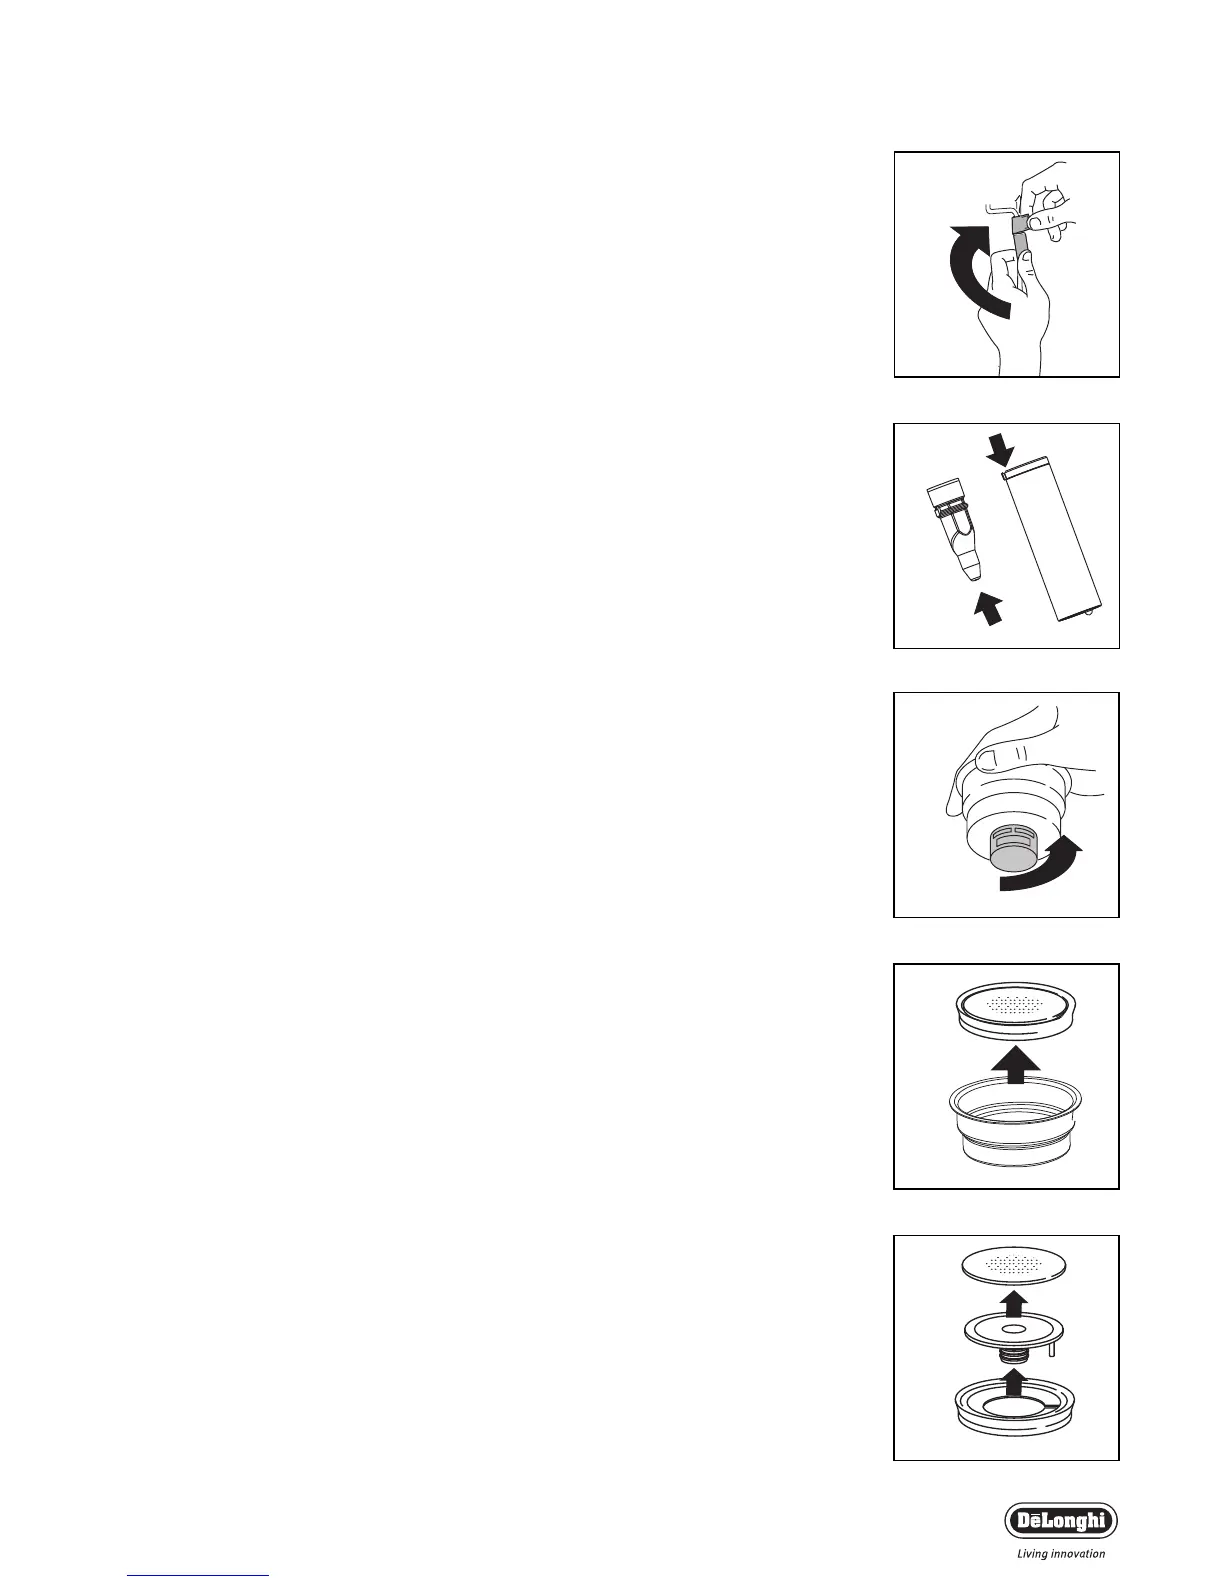
1. Discharge a little steam for a few seconds by rotating the steam
knob (fig. 19). This empties any milk left inside the steam tube.
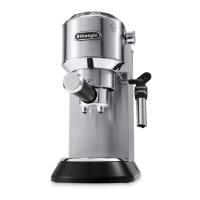
2. With one hand, hold the cappuccino tube firmly and with the
other unscrew the cappuccino maker itself by rotating clockwise
and extracting downwards (fig. 20).
3. Remove the nozzle from the steam tube by pulling it downwards.
Note: Metal of steam pipe may be hot!!!
4. Wash the cappuccino maker and steam nozzle thoroughly with
warm water.
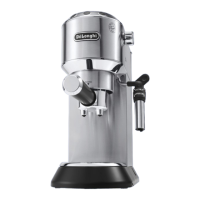
5. Make sure the two holes indicated by the arrows in fig. 21 are not
blocked. If necessary, clean with a pin.
6. Replace the steam nozzle by inserting it onto the steam tube and
rotating firmly towards the top of the tube.
7. Replace the cappuccino maker by inserting it and rotating anti-
clockwise.
Producing hot water
1. Turn the appliance on by pressing the ON/OFF button (the light
on the button comes on) (fig. 4). Wait until the “coffee ready“ indi-
cator light on the coffee button comes on (fig. 6).
2. Place a container under the cappuccino maker.
3. Press the coffee button (fig. 6) and at the same time open the
steam knob. Hot water is delivered from the cappuccino maker.
4. To interrupt the flow of hot water, close the steam knob by rotating
clockwise and press the coffee button again.
Cleaning and maintenance
Before performing any cleaning or maintenance operations, turn the
machine off, unplug it from the power socket and allow it to cool
down.
Cleaning the filter holder
About every 200 coffees, or when the coffee comes out of the fil-
ter holder and filters in drips or not at all, clean the filter holder of
ground coffee as follows:
• Remove the filter with crema enhancer
• Clean the inside of the filter holder. Never wash in a dishwasher.
• Remove the crema enhancer cup (fig. 22) by unscrewing in the
direction indicated by the arrow on the cap.
• Remove the crema enhancer from the container by pushing it
from the cap end (fig. 23).
• Remove the gasket (fig. 24).
fig. 22
fig. 23
fig. 24
 Loading...