4
UNPACKING
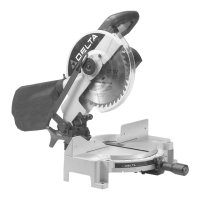
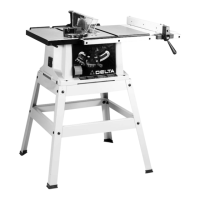
Your new Miter Saw is shipped complete in one con-
tainer. Carefully unpack the saw and all loose items
from the shipping container. Fig. 2, illustrates the con-
tents of the container:
A - Miter Saw
B - Lower Guard Assembly
C - Dust Bag
* - Extra Switch Lock Key
(Not Shown)
Fig. 2
ASSEMBLY INSTRUCTIONS
WARNING: FOR YOUR OWN SAFETY, DO NOT CONNECT THE MITER SAW TO THE POWER SOURCE
UNTIL THE MACHINE IS COMPLETELY ASSEMBLED AND YOU HAVE READ AND UNDERSTOOD THE
ENTIRE OWNER’S MANUAL.
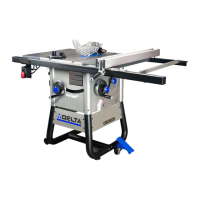
MOVING CUTTING ARM TO THE UP POSITION
1. Pull pin (A) Fig. 3, to the out position releasing the cutting arm (B) and allow cutting arm (B) to move to the up posi-
tion, as shown in Fig. 4.
Fig. 3
Fig. 4
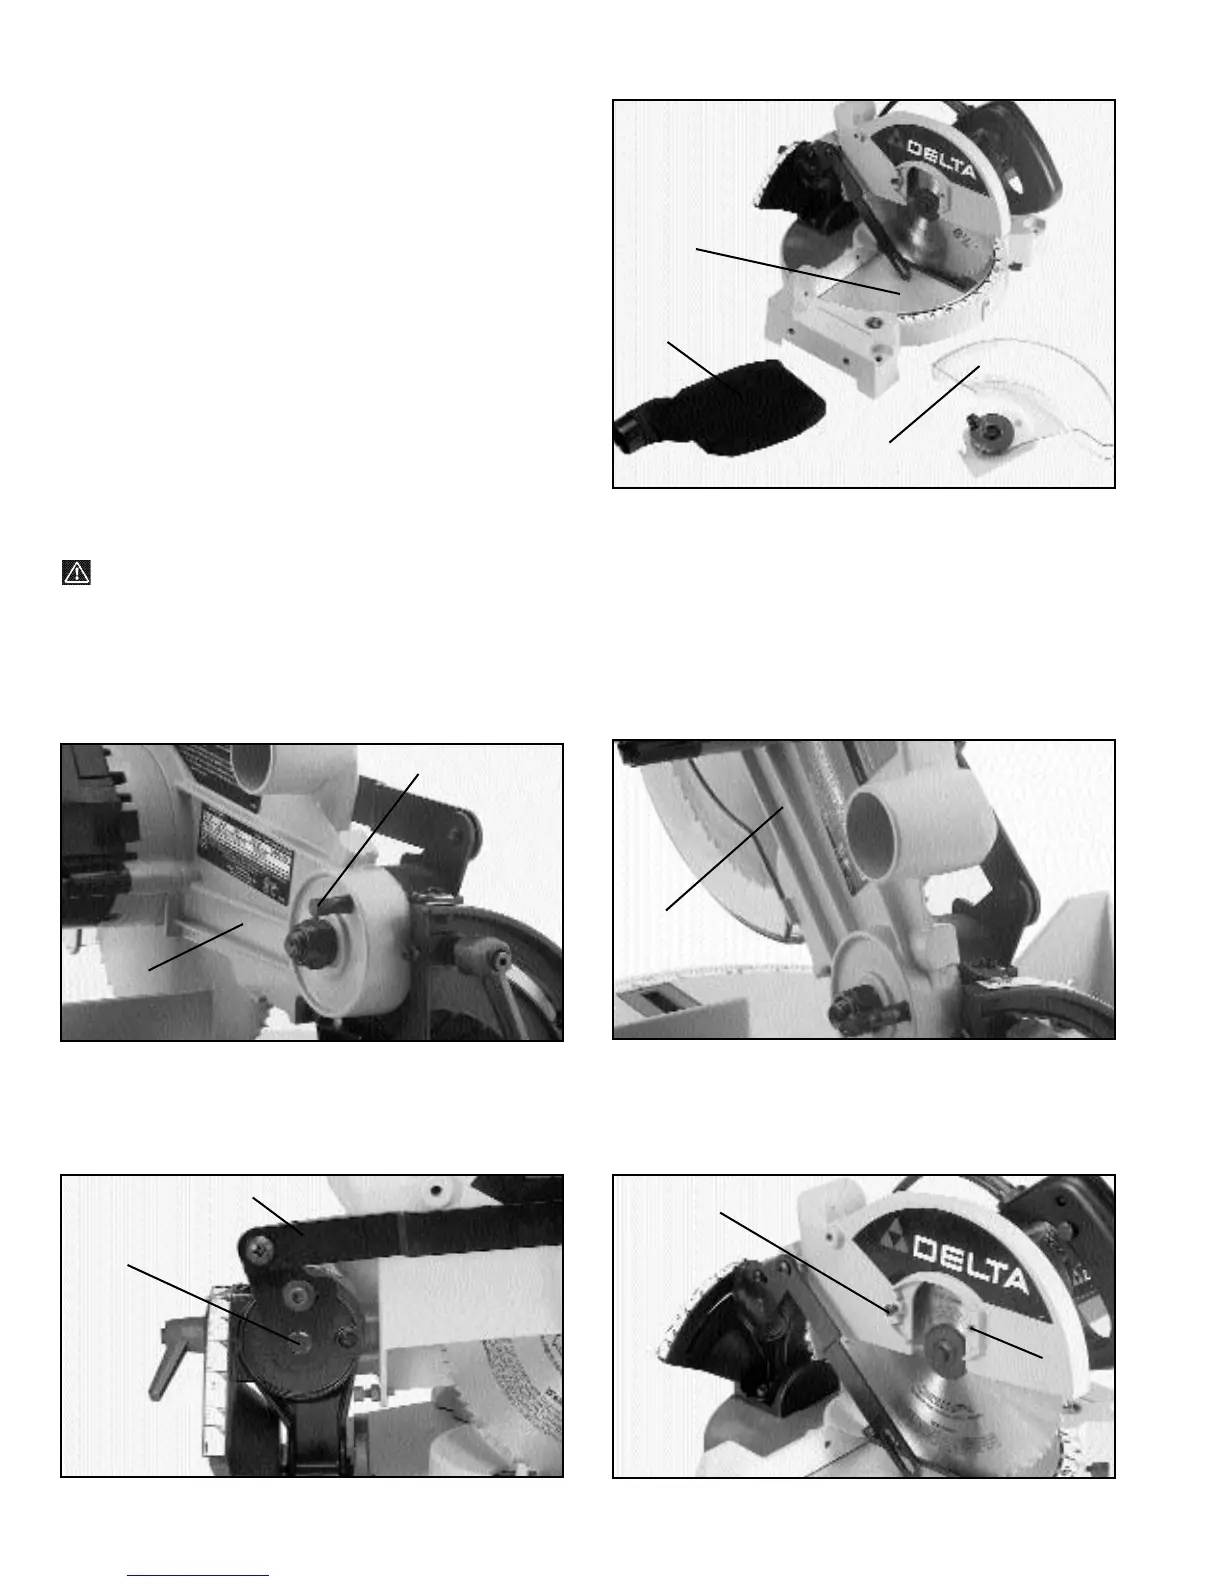
ASSEMBLING LOWER BLADE GUARD
1. Hook one end of guard lifting lever (A) Fig. 5, on stud (B), as shown.
2. Loosen screw (D) Fig. 6, and remove screw (C)
Fig. 5
Fig. 6
A
C
B
A
B
A
B
D
C
B
 Loading...