9
CASTERS
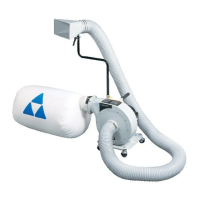
1. Place the dust collector on its side.
2. Insert bolt on caster through the four holes (A)
Fig. 3 in the base of the dust collector.
3. Thread a 3/8-16 flange hex nut (B) Fig. 4 onto each
of the four bolts and tighten securely.
Fig. 3
A
Fig. 4
B
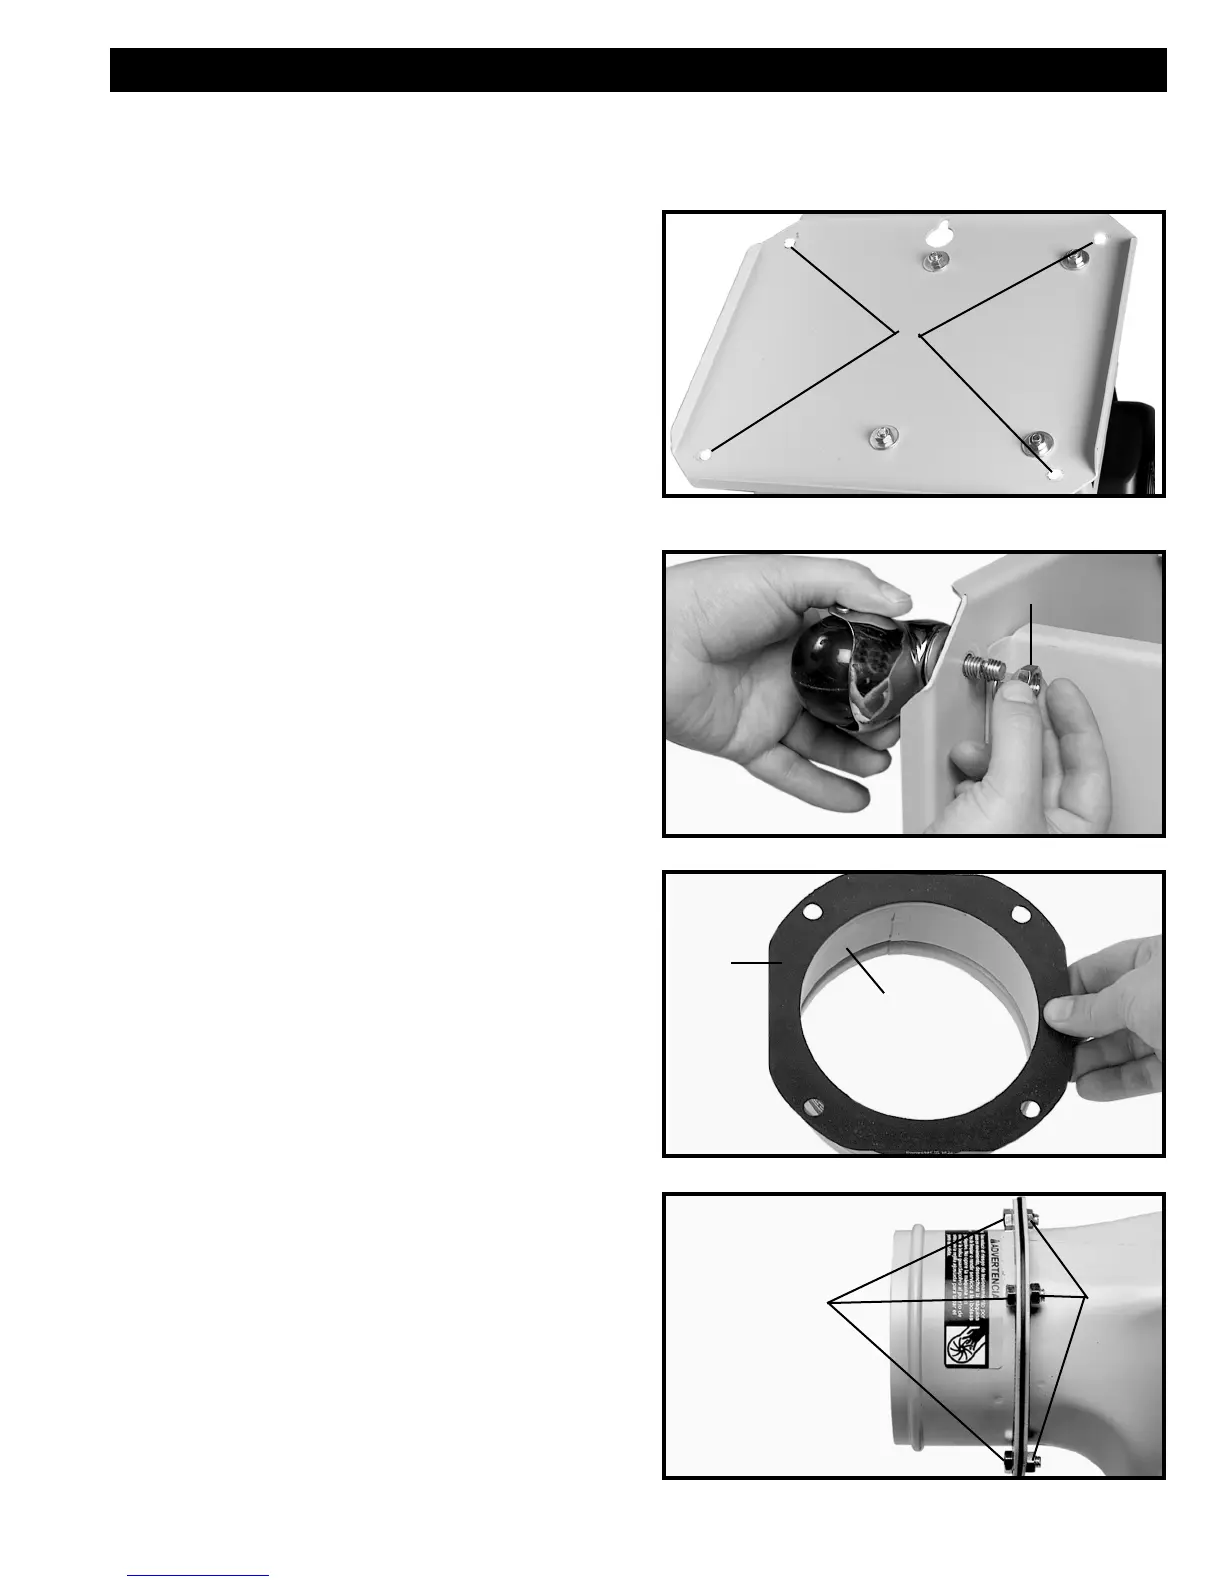
EXHAUST FLANGE
1. Align the holes in the exhaust flange (A) Fig. 5 with
the holes in the exhaust flange gasket (B).
2. Insert a 5/16-18x5/8" hex head bolt thru the exhaust
flange, exhaust flange gasket and the base unit as
shown in Fig. 6.
3. Thread a 5/16-18 hex nut (B) onto the 5/16-18x5/8"
hex head bolt (A) Fig. 6 and tighten securely.
4. Repeat this process for the three remaining bolts.
Fig. 5
A
B
Fig. 6
A
B
ASSEMBLY
1. 1/2” & 9/16" Open or Box End Wrench - not provided
2. 1/2” &
9/16" Socket and Drive - not provided
3.
Flat or Phillips Screwdriver - not provided
ASSEMBLY TIME ESTIMATE 1-2 hrs.
ASSEMBLY TOOLS REQUIRED
 Loading...