7
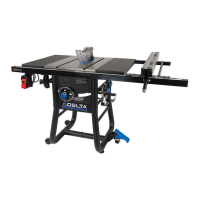
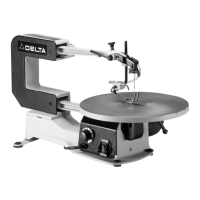
REAR GUIDE RAIL
1. Align the holes in the rear guide rail with the holes in
the back of the saw table.
FOR MODEL 36-729 ONLY
2. Insert a 3/8-24 x 1-1/4" hex head bolt (A) Fig. 7, with
a 3/8" lockwasher through the hole in the rear guide
rail. Thread the screw into the tapped hole in the
back of the saw table. Repeat this process for the
remaining hole in the rear guide rail and the saw
table.
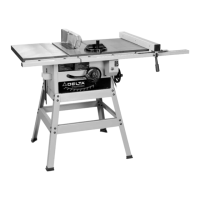
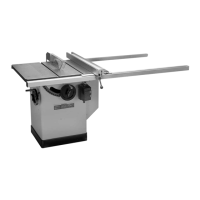
FENCE
1. Place the fence on the guide tube, lift the clamp (A) Fig. 9, and place the fence over the rear guide rail.
2. Gently push fence on the guide tube (B) Fig. 9.
NOTE: Make sure that the clip on the back of the fence engages the rear guide rail.
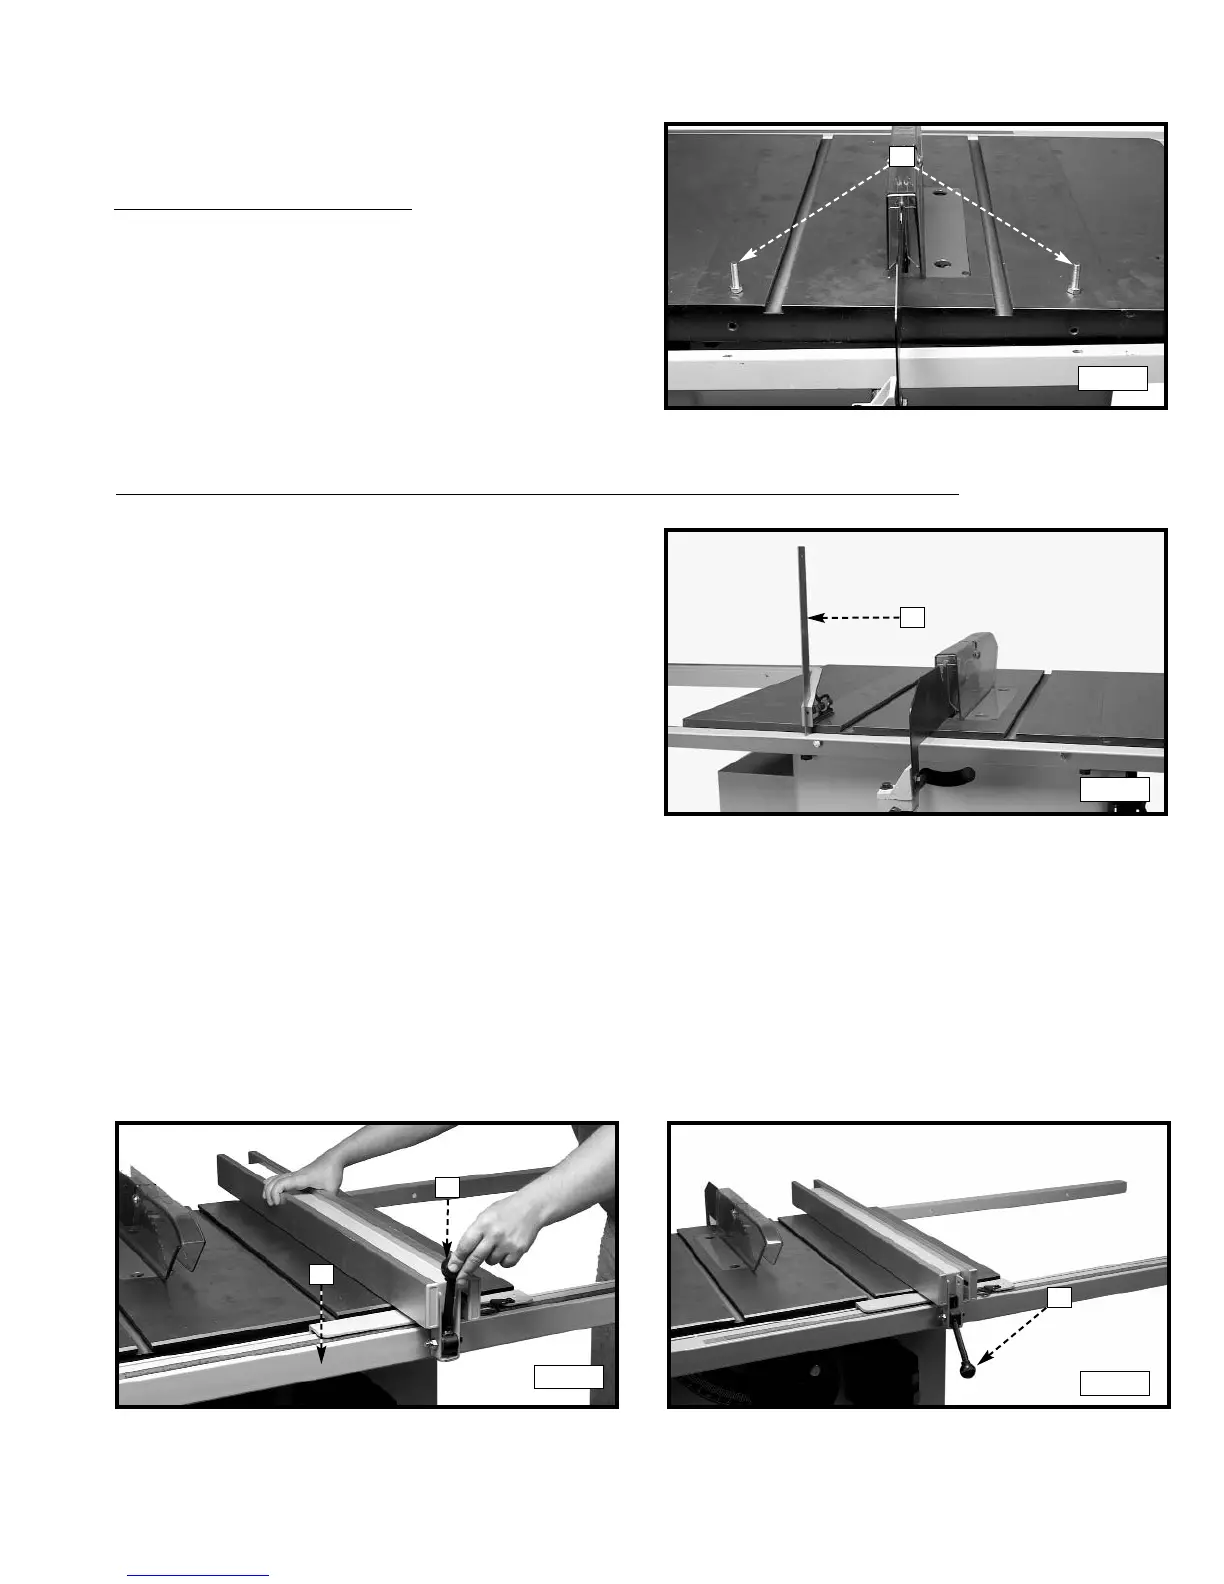
3. Push down on fence clamp (A) Fig. 10 to lock the fence in place.
Fig. 7
Fig. 8
Fig. 9
Fig. 10
A
D
A
B
A
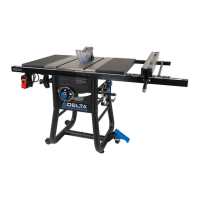
FOR TABLE SAWS WITH SHEET METAL EXTENSION WINGS - T²-30 ONLY
2. Insert a 3/8-24 x 1-1/4" hex head bolt (not shown)
through a hole in the rear guide rail and table. Place
a 3/8" flat washer, 3/8" lockwasher on the screw.
Thread a 3/8-24 hex nut onto the bolt. Repeat this
process for the remaining three holes in the rear
guide rail and the saw table.
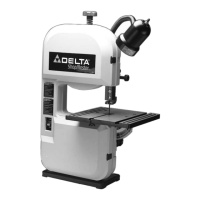
3. Use a square (D) Fig. 8 to make sure that the rear
guide rail is parallel with the table.
4. Tighten all hardware that holds the rear guide rail to
the table.
 Loading...