17
ENGLISH
9
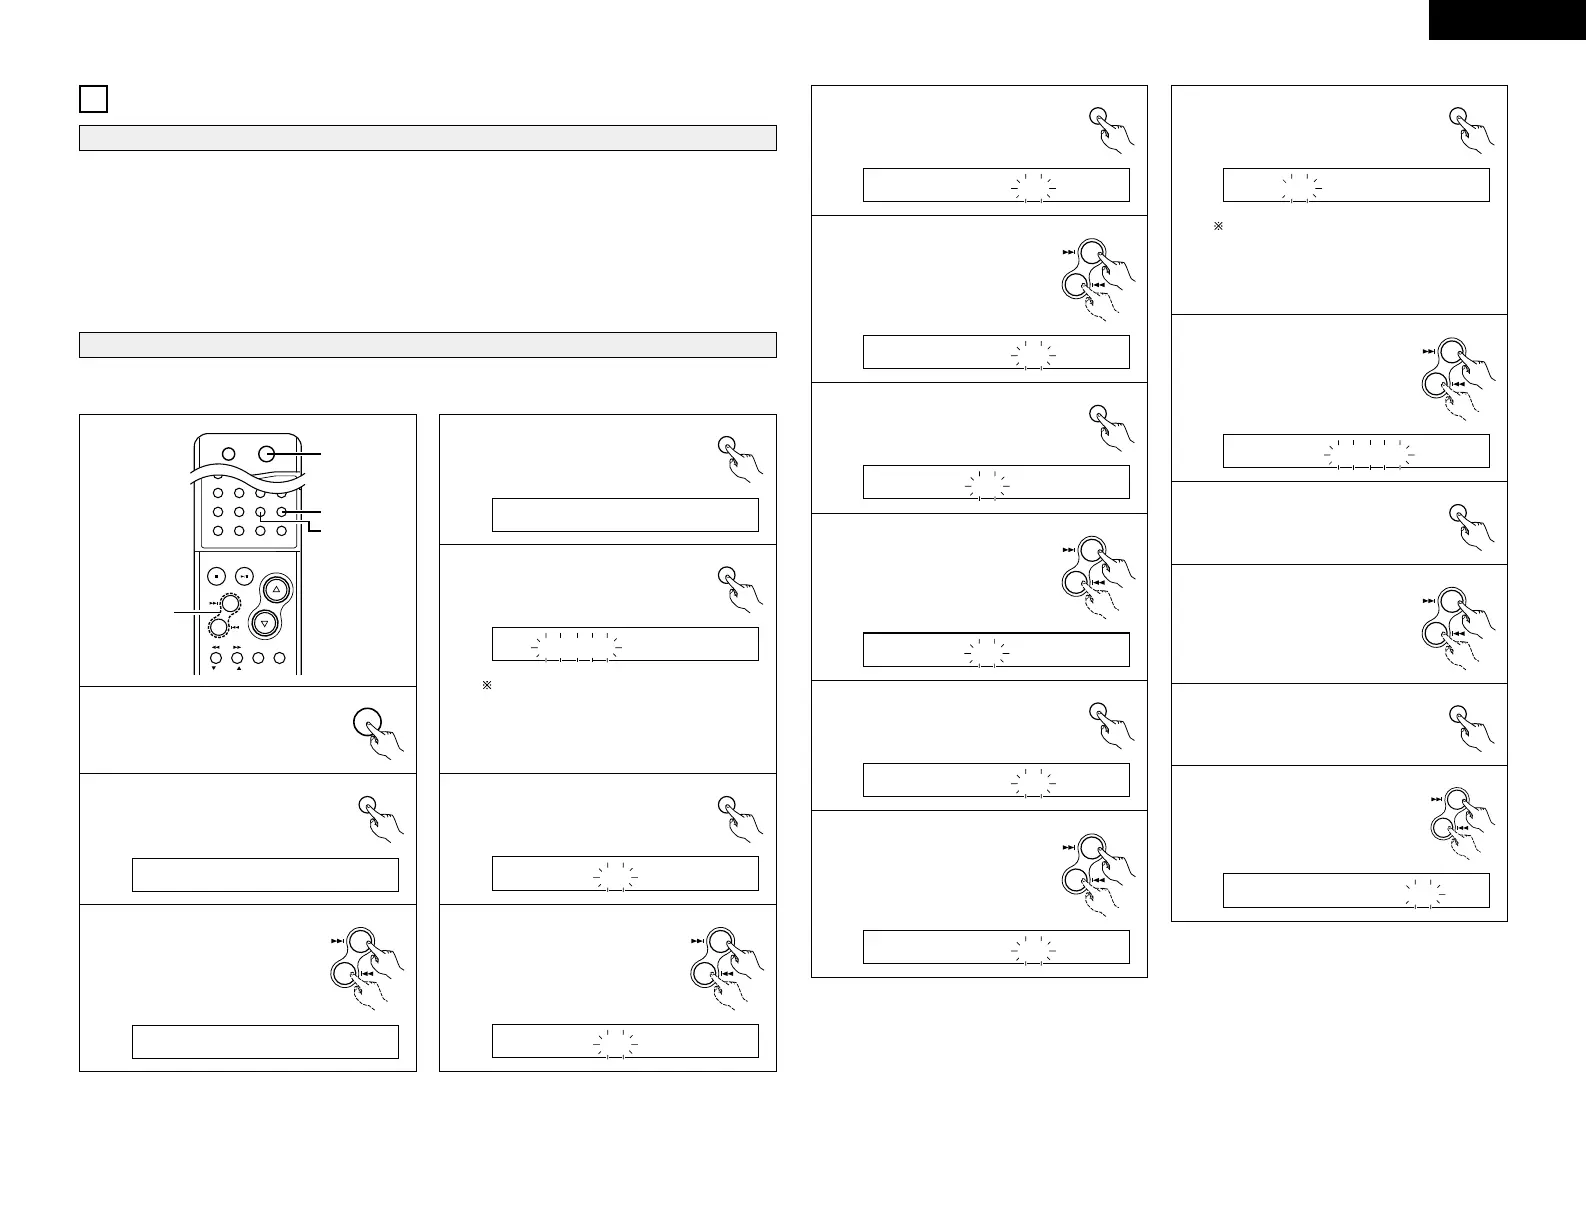
Press the +/− buttons,
adjust the minutes of the
starting time.
10
Press the ENTER button.
11
Press the +/− buttons,
adjust the hour of the
ending time.
12
Press the ENTER button.
13
Press the +/− buttons,
adjust the minutes of the
ending time.
14
Press the ENTER button.
16
Press the ENTER button.
15
Press the +/− buttons to
select “Tuner Mode”.
The selected setting (“CD” or “Tuner”)
switches each time the +/− buttons is
pressed.
The setting that is flashing is the one that
is selected.
17
Press the +/− buttons,
select the desired
broadcast station.
18
Press the ENTER button.
19
Press the +/− buttons,
adjust the volume.
10
USING THE TIMERS
2 Be sure to set the current time beforehand. (See page 14.)
2 The timer cannot be set unless the currently time is set.
2 Be sure to preset a station when using the timer function with the tuner. (See page 15.)
2 Types of timer settings
EVERYDAY TIMER: Use this to turn the power on and standby at the same time every day.
ONCE TIMER : Use this to turn the power on and standby once.
SLEEP TIMER : Use this to set the power to turn standby after 10 to 60 minutes, in steps of 10
minutes (operated from the remote control unit).
(1) Before Using the Timer
(2) Setting the everyday or once timer
+1 0
10
TUNING
TONE/SDB
ENTERDISPLAY MENU
SLEEPFOLDERTITLETIME
STOP
/BAND
PLAY/PAUSE
VOLUME
FUNCTIONMUTE
PRESET
+
-
2, 27
4, 5, 6, 8,
10, 12, 14,
16, 18, 20,
21, 23, 24,
26
3, 7, 9, 11,
13, 15, 17,
19, 22, 25
2
Press the MENU button.
1
Press the button to turn the
power on.
[Example] Setting the everyday time to play preset number 3 (FM 87.50 MHz) from 12:35 PM to 12:56 PM
with the volume set to “24”.
Press the +/− buttons to
select “Timer Mode”.
5
Press the ENTER button to
select “Every”.
7
Press the +/− buttons,
adjust the hours of the
starting time.
The selected setting (“Every” or “Once”)
switches each time the +/− buttons is
pressed.
The setting that is flashing is the one that
is selected.
 Loading...