E N GLIS H
8
Active Vibration Control
The active vibration control neutralises rebound
vibration from the hammer mechanism. Lowering
hand and arm vibration, it allows more comfortable
use for longer periods of time and extends the life of
the unit.
Electrical Safety
The electric motor has been designed for one
voltage only. Always check that the power supply
corresponds to the voltage on the rating plate.
Your DEWALT tool is double insulated in
accordance with EN 60745; therefore no
earth wire is required.
If the supply cord is damaged, it must be replaced
by a specially prepared cord available through the
D
EWALT service organization.
Using an Extension Cable
If an extension cable is required, use an approved
3–core extension cable suitable for the power
input of this tool (see technical data).The minimum
conductor size is 1.5 mm
2
; the maximum length is
30 m.
When using a cable reel, always unwind the cable
completely.
ASSEMBLY AND ADJUSTMENT
WARNING: To reduce the risk of
injury, turn unit off and disconnect
machine from power source before
installing and removing accessories,
before adjusting or changing set-ups
or when making repairs. Be sure the
trigger switch is in the OFF position. An
accidental start-up can cause injury.
WARNING: Always wear gloves when
changing accessories. The exposed
metal parts on the tool and accessory
may become extremly hot during
operation.
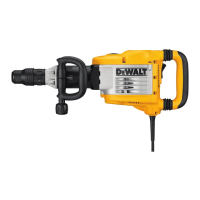
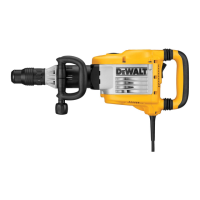
Inserting and Removing 28/30 mm
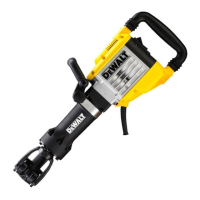
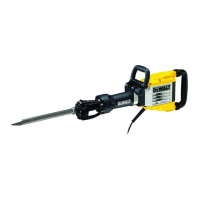
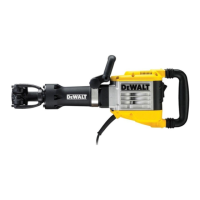
Hex Accessories (fig. 3, 4)
D25960
This machine uses chisels with a 28 mm hex shank.
D25961
This machine uses chisels with a 30 mm hex shank.
Only D
EWALT recommended accessories should be
used with this product.
1. Clean the chisel shank (Fig. 3).
D25960
TO FIT A CHISEL WITH GROOVE IN THE SHANK (FIG. 4A)
1. Pull the tool retainer (d) to the unlock position.
2. Hold the chisel in front of the tool holder with
the groove
(h) facing upwards.
3. Insert the chisel shank into the tool holder (e).
4. Push the retainer (d) backwards to lock the
accessory in position.
5. Pull on the chisel to check if it is properly
locked.The hammering function requires
the chisel to be able to move axially several
centimetres when locked in the tool holder.
6. To remove a chisel pull back the retainer (d) and
pull the chisel out of the tool holder (e).
TO FIT A CHISEL WITH COLLAR ON THE SHANK (FIG. 4B)
1. Pull the tool retainer (d) to the unlock position.
2. Insert the chisel shank into th
e tool holder (e).
3. Push the retainer (d) in line with the accessory
shank to lock the accessory in position.
4. Pull on the chisel to check if it is properly
locked.The hammering function requires
the chisel to be able to move axially several
centimetres when locked in the tool holder.
5. To remove a chisel pull back the retainer (d) and
pull the chisel out of the tool holder (e).
D25961
TO FIT A CHISEL WITH GROOVE IN THE SHANK (FIG. 4C)
1. Pull the retainer bolt (i) and turn it by 180° to the
unlock position.
2. Hold the chisel in front of
the tool holder with
the groove (h) facing upwards.
3. Insert the chisel shank into the tool holder (e).
4. Pull the retainer bolt (i) and turn it by 180° back
to the lock position.
5. Pull on the chisel to check if it is properly
locked. The hammering function requires
the chisel to be able to move axially several
centimetres when locked in the tool holder.
6. To remove a chisel pull the retainer bolt (i) and
turn it by 180° to the unlock position.
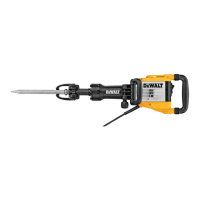
Adjusting the Side Handle (fig. 1)
The side handle (f) is assembled on the machine to
suit both RH- and LH-users
WARNING: Always operate the
machine with the side handle properly
mounted.
 Loading...