ENGLISH
11
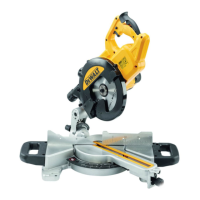
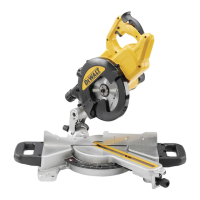
Ripping (Fig. P)
Ripping is the process of cutting wider boards into narrower
strips – cutting grain lengthwise. Hand guiding is more
difficult for this type of sawing and the use of either
DW3278 rip guide or DWS5100 dual port rip guide is
recommended (Fig.Q).
fig. Q
DW3278
Rip Guide
DWS5100
Dual Port Rip Guide
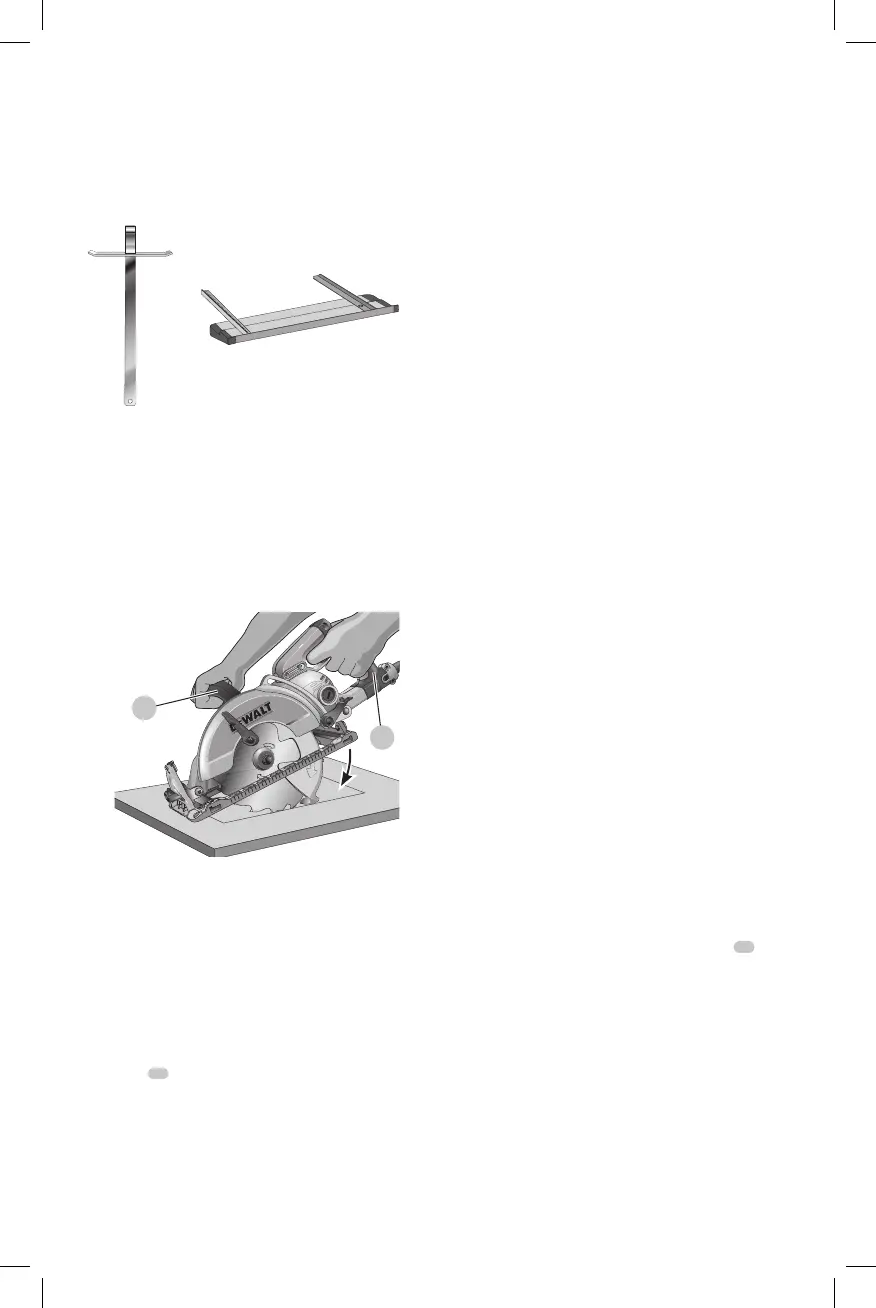
Pocket Cutting (Fig. R)
WARNING: Never tie the blade guard in a raised
position. Never move the saw backwards when
pocket cutting. This may cause the unit to raise
up off the work surface which could causeinjury.
A pocket cut is one that is made in a floor, wall, or other
flatsurface.
Fig. R
12
10
1. Adjust the saw foot plate so the blade cuts at
desireddepth.
2. Tilt the saw forward and rest front of the foot plate on
material to becut.
3. Using the retracting lever, retract lower blade guard to
an upward position. Lower rear of foot plate until blade
teeth almost touch cuttingline.
4. Release the blade guard (its contact with the work will
keep it in position to open freely as you start the cut).
Remove hand from guard lever and firmly grip auxilary
handle
12
, as shown in Figure R. Position your body
and arm to allow you to resist kickback if itoccurs.
5. Make sure blade is not in contact with cutting surface
before startingsaw.
6. Start the motor and gradually lower the saw until its
foot plate rests flat on the material to be cut. Advance
saw along the cutting line until cut iscompleted.
7. Release trigger and allow blade to stop completely
before withdrawing the blade from thematerial.
8. When starting each new cut, repeat asabove.
MAINTENANCE
WARNING: To reduce the risk of serious personal
injury, turn unit off and disconnect it from
power source before making any adjustments or
removing/installing attachments or accessories.
An accidental start-up can causeinjury.
Cleaning
WARNING: Blow dirt and dust out of all air vents with
clean, dry air at least once a week. To minimize the risk
of eye injury, always wear ANSI Z87.1 approved eye
protection when performingthis.
WARNING: Never use solvents or other harsh
chemicals for cleaning the non-metallic parts of
the tool. These chemicals may weaken the plastic
materials used in these parts. Use a cloth dampened
only with water and mild soap. Never let any liquid
get inside the tool; never immerse any part of the tool
into aliquid.
Lubrication
Self lubricating ball and roller bearings are used in the
tool and relubrication is not required. However, it is
recommended that, once a year, you take or send the
tool to a certified service center for a thorough cleaning,
inspection and lubrication of the gear case.
To Check Oil
WARNING: Hot surfaces. Risk of burn. Motor and
surrounding parts are very hot. Do not touch. Allow
motor to cool prior to servicing.
WARNING: Be careful, gear oil may be hot! Contact
with hot oil may result in personal injury.
NOTICE: Ensure there is gear oil in the saw before
operating the saw or tool damage may occur.
NOTE: Gear oil contains substances that are regulated
and must be disposed of in accordance with local, state,
provincial and federal laws and regulations.
1. Place saw on a stable, level surface so the table of the
saw sits flush against the surface.
2. With the wrench provided, turn the oil plug
19
(Fig. A)
counterclockwise to remove.
3. Due to settling, even though the correct amount of oil
may be present in the crankcase it may not be visible
looking into the oil fill hole.
a. With the tool turned off and disconnected from the
power source, rotate blade and look into oil fill hole.
b. If no oil is visible as the gears turn, it needs to be
added.
4. To add oil, slowly add 85W-140 gear oil or equivalent
until it reaches the lowest plug hole thread. 85W-
140 gear oil or equivalent is available from your local
service center.
 Loading...