6
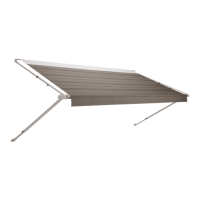
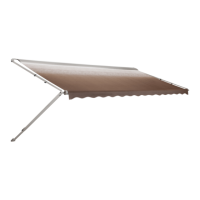
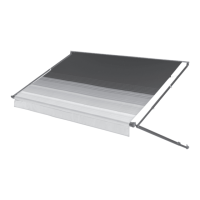
D. Close Awning
1. Loosen adjustable knobs to allow awning to
reset to original position. Then lightly tighten
knobs on both arm assemblies to help ensure
rattle-free travel. See (FIG. 3).
2. WARNING! PINCH HAZARD. Keep CLEAR of
arm assemblies while closing awning. Arm as-
semblies will [fold / close] against [back channel
/ RV]. Failure to obey this warning could result in
death or serious injury.
Press and hold “Retract” button on remote
(wired) switch until awning is fully closed. See
(FIG. 1) & (FIG. 6).
Awning will automatically stop when but-
ton is released no matter how far awning
is extended/retracted.
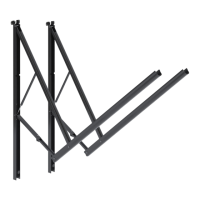
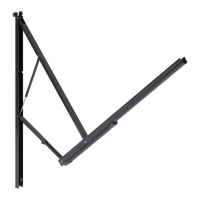
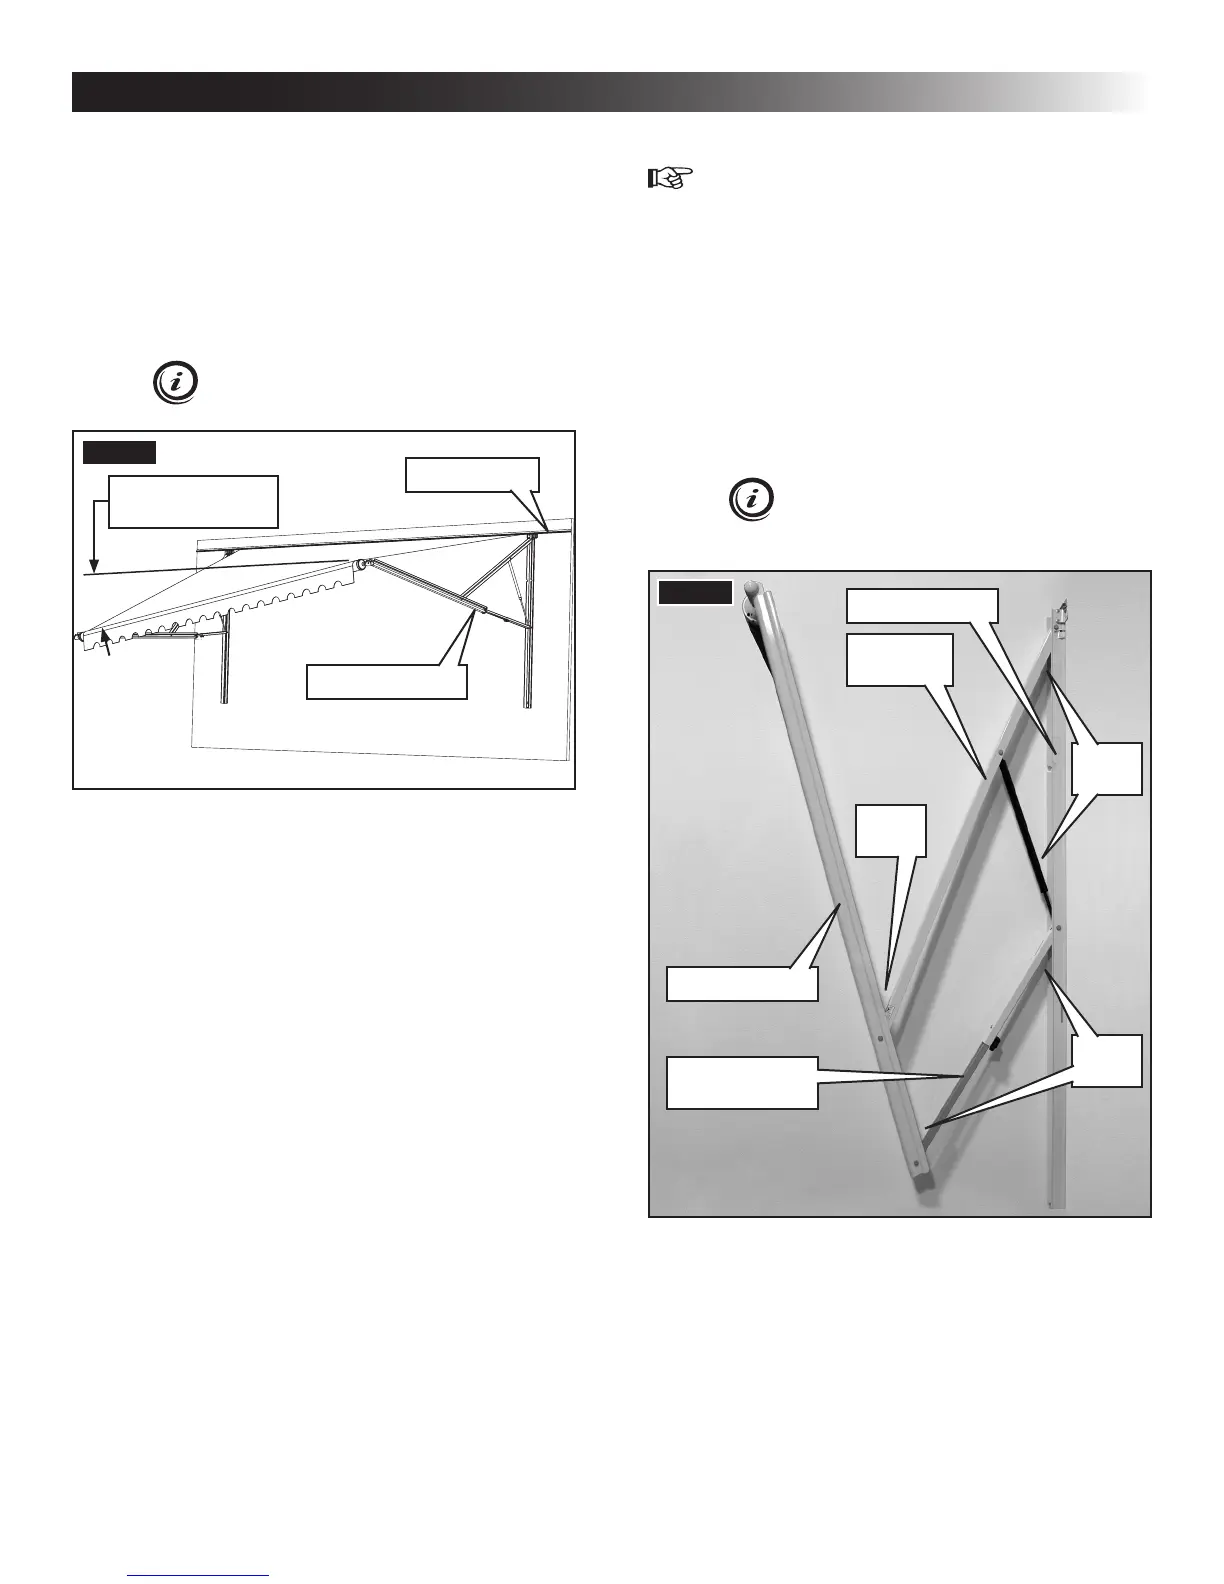
FIG. 6
Front Channel
Back Channel
Adjustable
Arm Assembly
Top Arm
Assembly
Pinch
Points
Pinch
Points
Pinch
Point
3. CAUTION! PINCH HAZARD. Keep CLEAR of
openings around adjustable pitch arm assembly
while adjusting awning pitch (slope). Adjustable
pitch arm assembly (bottom arm) will telescope.
Failure to obey this caution could result in injury.
Pull top arm assembly (farthest from entry door)
down until awning slopes approximately 10°,
or 9″ minimum from other arm assembly. See
(FIG. 4) & (FIG. 5).
This slope requirement is in addition to the
slope from RV’s awning rail.
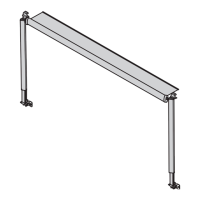
FIG. 5
10° Slope
(Or 9″ Minimum)
Awning Rail
Arm Assembly
4. While holding top arm assembly in place, tighten
adjustable knob to set in place. See (FIG. 3) &
(FIG. 4).
PROCEDURE
 Loading...