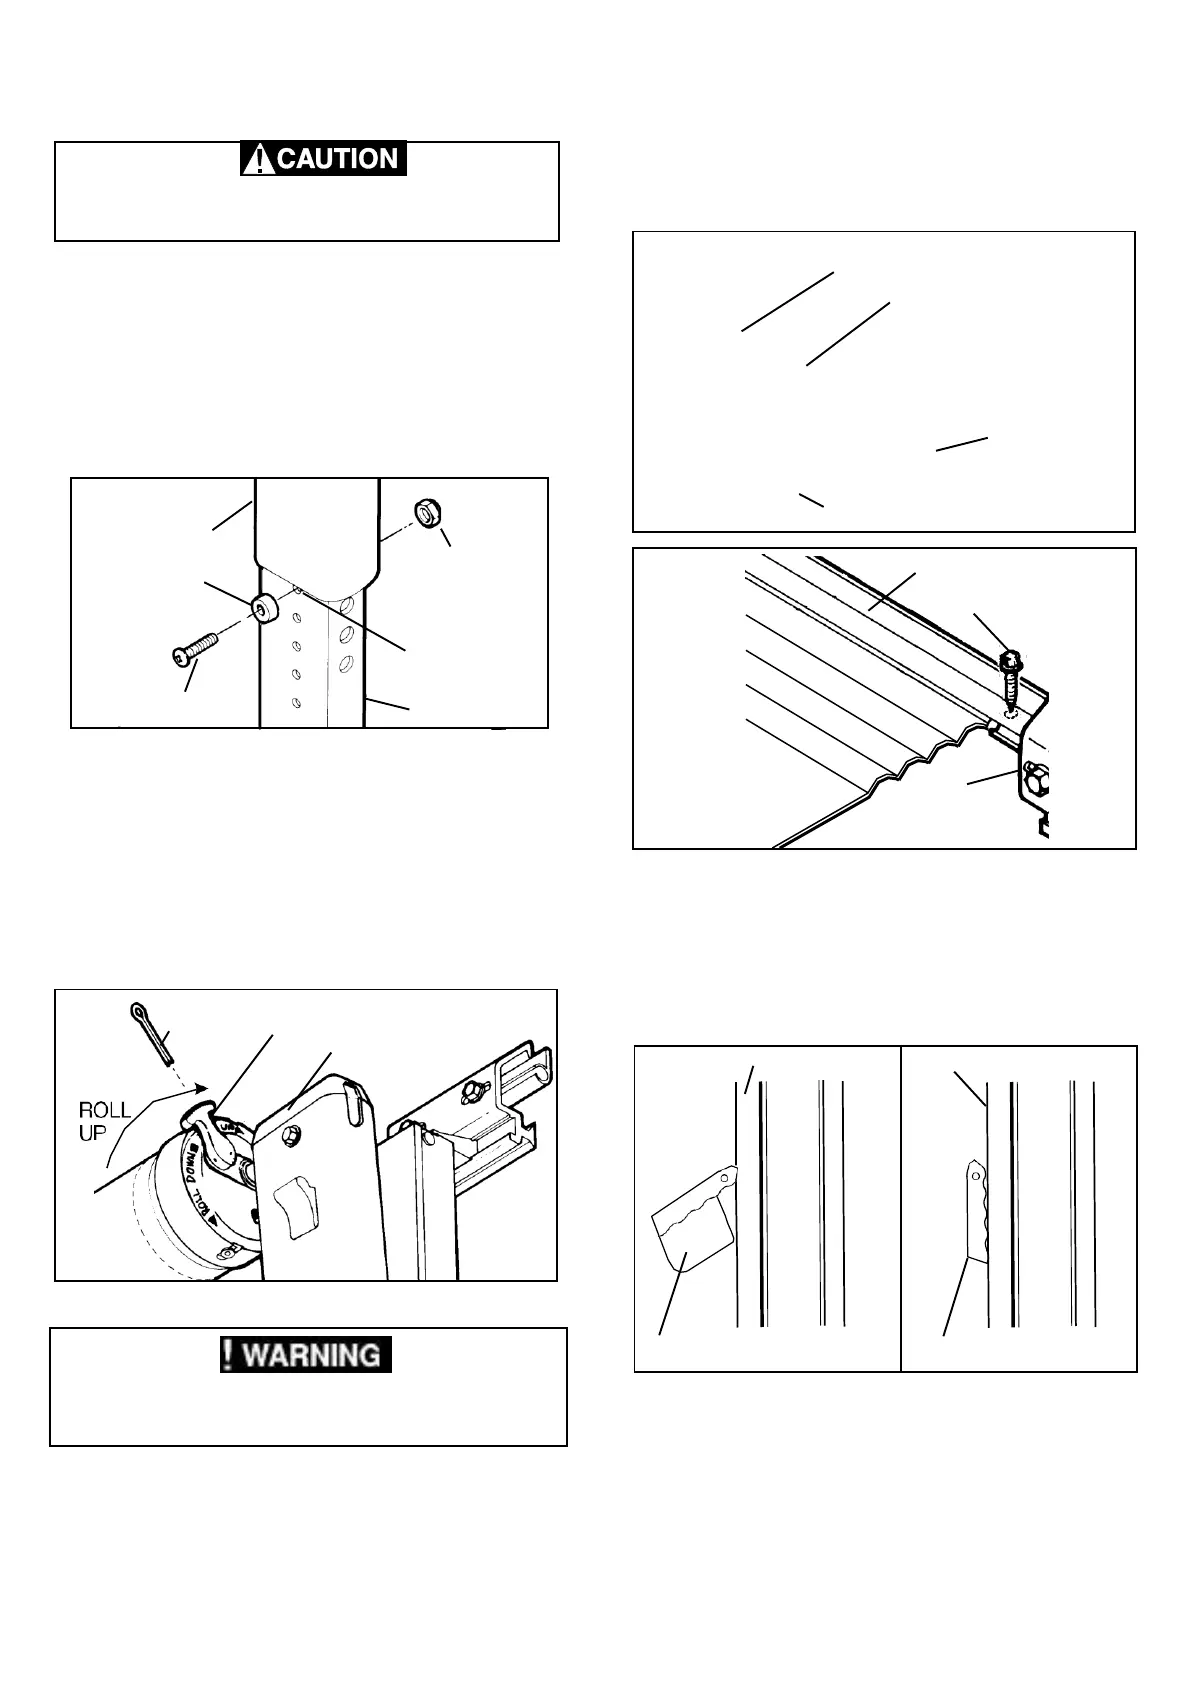
3/16" DIA. HOLE
CLOSEST TO
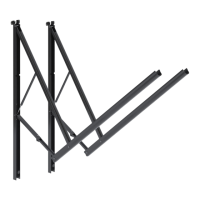
7. Install Stop Plugs.
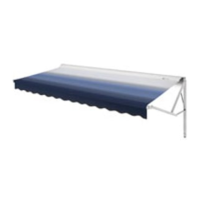
9. Secure Awning to Awning Rail
Open and close awning a few times to allow for natural self
adjustment of awning.
Secure by installing a #6 x 1/2" Tek screw into the rail.
(FIG. 9A & 9B) Repeat at other end.
Using the lift handle, RAISE THE MAIN ARM UP BY ONE
HOLE ONLY.
Install an aluminum stop washer on the inner arm face,
through the hole closest to the bottom of the main arm
with a #10 x 5/8" phillips screw and a #10 lock nut (FIG.
7).
THE MAIN SUPPORT ARM SHOULD NOW CLEAR
THE TOP PIVOT WHEN THE AWNING CLOSES.
Repeat for other side.
8. Release Pre-Set Tension.
Move the Safe-T-Lock
TM
lever to the roll down position.
Remove cotter pin that is holding factory pre-set torsion.
The cotter pin is found in the roller tube end cap (FIG. 8).
For easier removal, twist the roller tube as if unrolling
awning while pulling on cotter pin.
10. Operate awning according to the Operating Instructions
to check that all parts function properly.
11. Secure Awning for Travel.
For added security and rattle-free travel, tighten rafter
knobs, secure travel latches and insure torsion lock is in
the roll up position. (FIGS. 8, 10A & 10B).
Discard pin and repeat for other side.
When cotter pins are removed, springs are under
tension. The awning will attempt to close. Keep
body clear of hardware and roller tube.
AWNING RAIL
#6 x 1/2" TEK SCREW
This step is essential for the proper
functioning of all A&E Awnings.
SAFE-T-LOCK
TM
LOCK DIRECTION
LEVER
END CAP
 Loading...