12
5.
6.
7.
8.
9.
10.
11.
12.
Remove the screws (2) in fig. 14 and take away the
evaporator fin. Remove the screws (3).
Remove the connection block (4) cover (Fig. 15) and dis-
connect the electrical wires for the heaters.
Remove the grounding screw
(5).(Fig.
15).
Remove the flue and the flue baffle.
Remove the screws
(6),
holding the absorption unit
onto the back of the cabinet.
Disconnect the burner case by turning the lever
(7) as shown in the picture.
Carefully bend absorption unit out of cabinet
(Use a crowbar or similar and a wooden piece as
protection when doing this).
To replace absorption unit, reverse above procedure.
CAUTION:
1.
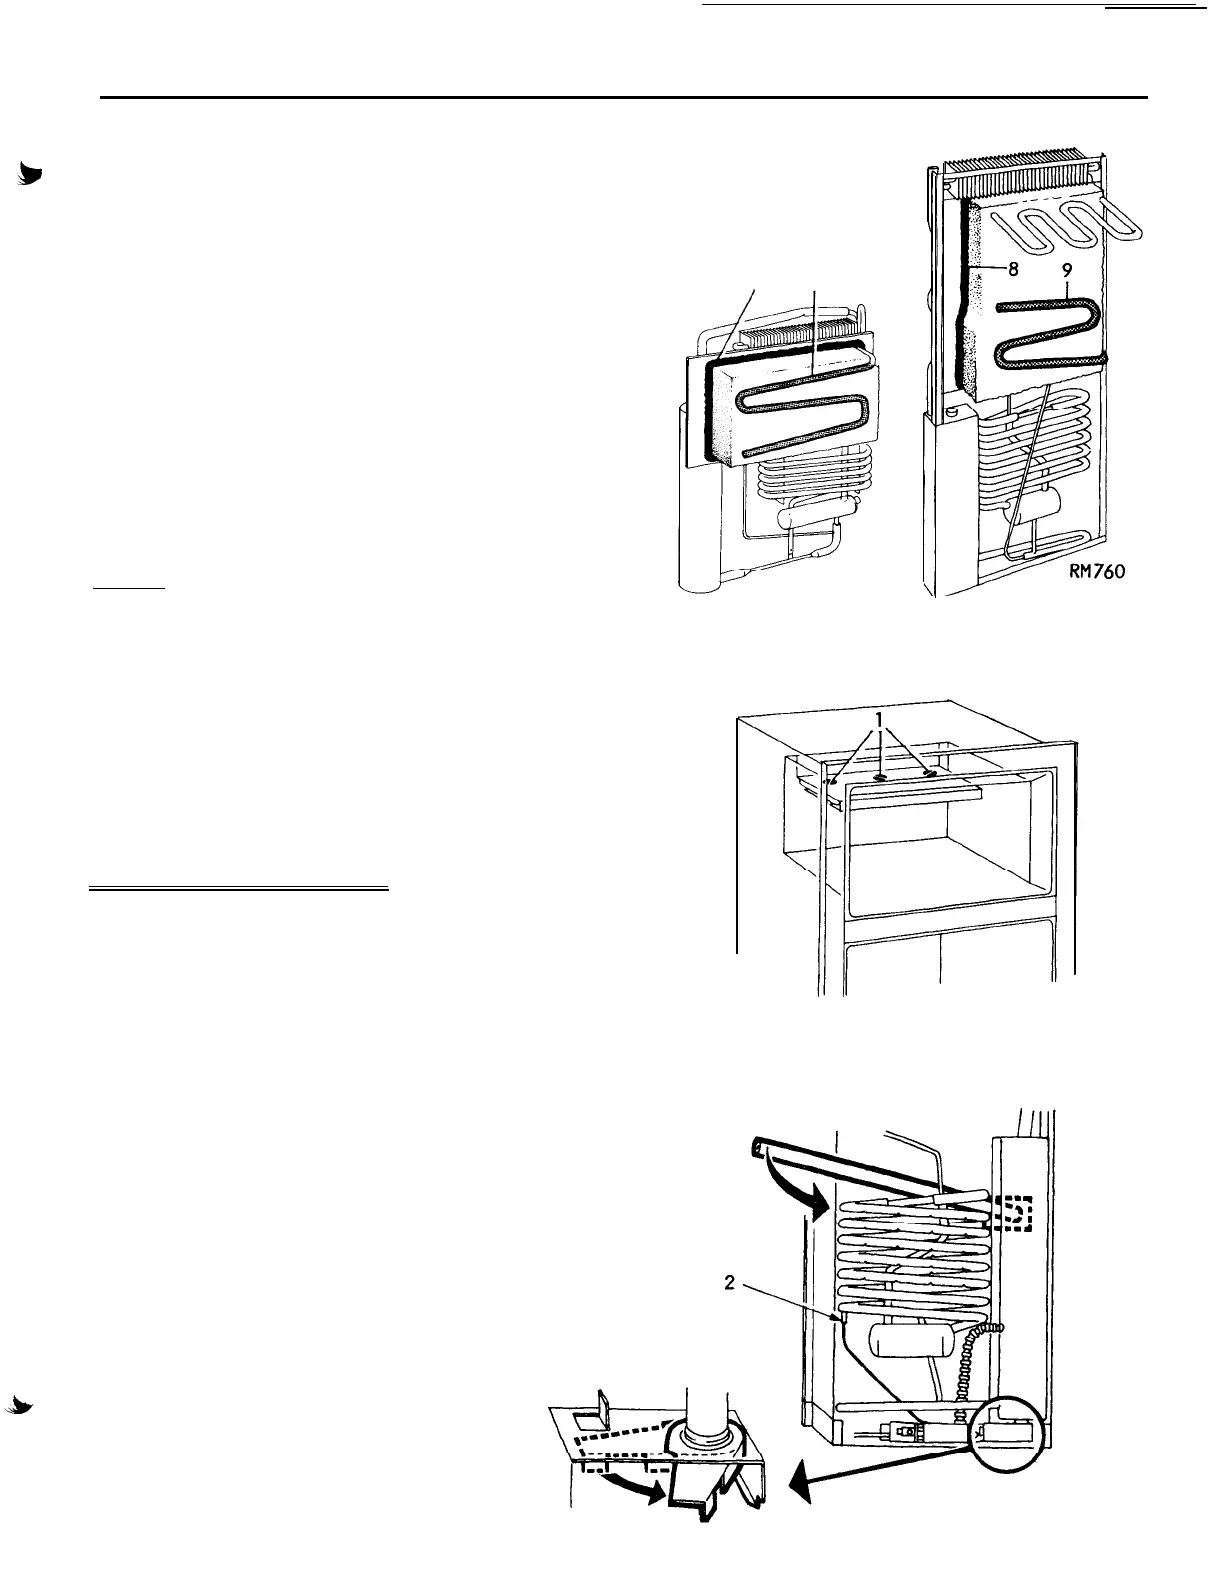
Be sure to apply sealing permagum (8) on the
unit mounting plate (Fig. 16).
2.
Be sure to apply proper amount of "Thermal Mas-
tic" on the evaporator coil (9).
3.
When fitting the evaporator fin be sure to tighten
the screws properly in order to obtain a perfect
contact between the evaporator coil and evapora-
tor flange,
otherwise improper cabinet performance
may result.
COOLING UNIT REPLACEMENT
RM760
The following steps are different from the models
RM360,
RM460 and
RM660.
8 9
1.
The screws (1) in the freezer should be removed (Fig. 18)
2.
The capillary tube should carefully be pulled
out from the tube
(2).(Fig.
19).
3.
When
bending the cooling
unit
out, place the crowbar
or similar as well as the wooden protection as shown
in the picture.
Fig.16
Fig.17
Fig.18
Fig.19
 Loading...