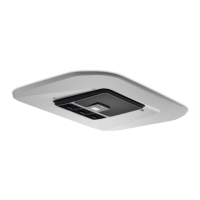
Installation RTX1000/2000, SPX1200T
10
7.6 Routing the electrical power supply leads
D
!
A
Connect the unit directly to the main power distribution box.
Ask your vehicle manufacturer for the specifications of the main power
distribution box.
Route the power supply lead as illustrated (fig. a):
➤ Run the wiring loom to the main power distribution box along a route where
it is protected.
➤ Connect the negative lead (black) for the power supply.
➤ Connect the negative lead (black) for the voltage monitor.
➤ Connect the positive lead (red) for the power supply via a 40 A fuse.
➤ Connect the positive lead (red) for the voltage monitor via a 2 A fuse.
➤ Connect the wiring loom to the unit and fix with a cable tie in a suitable
position (fig. a 2.).
DANGER!
For EX/III and FL vehicles (according to ADR guideline), a battery master switch
must be installed.
WARNING!
• The electrical connections may only be made by competent technical staff
with the appropriate specialist knowledge.
• Before carrying out any work on electrically operated components, make
sure that they are disconnected from the power supply.
NOTICE!
• The connection to the vehicle's electrical system should be protected by a
40 A fuse for the power supply and a 2 A fuse for the voltage monitor.
• The battery must be capable of supplying the required current and voltage
(chapter “Technical data” on page 15).
57;63;76FDQLD,VERRN6HLWH0LWWZRFK1RYHPEHU
 Loading...