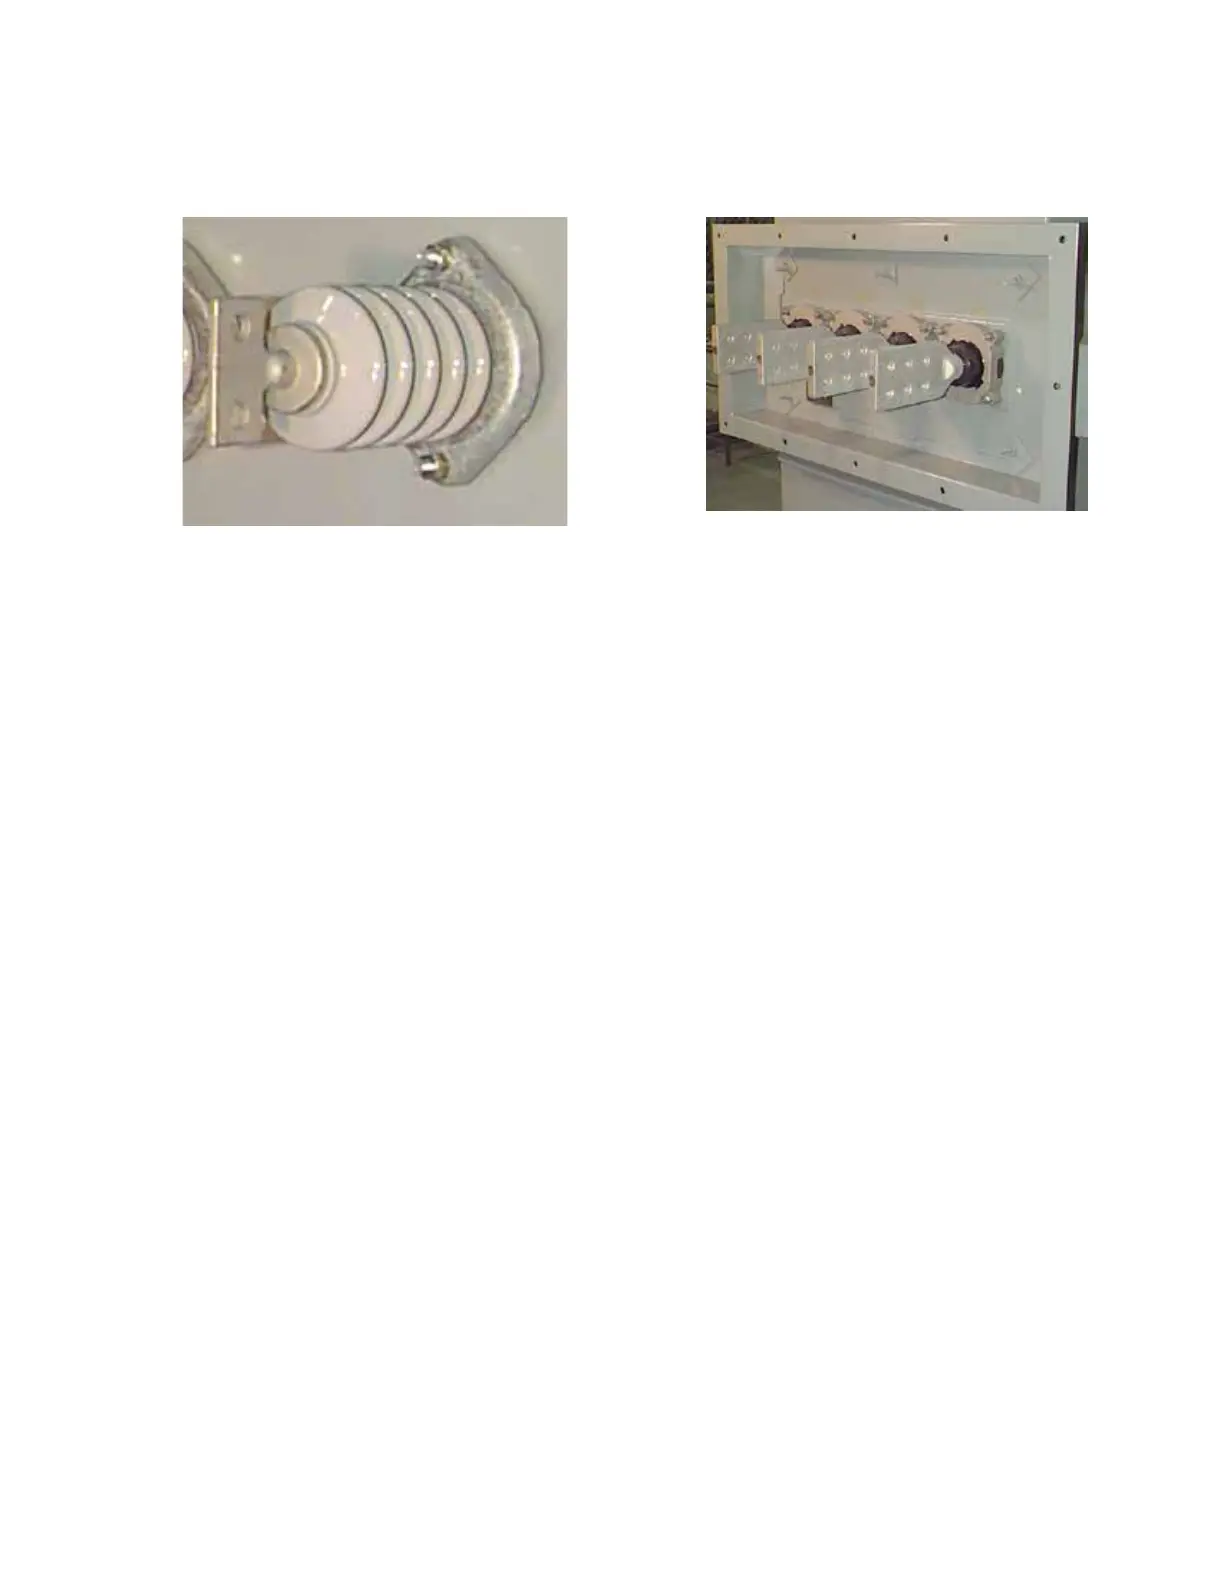
High voltage bushings
High voltage leads for ratings 2.4 kV and up are normally
brought through the tank end wall using a cycloaliphatic
epoxy or porcelain bushing. To prevent excessive mechanical
loading of the bushing, only flexible connections should be
made to the bushing terminal. The bushing should never
be used as a structural member to support other current-
carrying parts.
Care must be taken in handling the bushing to avoid
cracking the porcelain or damaging its surface.
Should it become necessary to replace a bushing or its
gasket, proceed as follows:
1. Vent the tank to the atmosphere until pressure is zero.
2. Lower the liquid level to a point below the bushing
level.
3. Remove the nuts and washers used to clamp the
flange of the bushing.
4. Pull the bushing outward as far as necessary to replace
the gasket and/or to unfasten the cable connection at
bushing inner end.
Only in rare circumstances will there be insufficient slack
in the cable leads to facilitate bushing replacement through
the wall. The alternative means of gaining access to the
connections is through the manhole.
When reinstalling the bushing, install a new gasket in the
gasket recess on the underside of the flange to insure that
the gasket is properly seated in the groove. A flat washer
and lock washer should be placed between the mounting
nut and the flange. After the nuts are finger tight, each one
should be tightened to a torque of 60±5 inch pounds. After
completion, pressure test the transformer.
When condenser-type bushings are used, supplementary
leaflets forming a part of the complete instruction book will
be provided.
Low voltage bushings
Low voltage leads for ratings in the 1.2 kV Class are
normally brought through the tank wall using an indoor
bushing. This is a cast resin, cycloaliphatic epoxy or
porcelain bushing.
The low voltage bushing should not be used as a structural
member. As a rule, only flexible connections should be
made to any bushing. Avoid rigid connections between
the bushing and other bus supports to eliminate thermal
expansion forces to the bushing.
If a bushing is damaged and leaking transformer coolant,
contact your factory representative for proper repair
procedures.
Figure 7. High voltage bushing.
Figure 8. Low voltage bushings.
7SubStation tranSformer inStallation and partS replacement information MN202002EN JUNE 2016

 Loading...


