21
Instruction Book IB182071EN
July 2018
Remote Power Racking System
(RPR-2)
www.eaton.com
APPENDIX C:
GE MAGNEBLAST VERTICAL LIFT
C.1 INSERTION PROCEDURE USING THE RPR-2
1) Follow all procedures defined by company’s Personal Protective
Equipment and safety policy. Follow all precautions and
requirements listed in the circuit breaker IB for racking the
breaker.
2) The switchgear must be in good condition and setup per the
original switchgear IB.
3) Move the RPR-2 unit in front of the switchgear cell.
4) If engaged, release the Transport Latch to allow for vertical
movement of the Power Module. (Figure 3.3)
5) Turn on the Powerware UPS for the RPR-2 by pressing the
On button for approximately five seconds and allow for the
unit to initialize. (Figure 4.5) For all other menu settings and
features, please refer to the UPS instruction CD.
6) Turn on the power to the Power Module with the Power Switch.
(Figure 3.6)
7) Select the correct breaker program on the Power Module by
pressing and releasing the Breaker Select Button until the
desired program is displayed on the Fusion Controller. (Figure
4.1)
8) Select the INSERT direction with the Insert/Remove switch
(Figure 4.1)
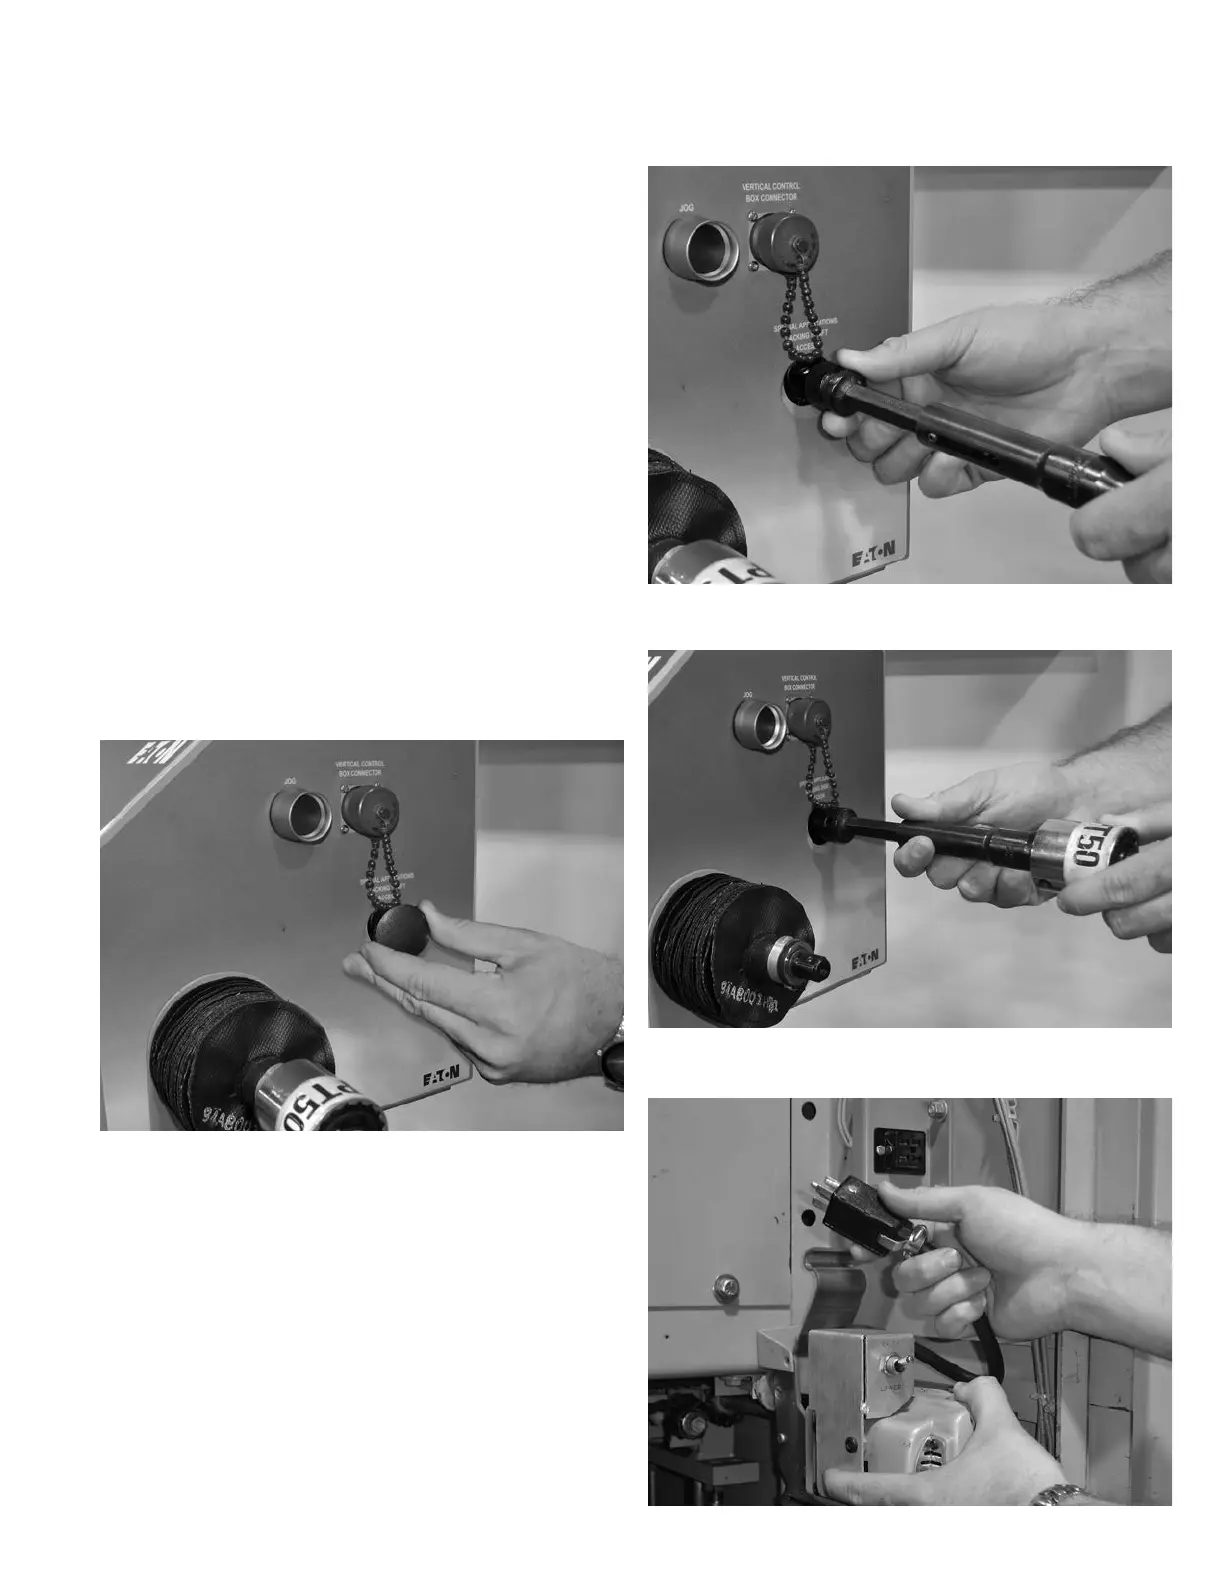
Figure C.1. Removing Access Cover
9) Remove the access cover from the Special Applications Racking
Shaft. (Figure C.1)
10) Insert the Axial Compliant racking adapter into the Special
Application Racking Shaft on the RPR-2. (Figure C.2)
11) Remove the mechanical torque limiter (Perfa-torq) from the
normal insertion shaft.
12) Install the mechanical torque limiter onto the Axial Compliant
racking adapter. (Figure C.3)
13) Open the switchgear door and verify that the power circuit
breaker is open and is ready to be racked.
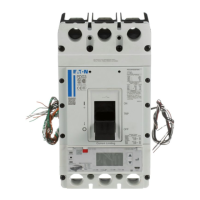
14) Remove the original lifting motor, if it is present. (Figure C.4)
15) Install the racking adapter housing in the location where the
original lifting motor was mounted. (Figure C.5)
16) Insert the “pull back handle” into the racking adapter housing.
Figure C.2. Inserting Axial Compliant Racking Adapter
Figure C.3. Attaching Mechanical Torque Limiter
Figure C.4. Removing Lifting Motor
 Loading...