Chengdu Ebyte Electronic Technology Co,;Ltd
Copyright @2012–2023,
Chengdu Ebyte Electronic Technology Co,;Ltd
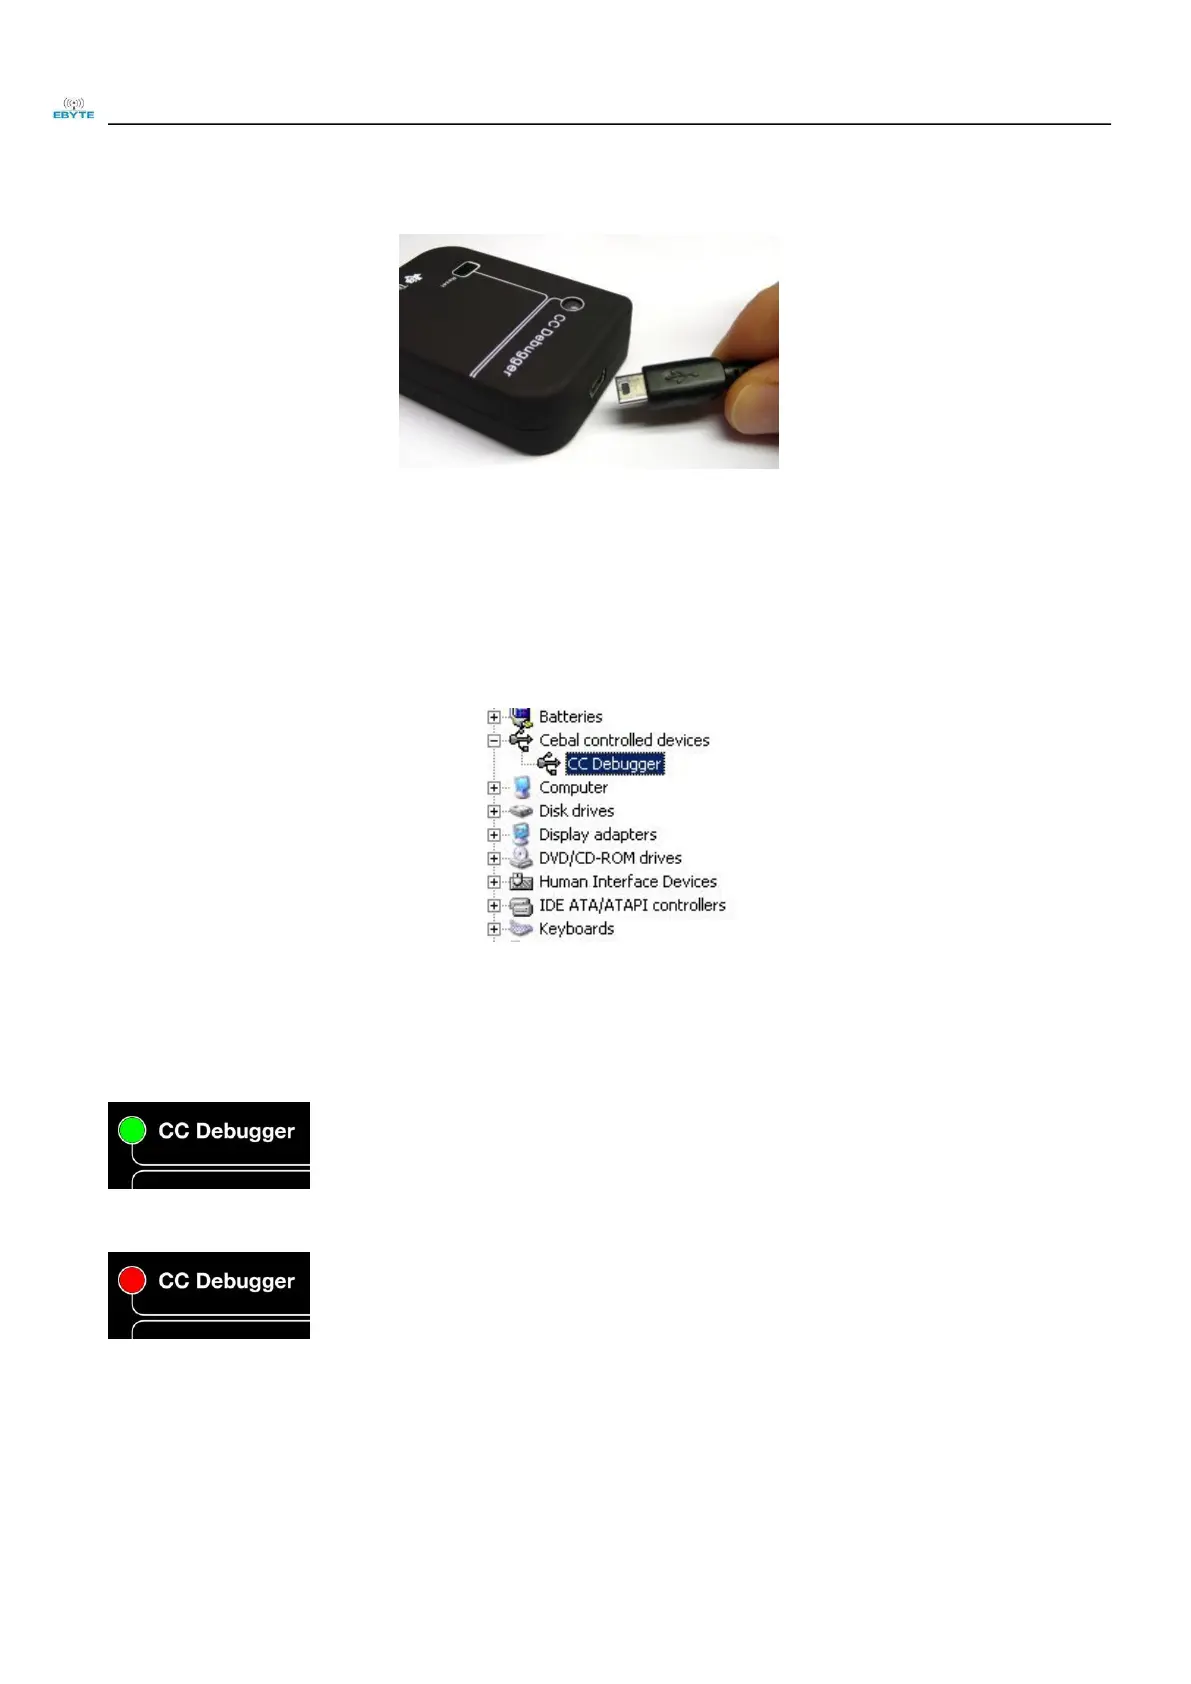
Step 4 Connect USB cable
Connect the USB cable to the debugger and then to the PC.
Step 5 Associate a USB device with a USB driver
When the debugger/programmer is connected to the PC, the PC will detect the new USB device. Windows will automatically handle the
installation and association of the relevant drivers.
If Windows does not automatically recognize the device driver, please disconnect the target module/test kit and reconnect the USB cable to try.
Or install the driver manually, the driver path
:
C:\Program Files\Texas Instruments\SmartRF Tools\Drivers\cebal
Step 6 Check LED status
The debugger/programmer is respectively connected to the target module/test kit and PC, and it supplies power to the target module/test kit.
Then check the status of the LEDs on the Debugger/programmer.
If the light is Green, the debugger/programmer has successfully detected the chip on the target.
If the light is Red, the debugger/programmer failed to detect the chip on the target.
Please ensure that all required wires are properly connected and the target board is powered. Or please press the reset button of the
debugger/programmer to retry the chip detection.