6
PREPARATION FOR USE
UP
The machine is delivered with guide bar (A) and saw
chain (B) separated. Install guide bar and saw chain as
follows:
GUIDE BAR AND SAW CHAIN
• Follow the instructions enclosed with tip guard to
install guard to guide bar.
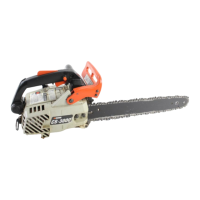
• Remove two guide bar nuts and remove sprocket
guard (C).
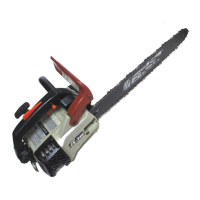
• Mount guide bar (A) on studs, and slide toward
sprocket to make saw chain installation easier.
• Install saw chain (B) as shown, with cutters facing
forward.
NOTE
Chain brake must be in fully released position to
install sprocket guard to saw.
• Install sprocket guard (C), and tighten guide bar nuts
finger tight.
• Adjust saw chain tension, as instructed in “Adjust-
ment, Chain Tension.”
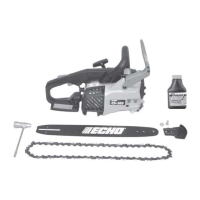
ADJUSTMENT, CHAIN TENSION
• Loosen two guide bar nuts.
• Turn the adjuster slot clockwise until the chain
touches the bottom of the bar.
• Hold the bar nose up and tighten the chain until there
is no clearance between the bar and chain.
• Tighten both guide bar nuts with bar nose held up, to
eliminate clearance.
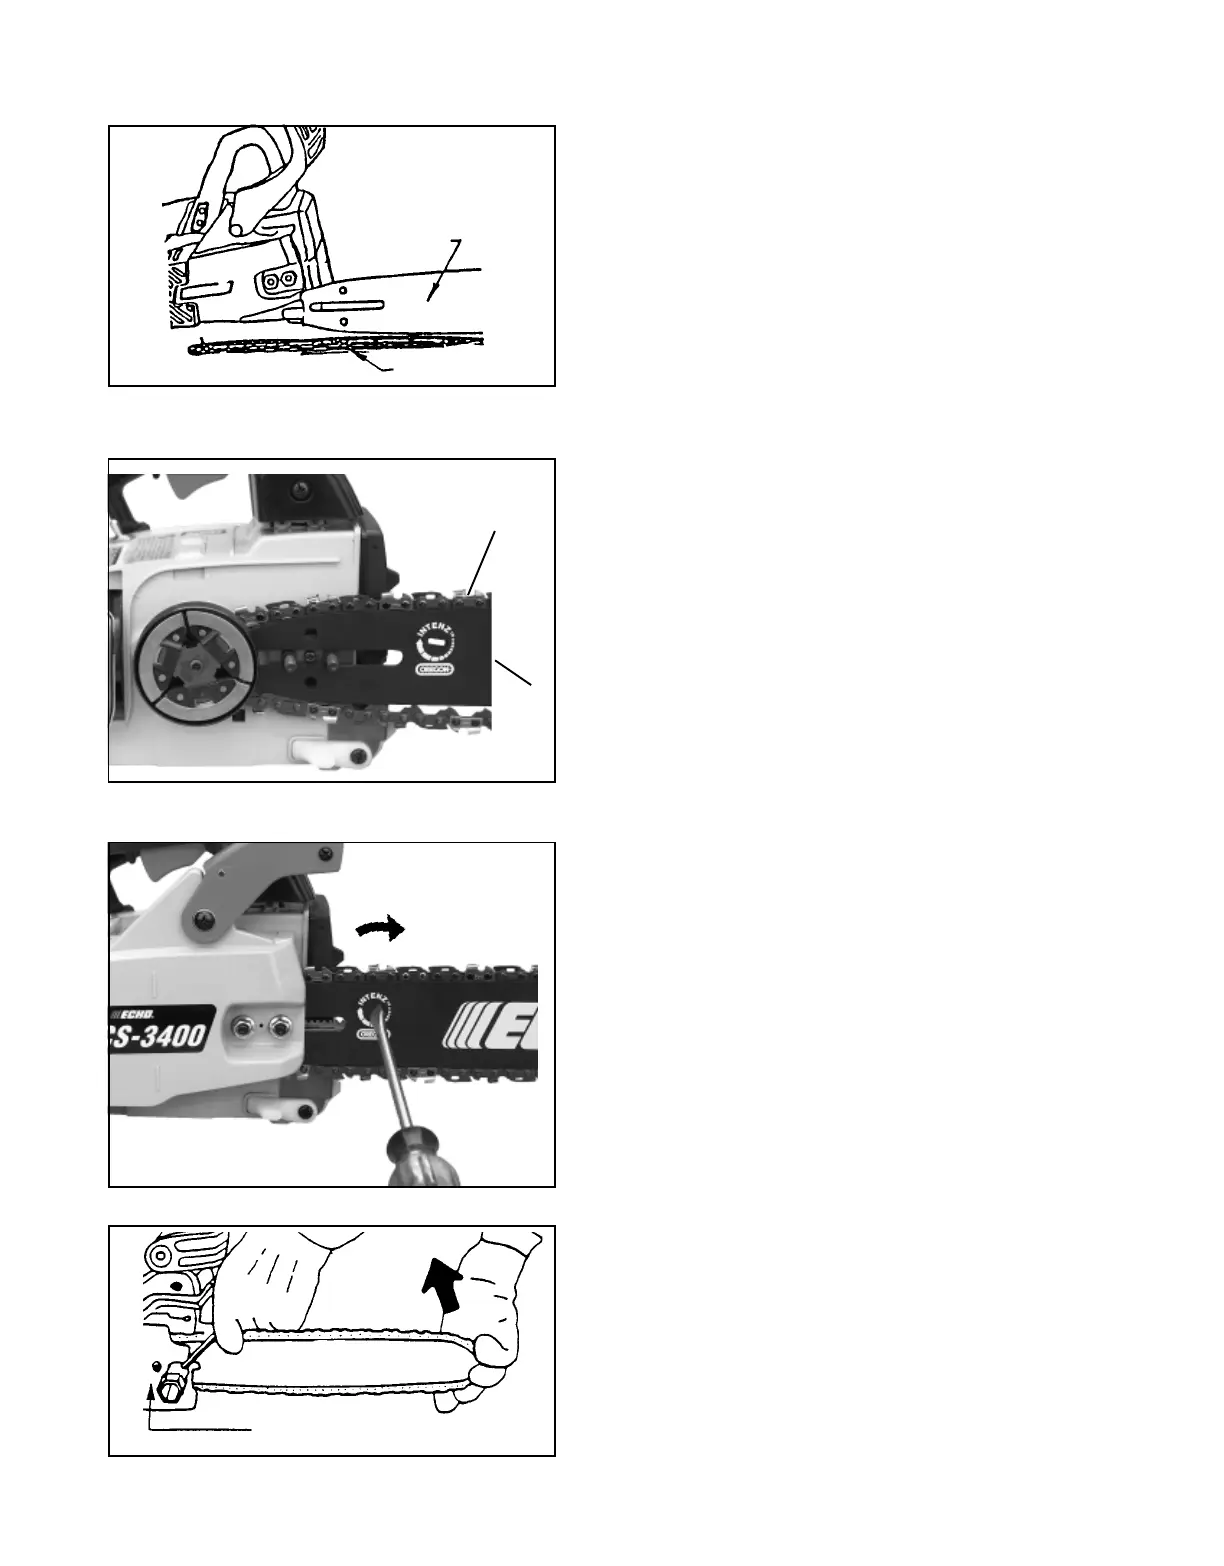
• Pull the saw chain around the guide bar by hand.
Loosen the adjustment, if you feel tight spots.
• Start the engine and run at low speed. Stop and
readjust, if necessary.
A
B
B
A
C
CAUTION
1. All adjustments should be made cold.
2. Always wear gloves when working on chain.
3. Do not operate with a loose chain.
 Loading...