EN
- 13 -
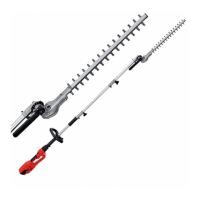
10) into the pole extension (Item 9). Screw
the two tubes together with the assembly nut
(Item 8).
2. (Fig. 6) Insert the pole extension (Item 9)
into the tube with the operating element
(Item 11) and screw the two tubes together
with the assembly nut (Item 8). The cordless
pole hedge trimmer has now been screwed
together (Fig. 1). To dismantle, proceed in
reverse order.
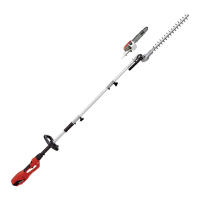
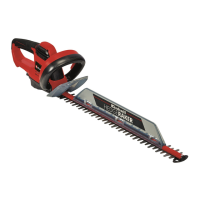
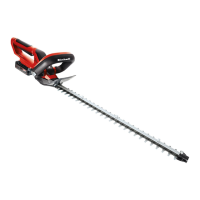
5.4 Assembly without pole extension
Insert the tube with the motor housing/hedge
trimmer (Fig. 2 / Item 10) into to tube with the
operating element (Fig. 2 / Item 11) and screw the
two tubes together with the assembly nut (Item
8). The cordless pole hedge trimmer has now
been screwed together. To dismantle, proceed in
reverse order.
5.5 Using the shoulder strap
Warning! Always use the shoulder strap when
working with the equipment. Switch off the
equipment before you take off the shoulder strap
(risk of injury).
1. Slip the shoulder strap (Fig. 7/Item 5) over
your shoulder.
2. Adjust the length of the shoulder strap so that
the strap attachment is at waist level (Fig. 7).
3. The shoulder strap is equipped with a buckle.
Press the hooks together (Fig. 8) if you need
to put down the equipment quickly.
4. To change the strap position on the
equipment, slacken the wing nut (Fig. 3/Item
15) by turning it counterclockwise and move
the strap attachment to the desired position
on the tube. Then retighten the wing nut (Fig.
3/Item 15) by turning it clockwise.
5.6 Adjusting the angle of the motor housing/
hedge trimmer (Fig. 9)
Press the lock-off button (Item 17) and adjust the
angle of the hedge trimmer head (Item 10) to any
of 7 latching positions.
5.7 Turning the handle (Fig. 10)
Press the two lock-off buttons (Item 4) and turn
the handle (Item 1) 90° to the left or 90° to the
right.
5.8 Fitting the battery (Fig. 11)
Press the push-lock button (18) of the
rechargeable battery and push the battery into
the battery mount provided. When the battery
pack is positioned as in Fig. 11, make sure that
the push-lock button latches in place! To remove
the battery pack, proceed in reverse order.
6. Operation
Please note that the statutory regulations
governing noise abatement may diff er from one
location to another.
Caution! Always use the shoulder strap when
working with the equipment. Always switch off the
equipment before you take off the shoulder strap.
(Otherwise there is a risk of injury.)
Put on the shoulder strap as described above, fi t
the required attachment and adjust the equipment
to suit your needs.
Switching on/off
Switching on (Fig. 13)
•
Hold the equipment firmly by the handle and
grip surface with both hands.
•
Press and hold the safety lock-off (Item 3).
•
Switch on the equipment with the On/Off
switch (Item 2). You can then release the
safety lock-off.
Switching off
Release the On/Off switch (Fig. 13/Item 2).
6.1 Charging the Lithium-Ion battery (not
included)
The corresponding instructions can be found
in the original operating instructions for your
charger.
6.2 Battery capacity indicator (Fig. 12 / item
20)
Press the battery capacity indicator switch (19).
The battery capacity indicator (20) shows the
charge status of the battery using 3 LEDs.
All 3 LEDs lit:
The battery is fully charged.
2 or 1 LED(s) lit:
The battery has an adequate remaining charge.
1 LED fl ashing:
The battery is empty, recharge the battery.
Anl_GC_HH_18_45_Li_T_USA_SPK7.indb 13Anl_GC_HH_18_45_Li_T_USA_SPK7.indb 13 29.11.2022 15:45:4029.11.2022 15:45:40
 Loading...