GB
- 21 -
Keep the noise emissions and vibrations to a
minimum.
•
Only use appliances which are in perfect wor-
king order.
•
Service and clean the appliance regularly.
•
Adapt your working style to suit the appliance.
•
Do not overload the appliance.
•
Have the appliance serviced whenever ne-
cessary.
•
Switch the appliance off when it is not in use.
Caution!
Residual risks
Even if you use this electric power tool in
accordance with instructions, certain resi-
dual risks cannot be rules out. The following
hazards may arise in connection with the
equipment’s construction and layout:
1. Damage to hearing if no suitable ear protec-
tion is used.
2. Health damage caused by hand-arm vib-
rations if the equipment is used over a pro-
longed period or is not properly guided and
maintained.
5. Before starting the equipment
5.1 Assembling the components
Some parts of the equipment come disassem-
bled. For quick and easy assembly, read and
follow the instructions below.
Note! You will need the following additional tools
(not supplied) for assembly, and also for mainte-
nance work:
•
One flat oil drip tray (for changing the oil)
•
One 1 liter measuring jug (oil/petrol resistant)
•
One petrol can
•
One funnel (suitable for the tank’s petrol filler
neck)
•
Household wipes (to wipe up oil/petrol resi-
due; dispose of these at a filling station)
•
One petrol suction pump (plastic, available
from DIY stores)
•
One oil can with hand pump (available from
DIY stores)
•
Engine oil
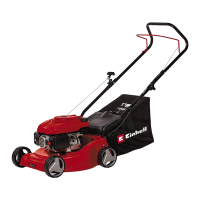
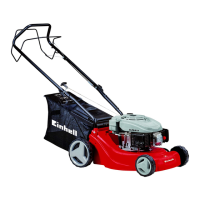
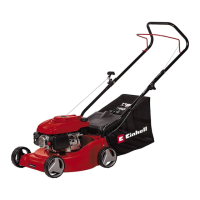
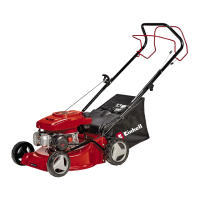
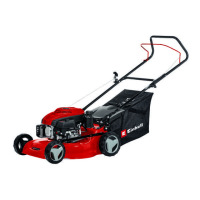
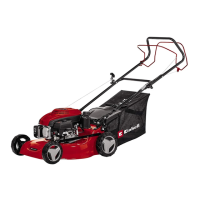
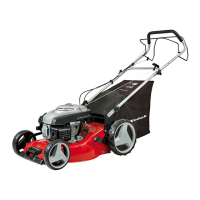
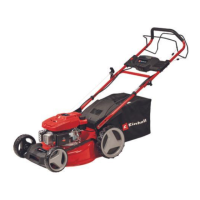
5.1.1 Fitting the push bar
1. Fit the lower and upper push bar (Item. 3) as
shown in Fig. 3a-3b.
2. Insert the grip of the starter cable (Item 9) into
the hook provided for that purpose as shown
in Fig. 3c.
3. Fasten the actuator cables to the push bar
with the supplied cable clips (Item 10) as
shown in Fig. 3d.
4. Lift the ejector fl ap (Item 5) with one hand and
hook in the grass bag (Item 4a) as shown in
Fig. 4.
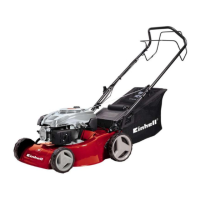
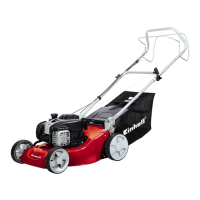
5.1.2 Adjusting the cutting height
Important! Adjust the cutting height only when
the engine is switched off and the spark plug con-
nector has been pulled off .
1. Use a screwdriver to remove the wheel caps
(Fig. 7e).
2. Use the supplied spark plug wrench to remo-
ve the wheels (Fig. 7c/Item 13).
3. The cutting height is not adjusted at a single
central point – instead, each of the 4 wheels
must be adjusted separately. Decide which of
the 3 cutting heights you want to use (Fig. 7a)
Position 1: Low cutting height
Position 2: Medium cutting height (suitable for
normal use)
Position 3: High cutting height
Important: All 4 wheels have to be set to the
same cutting height.
4. Fit the wheels (Item 14) as shown in Fig.
7a-7c using the supplied spark plug wrench
(Item 13).
Important: To fasten the wheels on the right-
hand side you must use screws with a right-hand
thread (Item 16). For the left-hand side you must
use screws with a left-hand thread (Item 17).
5. Fit the wheel caps (Fig. 7d/Item 15)
Anl_GC_PM_40_2_SPK13.indb 21 23.11.2021 12:55:33
 Loading...