INSTALLATION INSTRUCTIONS
SECOND STAGE
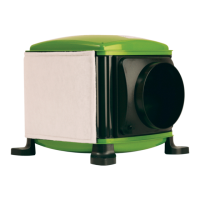
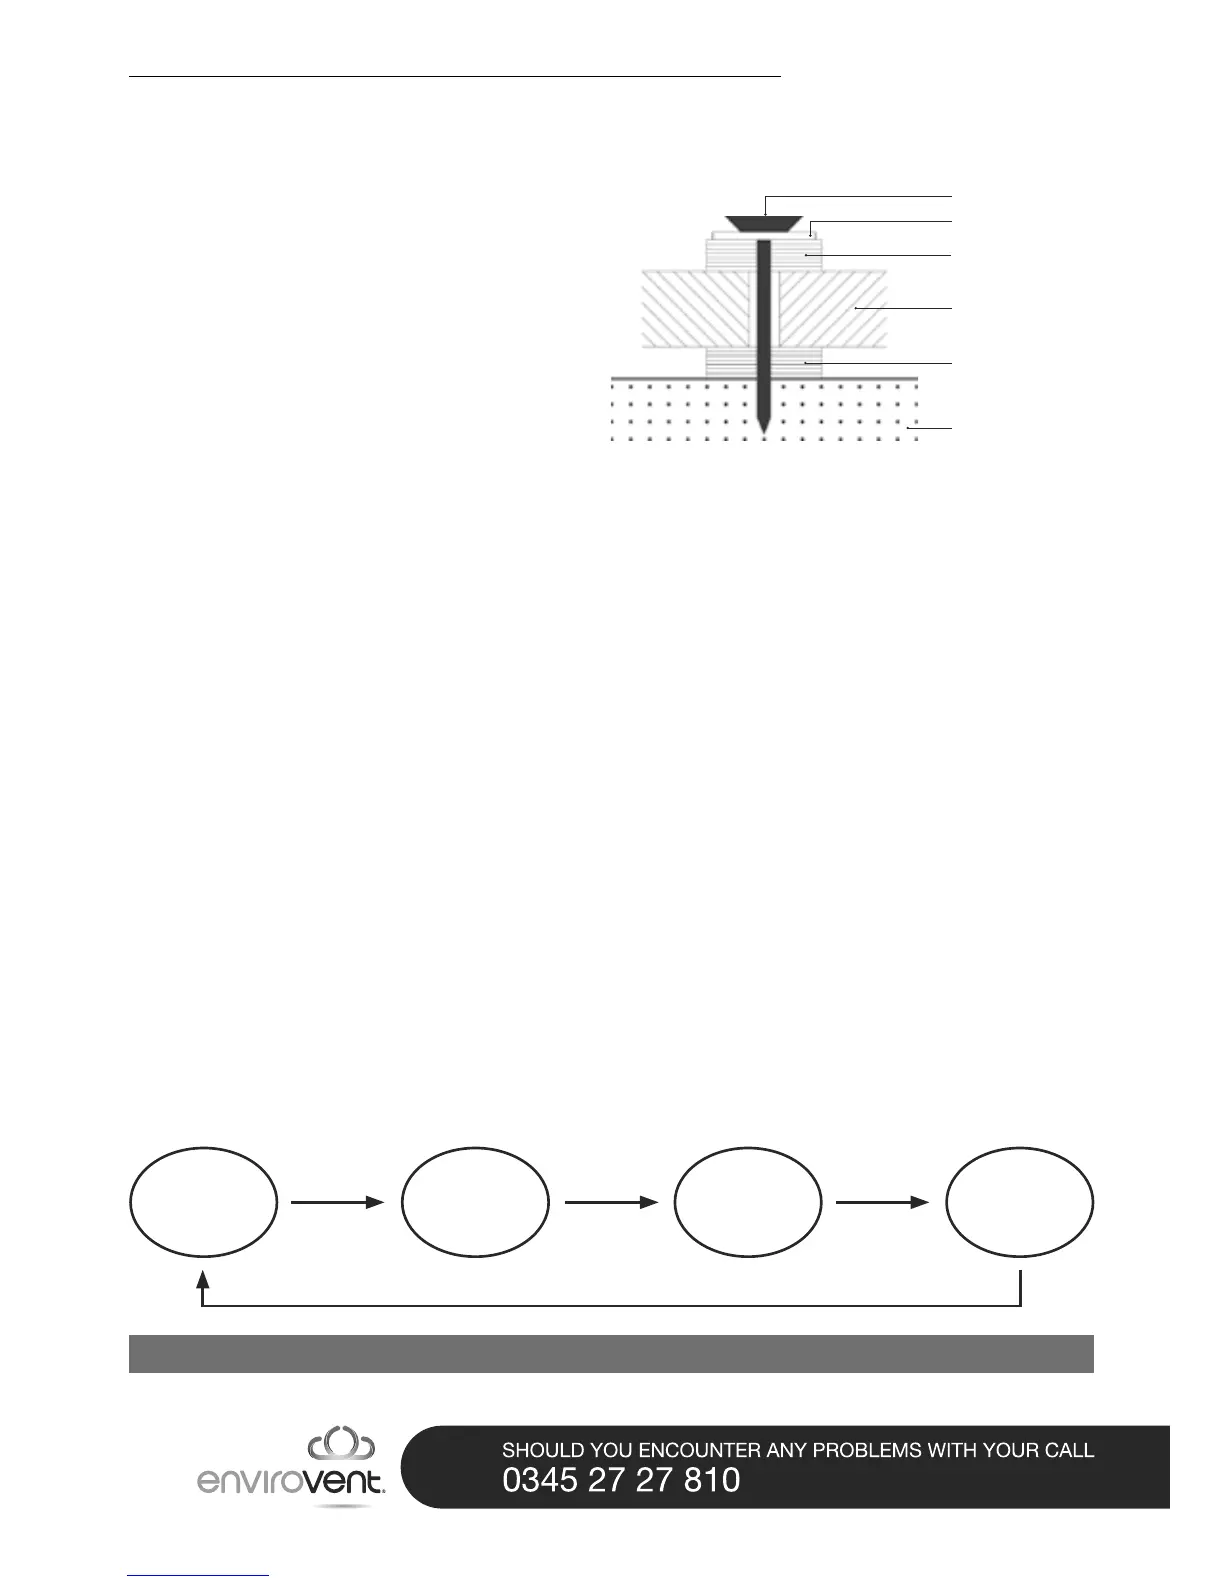
Position the EnviroVent unit on 50mm x 25mm wooden battens (not supplied) laid across the joists or raised platform
if the insulate is thicker than the joists so that the ducting between the unit and the diuser is not impeded. Lightly
screw the drilled battens to the joist through the rubber mounts and metal penny washer provided. Fit the ducting to
the unit spigot using half of the tape provided.
THIRD STAGE
Push ducting through the hole in the ceiling. Return to the hallway and connect the ducting onto the neck of the
diuser using rest of the tape provided. Ensure that the diuser is aligned correctly with the walls of the hallway. Adjust
if necessary. Fix the diuser in position using plasterboard plugs and the screws provided.
FOURTH STAGE
The EnviroVent unit must only be installed by a competent person and should be connected to an electrical supply in
accordance with the current electrical regulations. A disconnection device should be used in the xed wiring.
FIFTH STAGE
Check the unit is working correctly. Set the unit’s controls according to the house size and check that the lters are
securely in place.
SIXTH STAGE
Method of operation: Adjust the settings on the top of the unit by pressing the house setting button. By pressing the
button, the correct ventilation rate for the size of the house can be selected i.e. if the unit is on SMALL / TRICKLE and
the button is pressed, the unit will then switch to MEDIUM. Similarly, if the unit is on BOOST and the button is pressed,
the unit will then switch to SMALL / TRICKLE.
Fig.1 Fixing Instructions
FIRST STAGE
Position a dustsheet beneath the site you have chosen
for cutting the hole for the diuser. Protect your lungs
with a mask. Enter the loft space with the EnviroVent
unit and check there are no obstructions to your chosen
position for the diuser. Using the template supplied
mark the hole for the diuser and cut the 220mm hole
in the plasterboard (see page 7 for additional MIV
®
installation instructions).
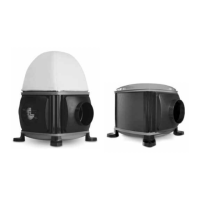
N.B The unit is designed to be taken apart and
re-assembled to overcome restricted access through
small loft hatches.
10 x 3 screw
Penny washer
Foam pad
Foam pad
50mm x 25mm
batten with 20mm
clearance hole
Existing joist
SMALL /
TRICKLE
MEDIUM
PRESS BUTTON PRESS BUTTON
PRESS BUTTON
PRESS BUTTON
LARGE
BOOST
As a rule of thumb, the setting on the EnviroVent Loft Unit should match the number of bedrooms i.e. 1 - 4
05
 Loading...