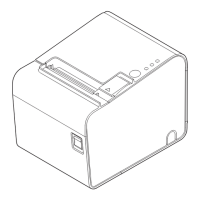
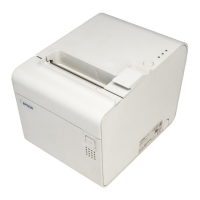
11
2. Break off by hand any of the three portions indicated by circles in illustration to pass the cables
through.
3. Connect the cables to the printer.
4. Attach the cover while passing the cables through the holes.
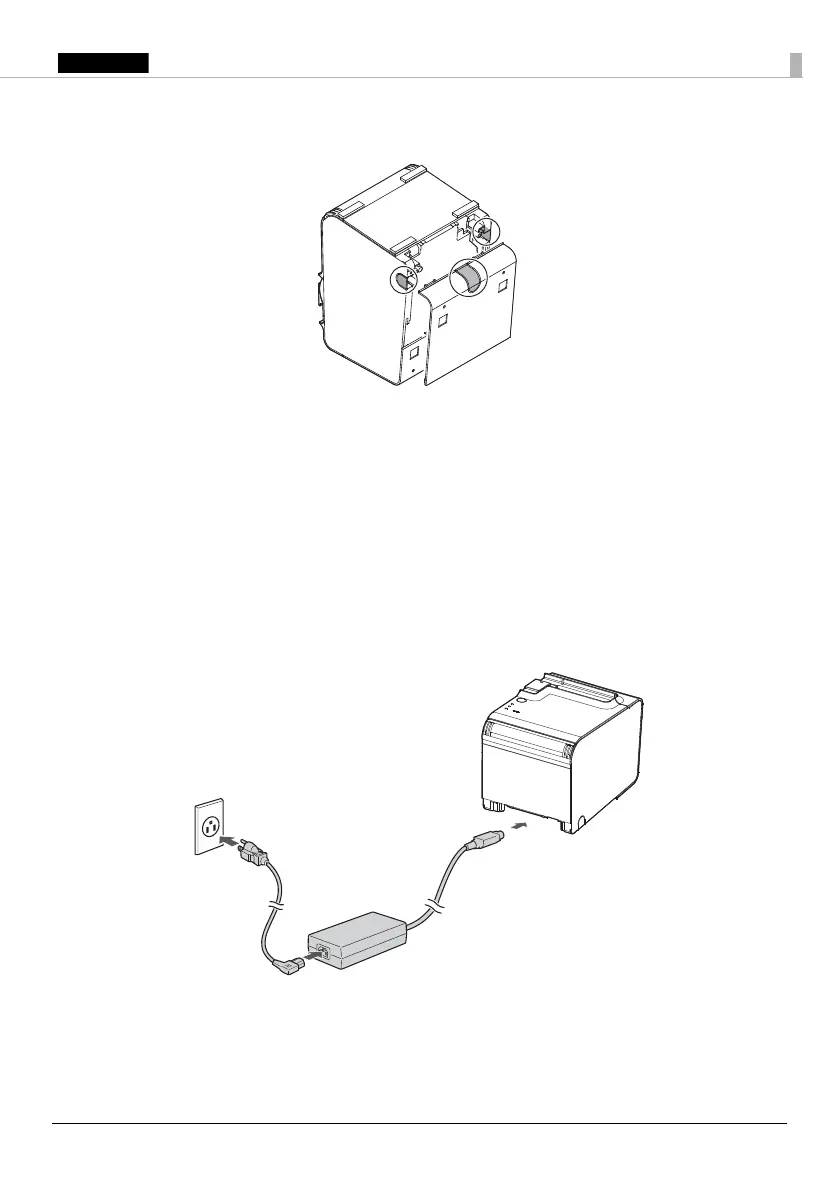
Connecting the AC Adapter
Follow the steps below to connect the AC adapter.
1. Firmly insert the DC connector of the AC adapter all the way into the DC-in connector on the
printer.
2. Firmly insert the connector of the AC cable all the way into the AC inlet on the AC adapter.
3. Firmly insert the plug all the way into the grounded wall outlet.
4. Set the AC adapter so that its label side is facing down.
Connecting External Devices
If you connect external devices, connect each cable to the port/connector on the back of the
printer. (U
“Interface” on page 6)
 Loading...