4
Step 3
(Optional) If the wall is cement, you need to use expansion screws. Insert the expansion
screws into the screw holes according to the drill template. Otherwise, you can skip
the step if the expansion screws are not required.
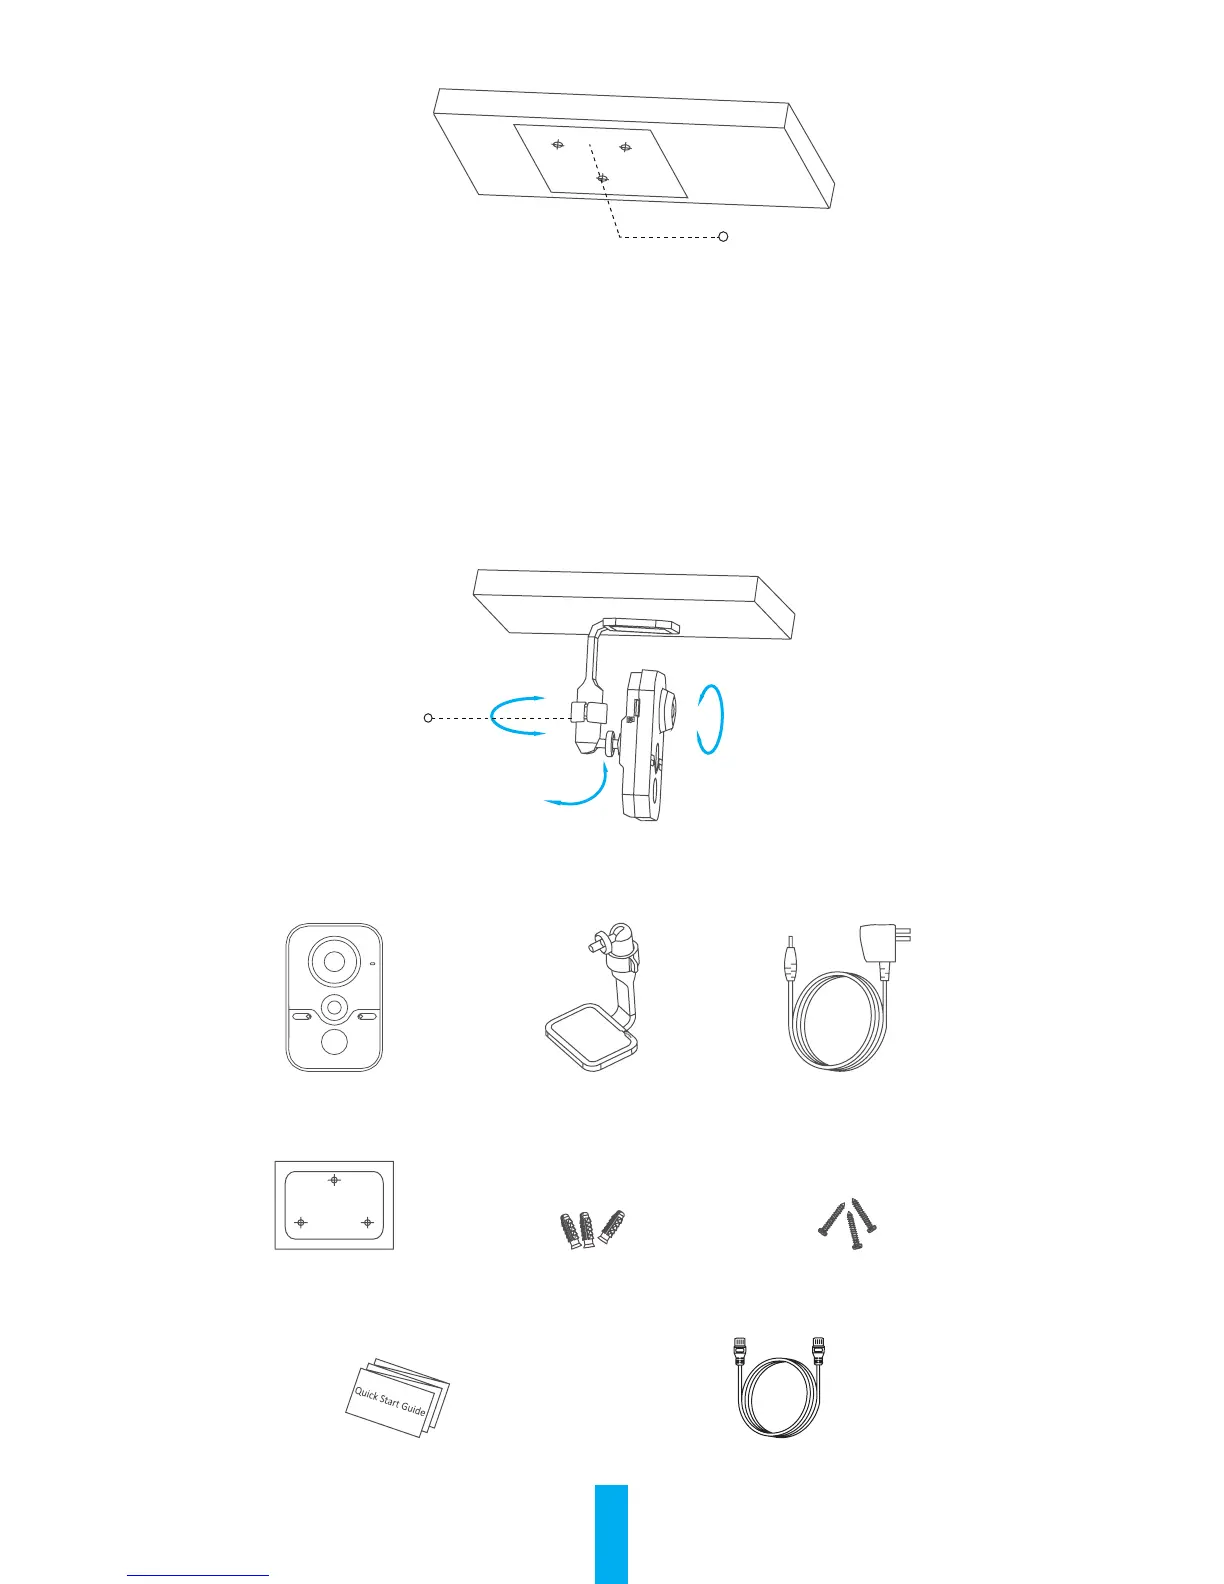
Step 4
Fix the camera base to the installation surface with the supplied screws.
Step 5
Connect the corresponding cables and power on the camera to get the live view.
Step 6
Adjust the camera according to the figure below to get an optimum angle.
- Loosen the 3-axis adjust screw.
- Adjust the pan direction [0° to 360°] and the tilt direction [0° to 90°], and
rotate the camera [0° to 360°] to adjust the lens to the surveillance angle.
- Tighten the screw after completing the adjustment.
Box Content
Cube Camera (x1) 3-axis Adjustment Bracket (x1) Power Adapter (x1)
Drill Template (x1) Expansion Screw (x3) Screw (x3)
Quick Start Guide (x1) Network Cable (x1)
Drill Template
Pan Direction [0° to 360°]
Rotation Direction [0° to 360°]
Tilt Direction [0° to 90°]
3-axis adjust screw
 Loading...