11
If replacing an existing First Alert alarm and the power connector is in good working condition skip to the
“Installing Onelink Safe & Sound” instructions.
Step 1
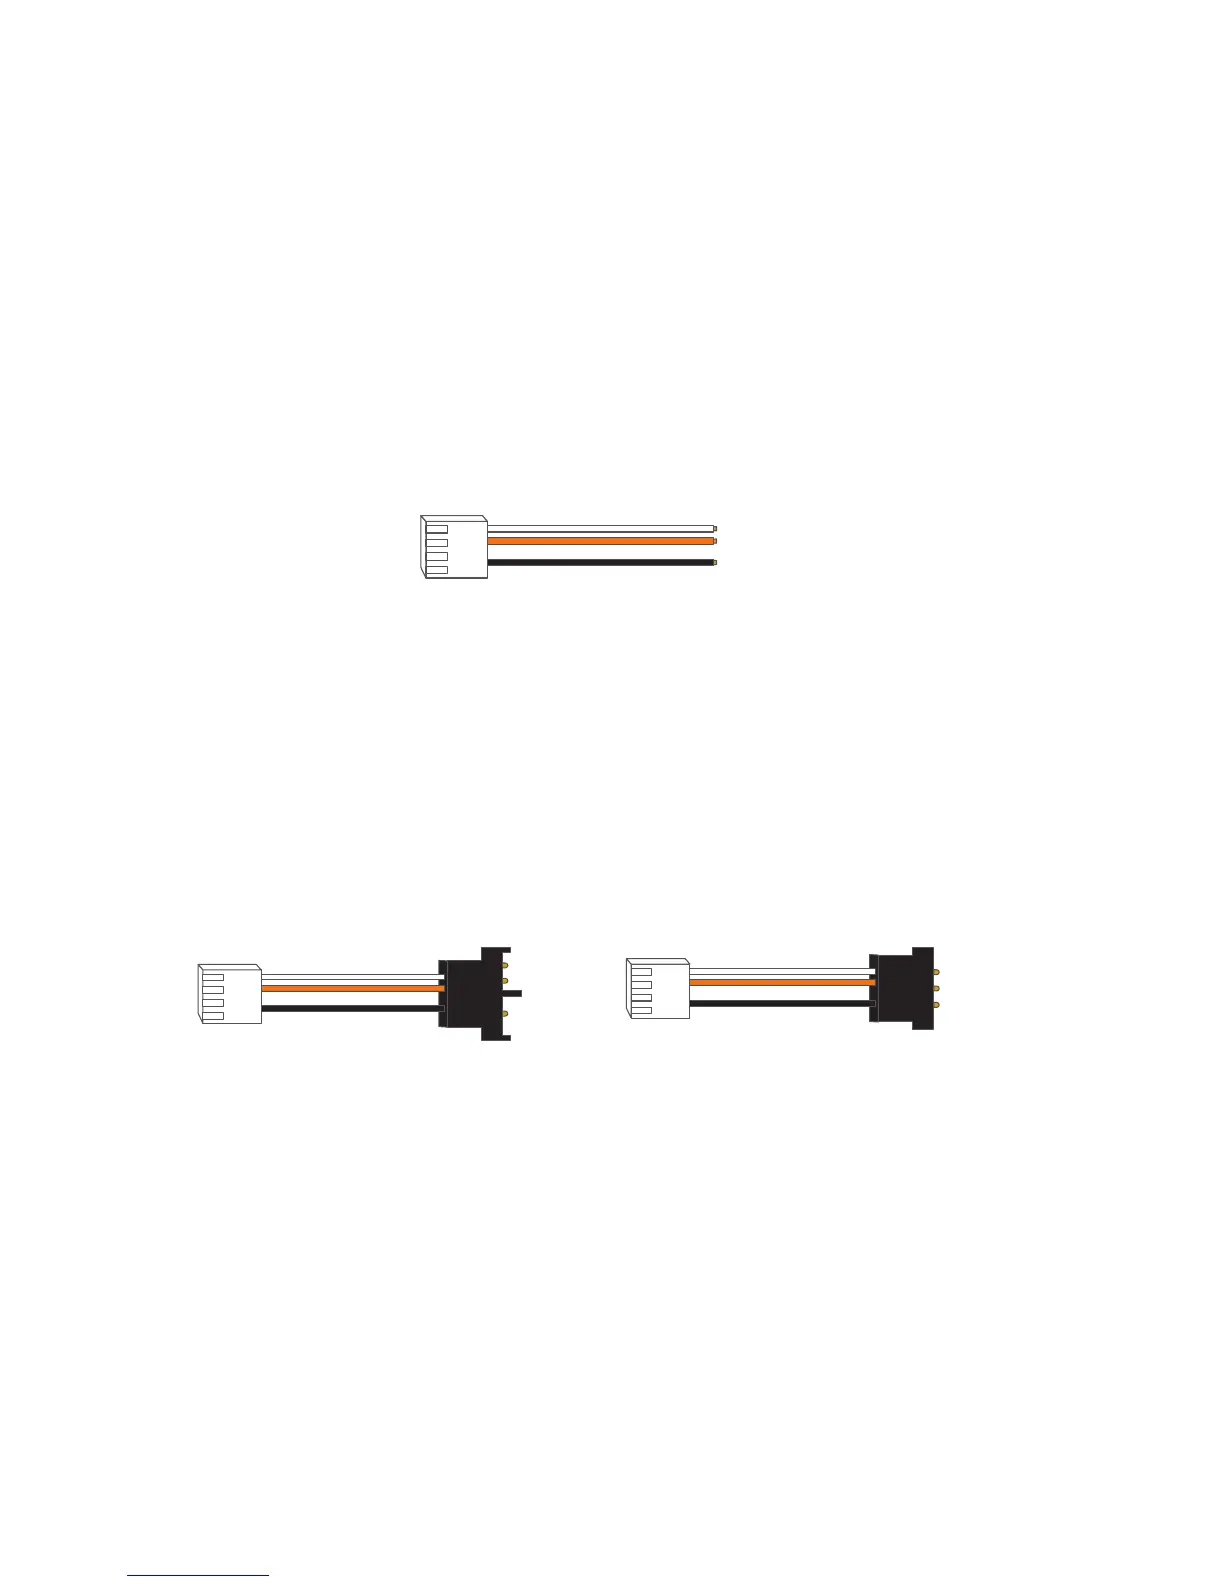
Using wire nuts, connect the white wire on the power connector to the neutral wire in
the junction box, connect the black wire on the power connector to the hot wire in the
junction box, connect the orange wire on the power connector to the interconnect wire
in the junction box, you will need to splice the orange casing o before connecting.
Step 2
Move to the “Installing Onelink Safe & Sound” instructions.
If installing the First Alert power connector:
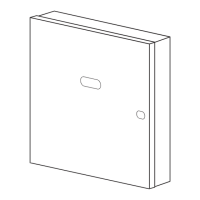
Setup & Installation (Continued)
Installing Power Connectors
Step 1
Connect the black end of the appropriate adapter plug supplied
with the unit to the existing power connector.
NOTE: There may not be enough room for the Adapter Plug and additional wiring to fit in the junction box.
If not, the old power connector must be removed and replaced with the First Alert Power Connector.
Step 2
Move to the “Installing Onelink Safe & Sound” instructions.
If replacing a non-First Alert alarm use one of the other adapters supplied
with the unit:
 Loading...