5
■ Installation
1. Turn your computer on and log on as a user with Administrator privileges.
2. Insert the Setup DVD-ROM into the DVD-ROM drive.
The [ScanSnap Setup] dialog box appears.
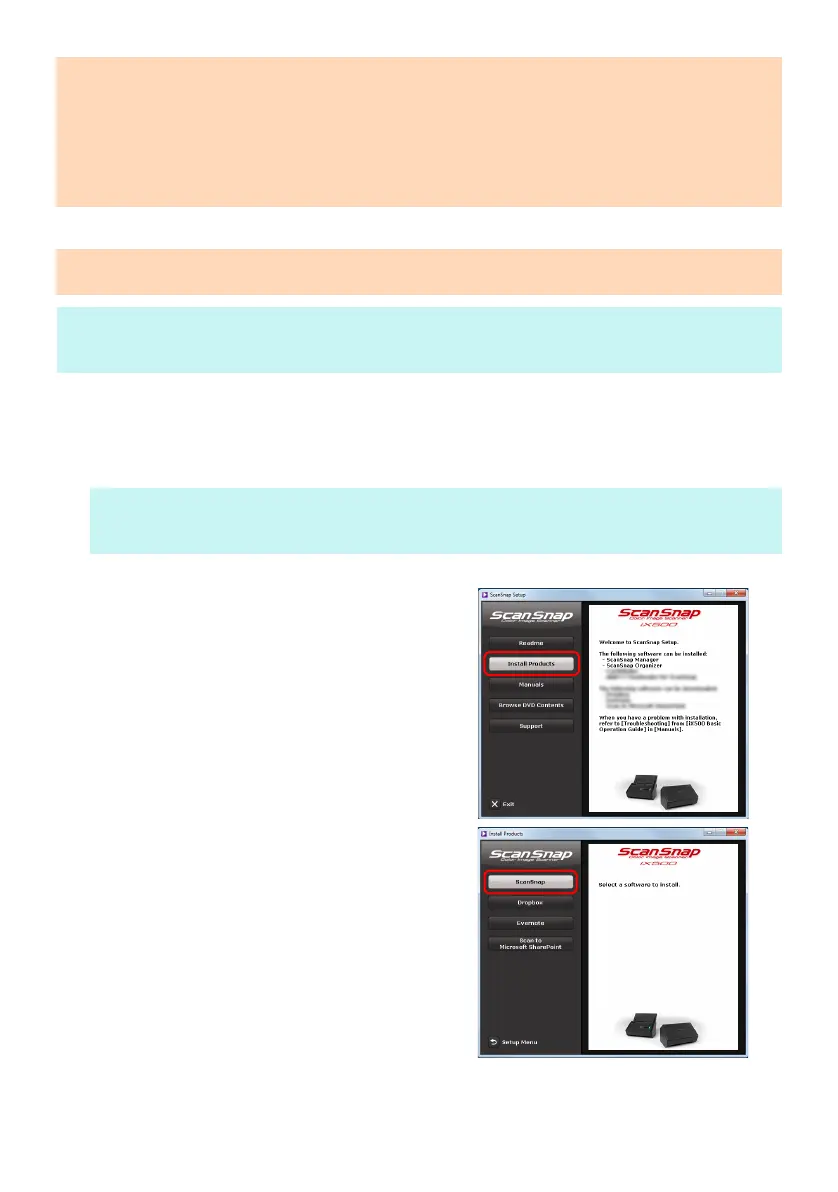
3. Click the [Install Products] button.
The [Install Products] dialog box appears.
4. Click the [ScanSnap] button.
Follow the instructions on the screen to continue with
the installation.
When you proceed with the operation, the [ScanSnap -
Connecting the ScanSnap] dialog box appears.
ATTENTION
If the system requirements above are not satisfied, the ScanSnap may not operate.
Scanning speed will slow down in the following cases:
- The CPU or the memory does not meet the required specifications
- The version of the USB port or the USB hub is USB 1.1
The actual increase in used disk space after installation and the required disk space for installation may
differ from each other depending on your Windows
®
system disk management.
ATTENTION
To install the latest software via the Internet, an Internet connection is required.
HINT
When the installation is complete, a pop-up balloon which indicates that the latest updates are available on the download
server may appear. For details, refer to the ScanSnap Online Update Help.
HINT
If the [ScanSnap Setup] dialog box does not appear, double-click "ScanSnap.exe" in the DVD-ROM via Windows
Explorer.
 Loading...