2
Trim the template and make sure it fits in the selected
location.
3
Orient the template so that the FUSION logo is right-side up
on the template.
4
Secure the template to the selected location.
5
Using a rotary tool or jigsaw, cut the mounting surface along
the inside of the line on the template.
6
Place the speaker in the cutout to test the fit.
7
If necessary, use a file and sandpaper to refine the size of
the cutout.
8
After the speaker fits correctly in the cutout, ensure the
mounting holes on the speaker line up with the pilot holes on
the template.
9
If the mounting holes on the speaker do not line up, mark the
new hole locations.
10
Using an appropriately sized drill bit for the mounting surface
and screw type, drill the holes.
11
Remove the template from the mounting surface.
12
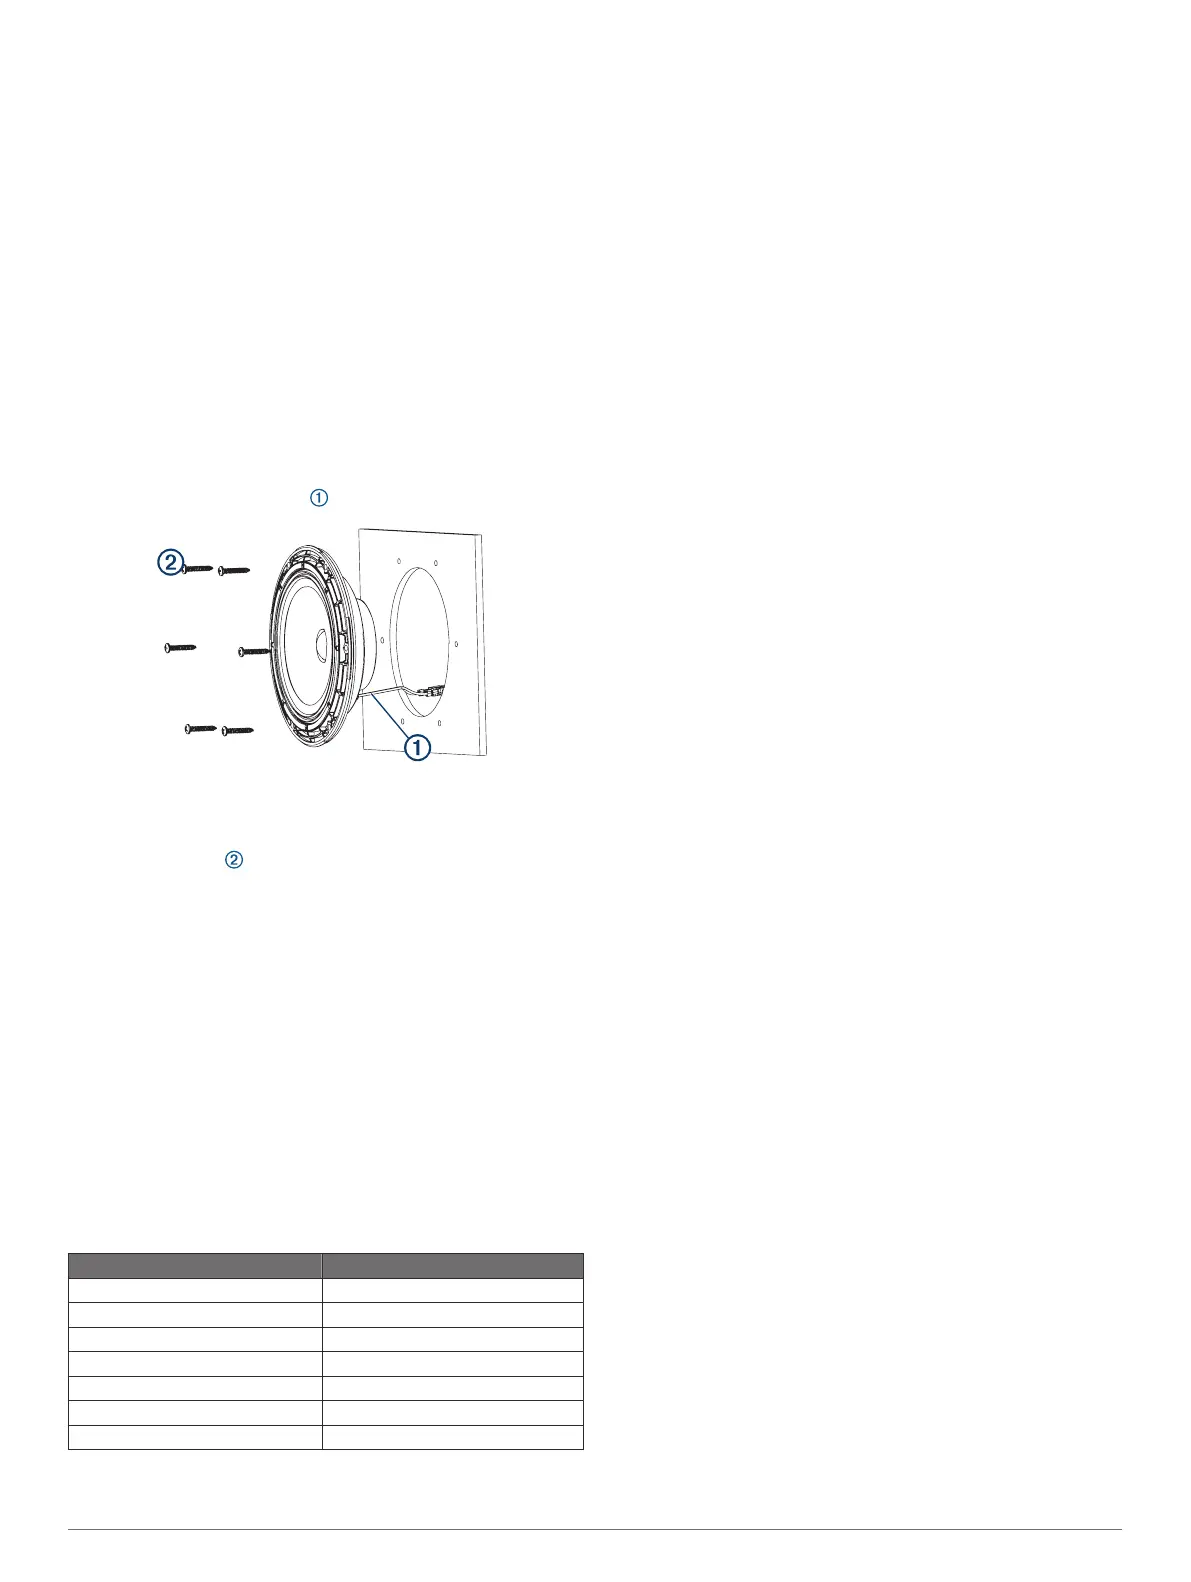
Connect the speaker wires while observing polarity.
13
If necessary, connect the LED wires (LED Wiring, page 2).
14
Place the speaker in the cutout.
15
Secure the speaker to the mounting surface using the
included screws .
NOTE: Do not over tighten the screws, especially if the
mounting surface is not flat.
16
With the speakers mounted, hold the grille with the FUSION
logo at the bottom, or at the 6 o'clock position.
17
Turn the grille counter-clockwise about 30 degrees, so the
FUSION logo is at the 5 o'clock position.
18
Place the grille on the speaker, and twist it clockwise to
secure it.
NOTE: Instead of twisting to install the grille, you can line it
up so the FUSION logo is at the 6 o'clock position and press
to snap it into place.
LED Wiring
Connecting the LED Wires
Before you connect the LED wires, you should determine which
speaker LED color you want to use, and identify the
corresponding speaker wire colors.
Speaker LED Color Speaker Wire Color
Red Red
Green Green
Blue Blue
Yellow Red and green
Magenta Red and blue
Cyan Blue and green
White Red, green, and blue
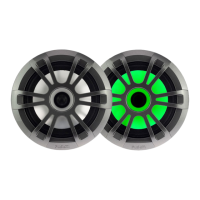
NOTE: This feature is available only on the sports model
speakers.
You can control the color of the speaker LEDs through the
polarity of the LED wires. You can splice the ground wire to
multiple wires on the LED cable to customize the LED color.
The black wire on the LED cable is terminated with a 4 mm
female bullet connector, and the color wires are terminated with
4 mm male bullet connectors. You can connect these to 4 mm
bullet connectors on your wires (not included), or remove the
bullet connectors to connect to the bare wires instead.
1
Connect a positive wire to the black wire on the LED cable.
2
Connect a ground wire to the wire on the LED cable
according to the preferred speaker LED color.
3
Route the positive and negative wires, and connect them to a
power source (Connecting the Sports Model Speakers LED
Wires to Power, page 2).
Connecting the Sports Model Speakers LED Wires to Power
NOTE: This feature is available on only the Sports model
speakers.
You must connect all 12 Vdc wiring to the LEDs to a 3 A fuse at
the power-source end of the cable. You should connect the
positive (+) power wire to a 12 Vdc power source through an
isolator switch or circuit breaker to turn the speaker LEDs on
and off. You can use the same isolator or circuit breaker
controlling the power supply to your stereo, which allows you to
turn the LEDs and the stereo on and off at the same time.
You should use 20 AWG (0.5 mm
2
) or thicker wire to connect
the LEDs to the battery.
1
Route the positive power (+) and negative ground (-) wires
from the speaker to the battery.
2
Connect the negative wire to the negative (-) battery terminal.
3
Connect the positive wire to the positive (+) terminal through
a 3 A fuse and isolator switch or circuit breaker.
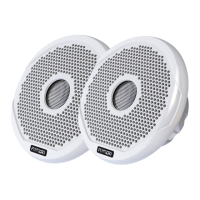
Attaching the Grille
1
With the speakers mounted, hold the grille with the FUSION
logo at the bottom, or at the 6 o'clock position.
2
Turn the grille counter-clockwise about 10 degrees, so the
FUSION logo is at the 5 o'clock position.
3
Place the grille on the speaker, and twist it clockwise to
secure it.
NOTE: You can press on the grille to snap it into place
instead of twisting it.
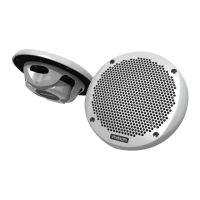
Speaker Information
Registering Your EL Series
Help us better support you by completing our online registration
today.
• Go to www.fusionentertainment.com.
• Keep the original sales receipt, or a photocopy, in a safe
place.
2 EL Series Installation Instructions
 Loading...