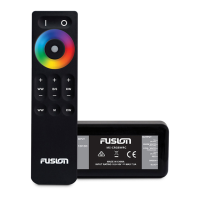
Wireless RGB LED Remote Control
Instructions
Important Safety Information
WARNING
Failure to follow these warnings and cautions could result in
personal injury, damage to the vessel, or poor product
performance.
See the Important Safety and Product Information guide in the
stereo box for product warnings and other important information.
This device must be installed according to these instructions.
Disconnect the vessel's power supply before beginning to install
this product.
CAUTION
Always wear safety goggles, ear protection, and a dust mask
when drilling, cutting, or sanding.
NOTICE
When drilling or cutting, always check what is on the opposite
side of the surface.
You must read all installation instructions before beginning the
installation. If you experience difficulty during the installation,
contact FUSION
®
Product Support.
What's in the Box?
• Wireless RGB LED remote control
• Remote control receiver
• Remote control cradle
• 7.5 A in-line fuse
• Important safety and product information document
Supplies and Tools Needed
• 2-conductor 22 AWG (0.33 mm
2
) wire to connect the remote
control receiver to the power source
• 4-conductor 22 AWG (0.33 mm
2
) wire (or equivalent
combination of 2-conductor wire) to connect the receiver to
the RGB LED speakers
• Cable ties or adhesive for mounting the receiver
• 4 gauge (3 mm) countersunk stainless-steel screws for
mounting the remote cradle (optional)
• 3 mm flat screwdriver
• Wire cutters
• Drill and drill bits for mounting the remote cradle (optional)
Mounting and Connection Considerations
When selecting a location for the remote control receiver and
making the wiring connections, observe these considerations.
• The receiver housing is not weather proof, and the receiver
must be installed in a location that is not exposed to the
elements.
• You can connect a single receiver to up to 4 RGB LED
speakers (2 pair). You must use an additional receiver (sold
separately) to connect to additional LED speakers.
• You can pair a remote control with up to three receivers.
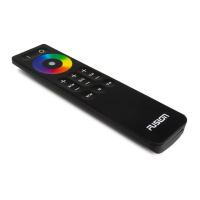
Connecting the Remote Control Receiver
You can connect up to 4 (2 pair) of RGB LED speakers to one
remote control receiver.
1
Route a power wire (not included) from a 12 Vdc power
source
À
to the location of the receiver
Á
.
2
Install the included 7.5 A fuse
Â
on the power wire.
3
Route 4-conductor wire
Ã
(not included) from the receiver to
the speakers you want to control, joining the wire where
needed
Ä
to connect up to 4 speakers.
4
Connect the 4-conductor wire to the RGB connectors on the
speakers according to the installation instructions provided
with the speakers.
5
Loosen the wire terminal screws on the bottom of the
receiver using a 3 mm flat screwdriver.
6
Connect the power and RGB speaker wires to the wire
terminals on the sides of the receiver.
Letter on receiver label Wire color or function
V+ (left side) 12 Vdc positive (+)
V- (left side) 12 Vdc negative (-)
BLUE RGB blue wire
GREEN RGB green wire
RED RGB red wire
V+ (right side) RGB 12 Vdc positive (+) (common) wire
7
Tighten the wire terminal screws on the bottom of the
receiver.
8
Secure the receiver to the mounting location using cable ties
or adhesive (not included).
Installing the Remote Control Cradle
You can install the included remote cradle to store the remote
when not in use. Mounting hardware for the cradle is not
included.
NOTICE
Because the remote control is not weatherproof, you must install
the cradle in a location that is not exposed to the elements.
1
Using the cradle as a template, mark the two pilot holes.
2
Remove the cradle from the mounting surface and drill the
pilot holes.
NOTICE
Do not drill through the cradle when drilling the pilot holes.
This may damage the cradle.
3
Secure the cradle to the mounting surface using two 4 gauge
(3 mm) countersunk stainless-steel screws.
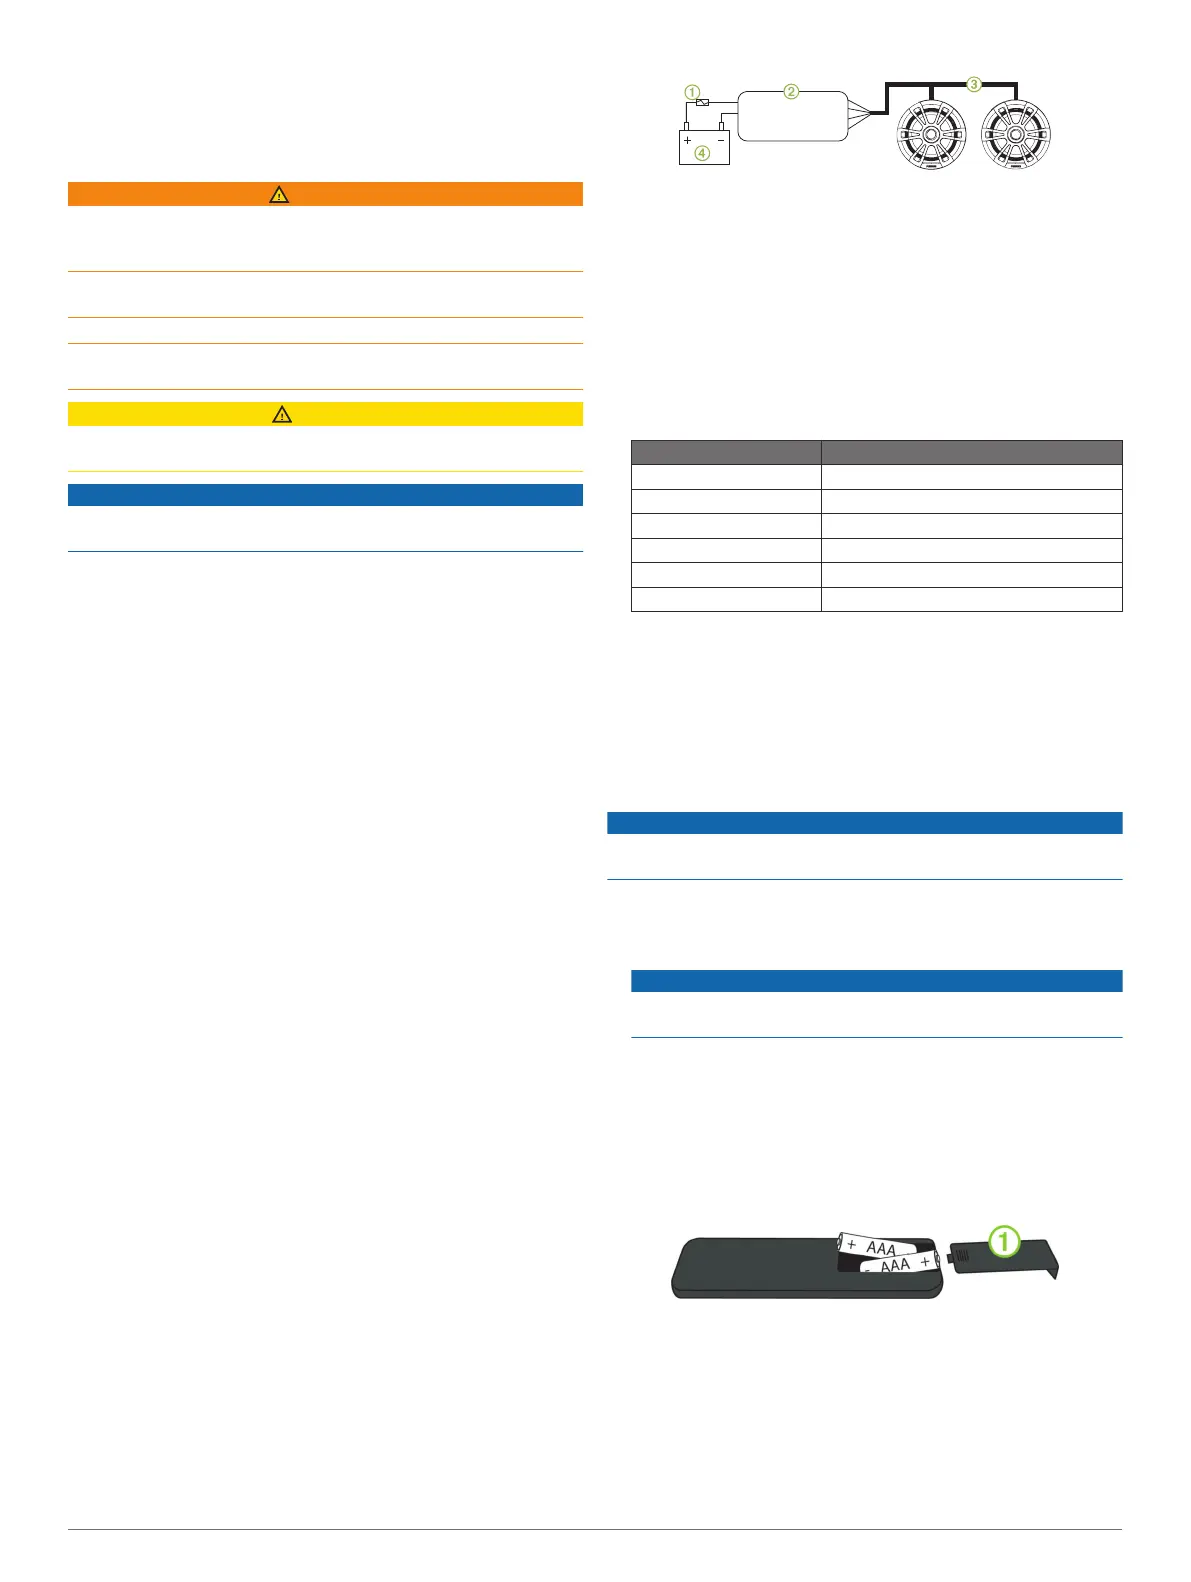
Installing the Batteries
You must install AAA alkaline batteries (not included) in the
remote control.
1
Slide the battery door
À
to the back of the remote, and pull
up to open it.
2
Insert two AAA batteries, observing polarity.
3
Slide the battery door back onto the remote to close it.
2 Installation Instructions
 Loading...