13
Installation Instructions
ICEMAKER INSTALLATION INSTRUCTIONS
BEFORE YOU BEGIN
Read each step thoroughly before proceeding.
CAUTION – Unplug the
refrigerator. To eliminate the danger
RI HOHFWULF VKRFN GXULQJ LQVWDOODWLRQ
you must unplug the refrigerator from
its electrical outlet.
INSTALL THE ICEMAKER FILL CUP
Install the LFHPDNHUILOOFXS (side-mounted) (15) into the
icemaker as shown.
3
PLUG IN THE ICEMAKER
Holding the icemaker in place, insert theLFHPDNHUSRZHU
cord plug into the socket, making sure that the prongs
and holes are matched. Press the plug firmly into the
socket. Lock the plug in place by clipping the restraints
onto each side of the plug. Make sure the restraints click
into place. Make sure the power cord is still in the hook on
the back of the icemaker.
4
15
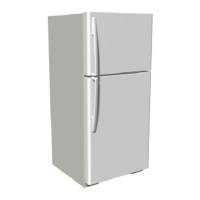
Flat blade and Phillips
screwdrivers
Pliers
TOOLS YOU WILL NEED
6KDUSNQLIH
1/4” Nutdriver or adjustable wrench
5HPRYH
plug
MOUNT THE ICEMAKER
/LIW WKH LFHPDNHU VR the
fill tube extension (8) fits
in the fill cup opening (C).
Hang the icemaker on the
two mounting screws (A).
0DNHVXUH
7KH SRZHU FRUG LV VWLOO
ILUPO\LQWKHVRFNHW
7KH fill tube extension (8) is still in the fill cup opening.
(Check the rear of the refrigerator to make sure the
fill tube has not been pushed out of the back of the
refrigerator.)
7KH LFHPDNHU PRXQWLQJ VFUHZV DUH ORFDWHG LQ WKH
uppermost position of the mounting slots.
7KHLFHPDNHULVOHYHO
THEN TIGHTEN THE ICEMAKER MOUNTING SCREWS
SECURELY.
5
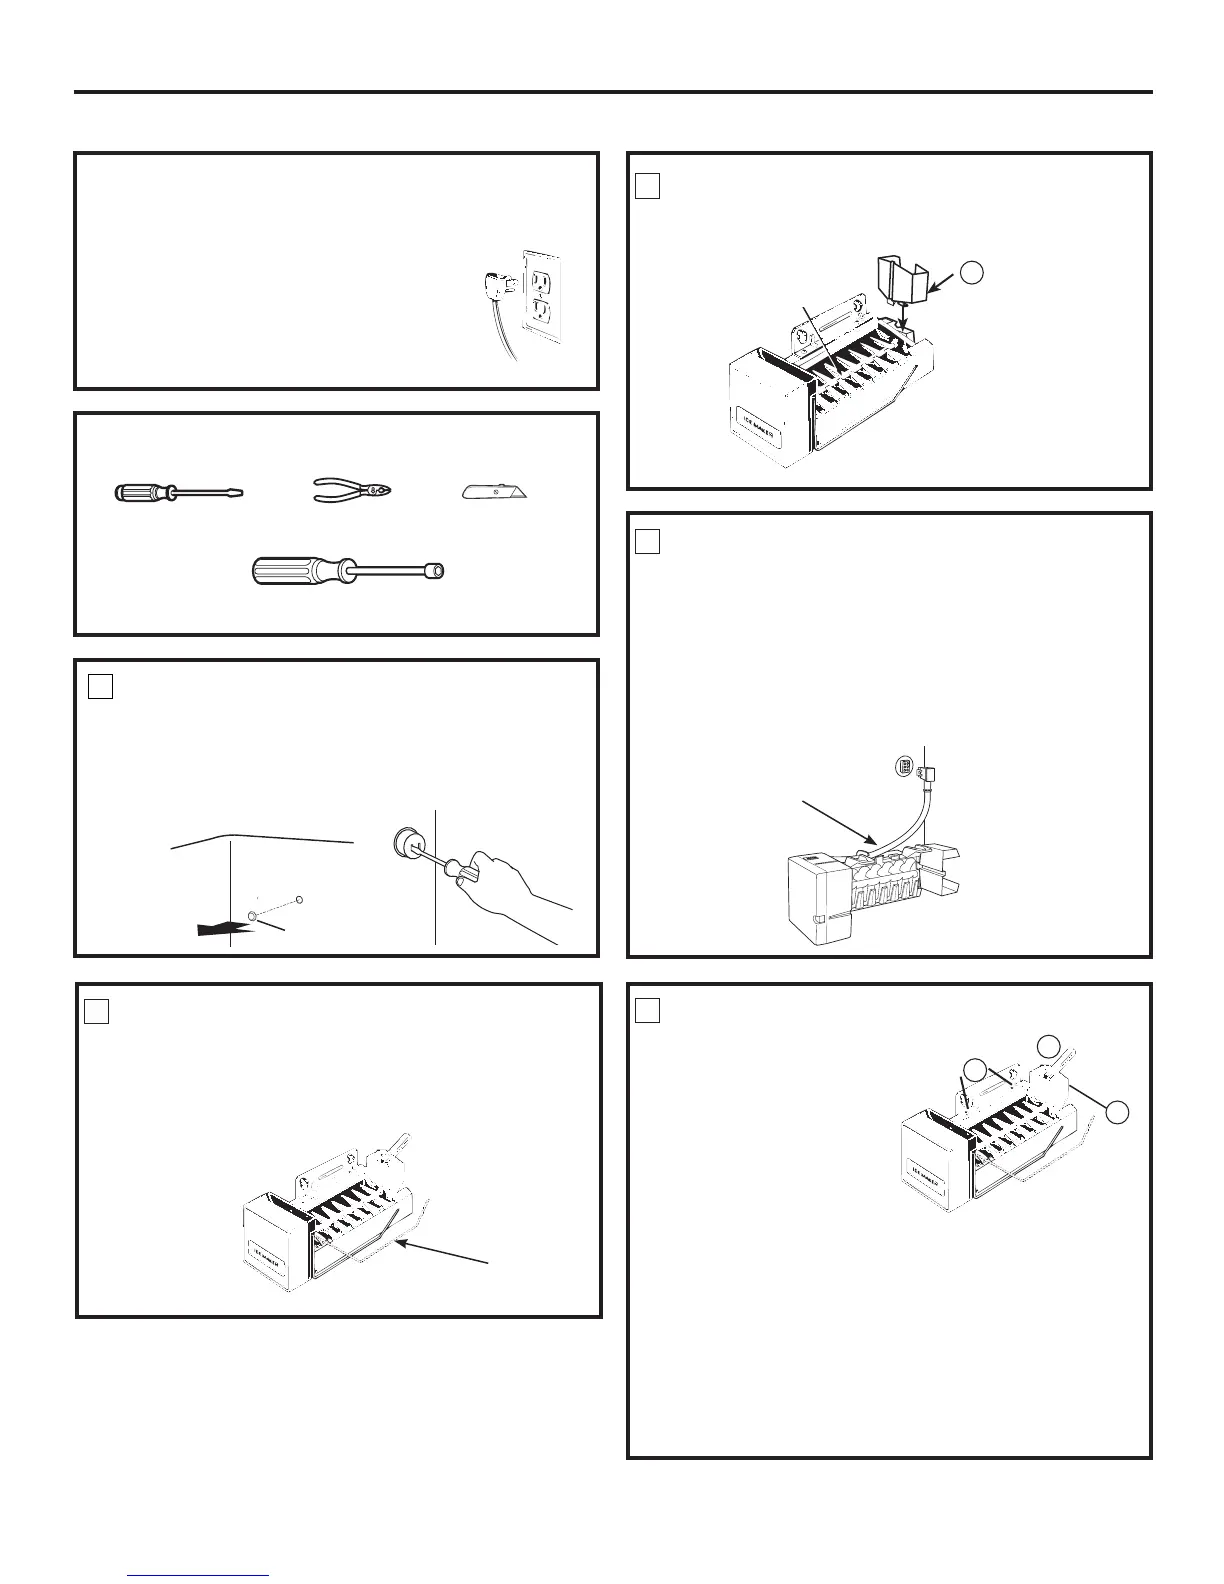
PREPARE FOR INSTALLATION
5HPRYHDQGGLVFDUGWKHODUJHZKLWHSOXJIURPWKH
rear freezer wall.
5HPRYHWKHRXWOHWFRYHUZLWKDIODWEODGHVFUHZGULYHU
MOVE FEELER ARM TO THE STOP
POSITION
Move the feeler arm to the STOP (up) position. Leave the
feeler arm in the STOP position until the refrigerator is
connected to the water supply to prevent premature
operation.
2
Feeler
Arm
+RRN
(Appearance may vary)
1
8
C
A
 Loading...