3
Installation Instructions
Pre- Installation Checklist
Inspect Installation Location
Refer to alternate construction section for
the following non standard installations.
a. Counter opening extends to the wall:
Maintop Filler (supplied with the range.)
(See Page 12 section AA for Installation
Instructions) or
Backguard (Kit JXS36XX or JXS39SS).
See page 12.
b. Counter height greater than 36 3/4”:
Lower Trim Slide-In (Kit JXS56XX).
c. One side is not enclosed by a cabinet:
Bodyside (Kit JXS76XX).
d. Island Installation:
To provide an optimum installation, the
top surface of the counter top must be
level and flat (lie on the same plane)
around the 3 sides that are adjacent to
range cooktop. Proper adjustments to
make the top flat should be made or
gaps between the countertop and range
cook top may occur. Forcing the cook
top to fit may cause excessive gaps and
could break glass and void warranty.
Inspect cutout dimensions and location
of receptacle to be sure it fits within
layout location.(See page 5.)
Do not remove the protective channel
from the sides of the glass cooktop, if
applicable, until later in installation.
Move Range Indoors In front
of Cabinet Opening
(Do not use hand trucks when moving the
unpackaged range.)
Protect the kitchen floor! Flatten and
place a piece of the shipping carton in front
of the installation location to protect the
flooring.
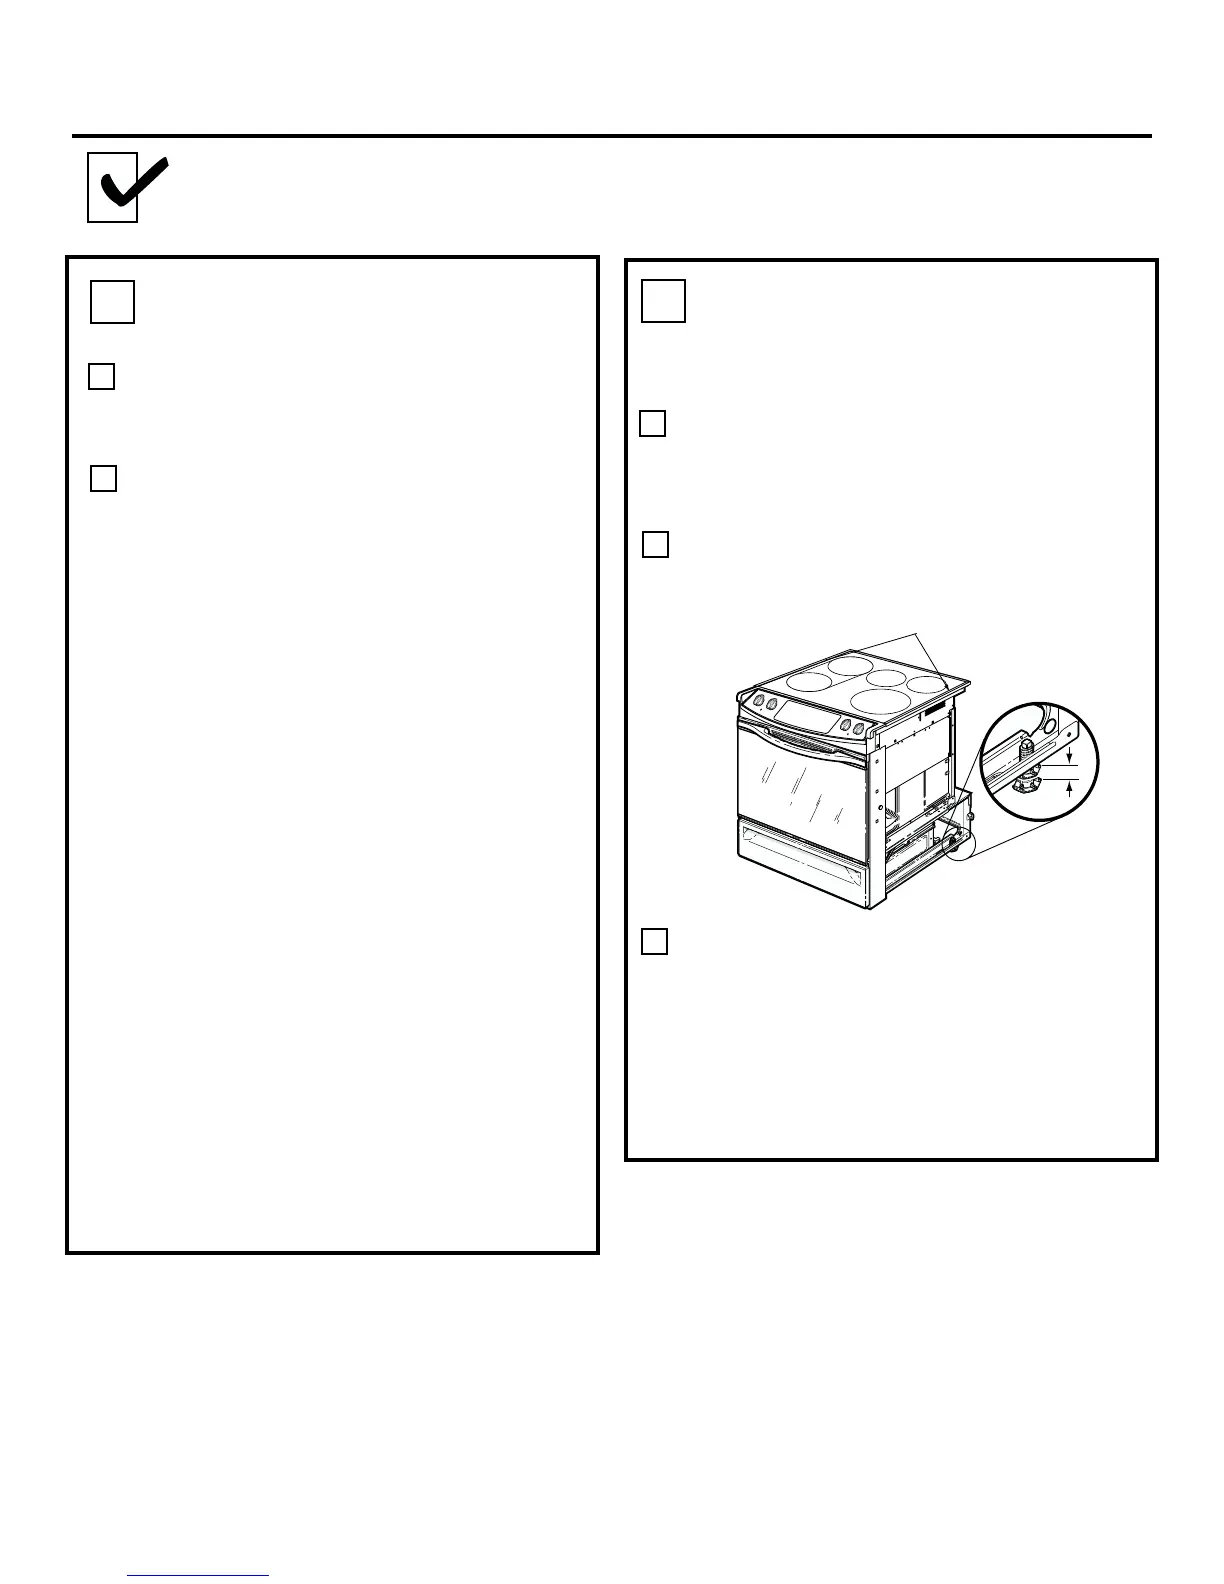
Carefully, tilt the range to access the range
leveling legs. Use an adjustable wrench to
screw leveling legs out so that glass
support flanges clear top of counter top.
To Procure Kits:
a. Visit GE Web Site, see page 1.
b. Call GE Answer Center, see page 1.
c. Contact Dealer
Protective Channel
Adjust
 Loading...