3
Record the Model and Serial numbers in the space provided below
for future reference.
MODEL #
SERIAL #
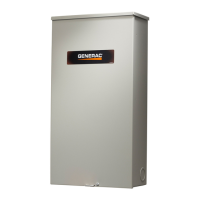
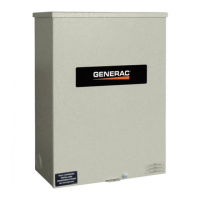
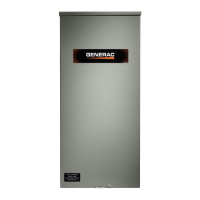
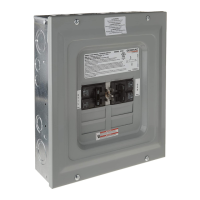
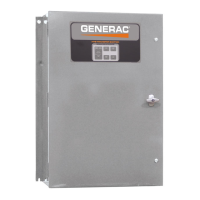
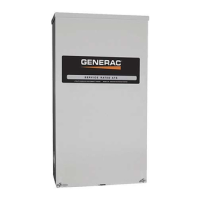
1.4 TRANSFER SWITCH
ENCLOSURE
The standard switch enclosure is a UL listed type 3R. UL type 3R
enclosures primarily provide a degree of protection against falling
rain and sleet and is undamaged by the formation of ice on the
enclosure.
1.5 SAFE USE OF TRANSFER
SWITCH
Before installing, operating or servicing this equipment, read the
SAFETY RULES (inside front cover) carefully. Comply strictly
with all SAFETY RULES to prevent accidents and/or damage to
the equipment. The manufacturer recommends that a copy of the
SAFETY RULES are posted near the transfer switch. Also, be sure
to read all instructions and information found on tags, labels and
decals affixed to the equipment.
Three publications that outline the safe use of transfer switches
are the following:
NFPA 70; National Electrical Code•
NFPA 70E; Standard for Electrical Safety in the Workplace•
UL 1008, STANDARD FOR SAFETY-AUTOMATIC TRANSFER •
SWITCHES
NOTE:
It is essential to use the latest version of any standard to ensure
correct and current information.
2.1 INTRODUCTION TO
INSTALLATION
This equipment has been wired and tested at the factory. Installing
the switch includes the following procedures:
Mounting the enclosure.•
Connecting power source leads and load leads.•
Connecting the generator sensing and transfer relay circuits.•
Connecting any auxiliary contact (if needed)•
Testing functions.•
2.2 UNPACKING
Carefully unpack the transfer switch. Inspect closely for any dam-
age that might have occurred during shipment. The purchaser must
file with the carrier any claims for loss or damage incurred while in
transit.
Check that all packing material is completely removed from the
switch prior to installation.
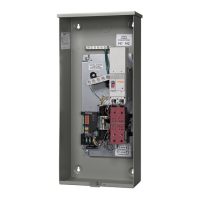
2.3 MOUNTING
Mounting dimensions for the transfer switch enclosure are in this
manual. Enclosures are typically wall-mounted. See “Installation
Diagram”.
Handle transfer switches carefully when install-
ing. Do not drop the switch. Protect the switch
against impact at all times, and against con-
struction grit and metal chips. Never install a
transfer switch that has been damaged.
This transfer switch is mounted in a UL type 3R enclosure. It can
be mounted outside or inside and should be based on the layout
of installation, convenience and proximity to the utility supply and
load center.
Install the transfer switch as close as possible to the electrical
loads that are to be connected to it. Mount the switch vertically to
a rigid supporting structure. To prevent switch distortion, level all
mounting points. If necessary, use washers behind mounting holes
to level the unit.
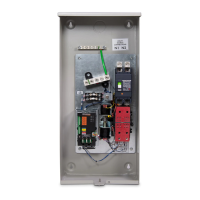
2.4 CONNECTING POWER SOURCE
AND LOAD LINES
DANGER
Make sure to turn OFF both the UTILITY
(NORMAL) and GENERATOR ( STANDBY) power
supplies before trying to connect power source
and load lines to the transfer switch. Supply
voltages are extremely high and dangerous.
Contact with such high voltage power supply
lines causes extremely hazardous, possibly
lethal, electrical shock.
Wiring diagrams and electrical schematics are provided in this
manual.
NOTE:
All installations must comply with national, state and local
codes. It is the responsibility of the installer to perform an
installation that will pass the final electrical inspection.
The utility supply connection is made at the UTILITY SERVICE DIS-
CONNECT circuit breaker terminals. The generator and customer
supply load connections are made at the transfer switch mecha-
nism, inside the switch enclosure.
Conductor sizes must be adequate to handle the maximum cur-
rent to which they will be subjected, based on the 75°C column of
tables, charts, etc. used to size conductors. The installation must
comply fully with all applicable codes, standards and regulations.
All power cables must enter the enclosure through the knockouts
provided. If not using the knockouts, conduit entry into the enclo-
sure must be at or below knockouts to maintain the Type 3R rating.
Conduits should be arranged to provide separation between the
Utility and Generator supply conductors inside the enclosure.
Section 2 — Installation
RTS “HS” Type Transfer Switch
 Loading...