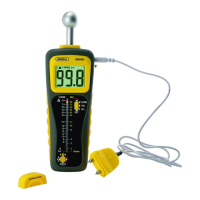
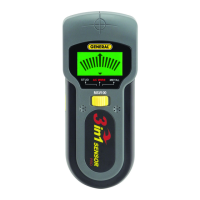
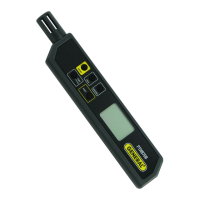
To scan a material for an area of peak wetness in either measurement
mode (%WME or REL), first make sure that the beeper is enabled (indicated by
the icon on the top line of the LCD). If the icon is present, scan the
material while paying attention to the beeper’s frequency. The faster the beeper
beeps, the wetter an area is. Near the high end of the meter’s measurement
range, the beeping sounds almost constant.
If the beeper has been disabled, to re-enable it you must power off the meter
and then change the beeper’s default setting using the Advanced Setup
instructions in the next section.
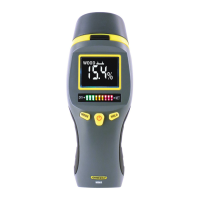
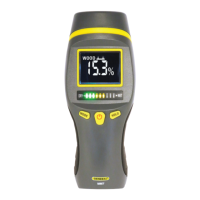
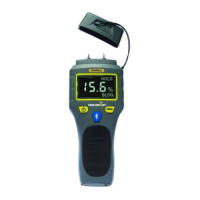
To hold a measurement, press the button briefly. The display will “freeze”
with the held value, along with a (lock) icon at upper right. To unlock the
display, press the button briefly again.
ADVANCED SETUP INSTRUCTIONS
In Setup mode, you can change the default settings for the meter’s beeper and
backlight and auto power off and calibration check functions.
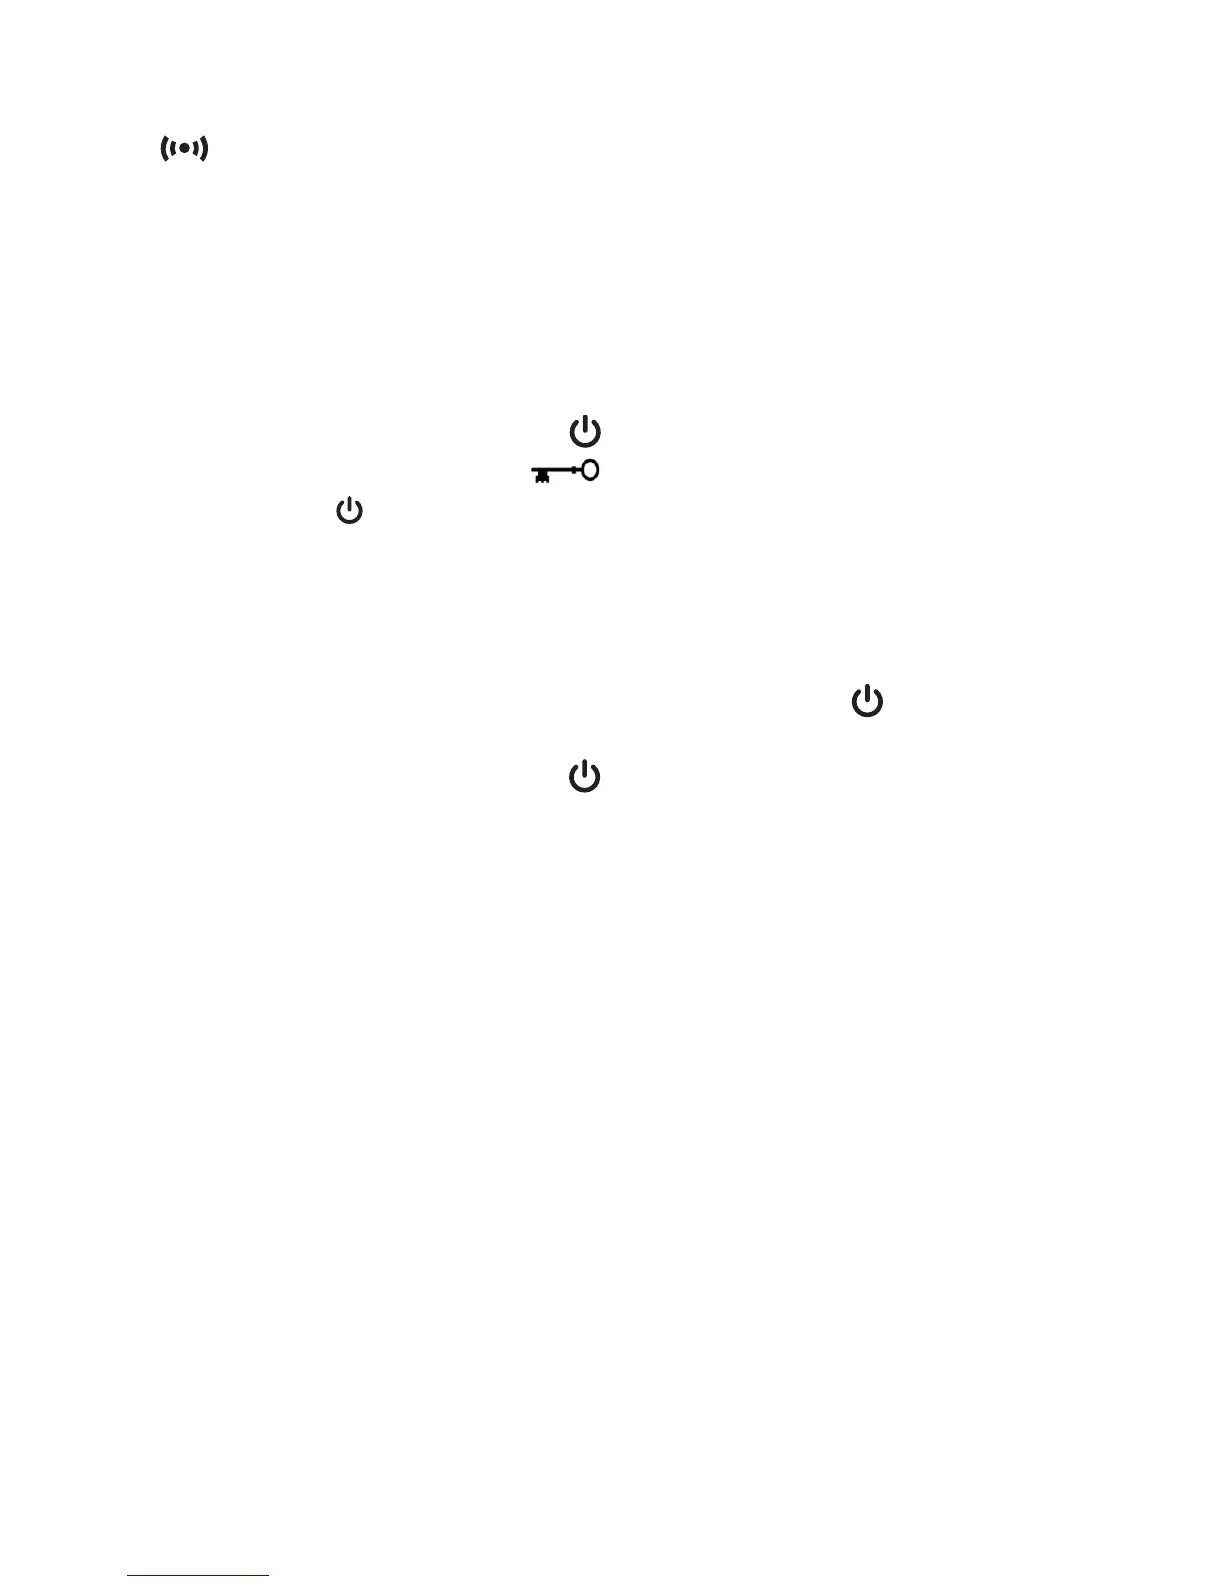
To enter Setup mode, power off the meter by pressing the button and
holding it for at least three seconds. Then power the meter back on in a special
way by simultaneously pressing the and Mode buttons and holding them for
at least three seconds. Doing this will cause the beeper to sound, the backlight
to come on and the word “SEtUP” to scroll across the LCD.
After a few seconds, the LCD will read out “0 = 0”. In this format, the left digit
represents the Option No. and the right digit stands for the current setting for
that option. For example, “0 = 0” is shorthand for Option 0, Setting 0.
10
 Loading...