________________________________________________
39
English
Cartridge Overlap Calibration
1. Click the Start Cartridge Overlap Alignment button (Figure
39) to run the Cartridge Overlap Calibration.
NOTE: The plotter will begin printing.
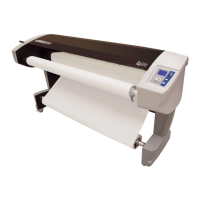
2. Check the plot for the line and corresponding numeric value
that represents the best match of the two printed lines.
3. Enter the numeric value from step 2 in the Cartridge box.
4. Click Apply.
5. Repeat the calibration if required.
Figure 41. Cartridge Overlap calibration
Cartridge Separation Alignment Calibration
NOTE: The default value is 261 (2.61 cm or 261 mm).
1. Click the Start Cartridge Separation Alignment button
(Figure 39) to run the Y Head calibration.
NOTE: The plotter will begin printing.
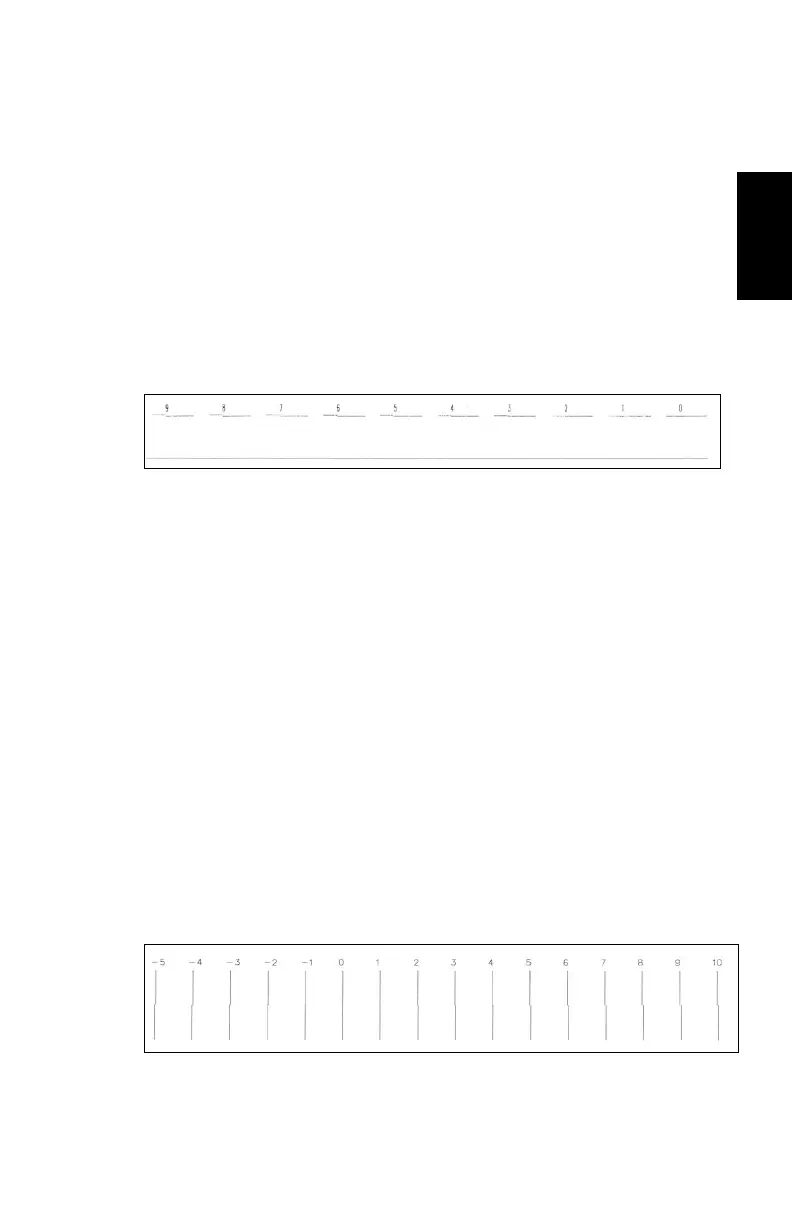
2. Check the plot for the line and corresponding numeric value
that represents the best match of the two printed lines.
3. Add or subtract the numeric value from step 2 from 261.
4. Enter the numeric value from step 3 in the Cartridge
#1/Cartridge #2 boxes.
5. Click Apply.
6. Repeat the calibration if required.
Figure 42. Cartridge Separation Alignment Calibration
 Loading...