Appendix- 99 -
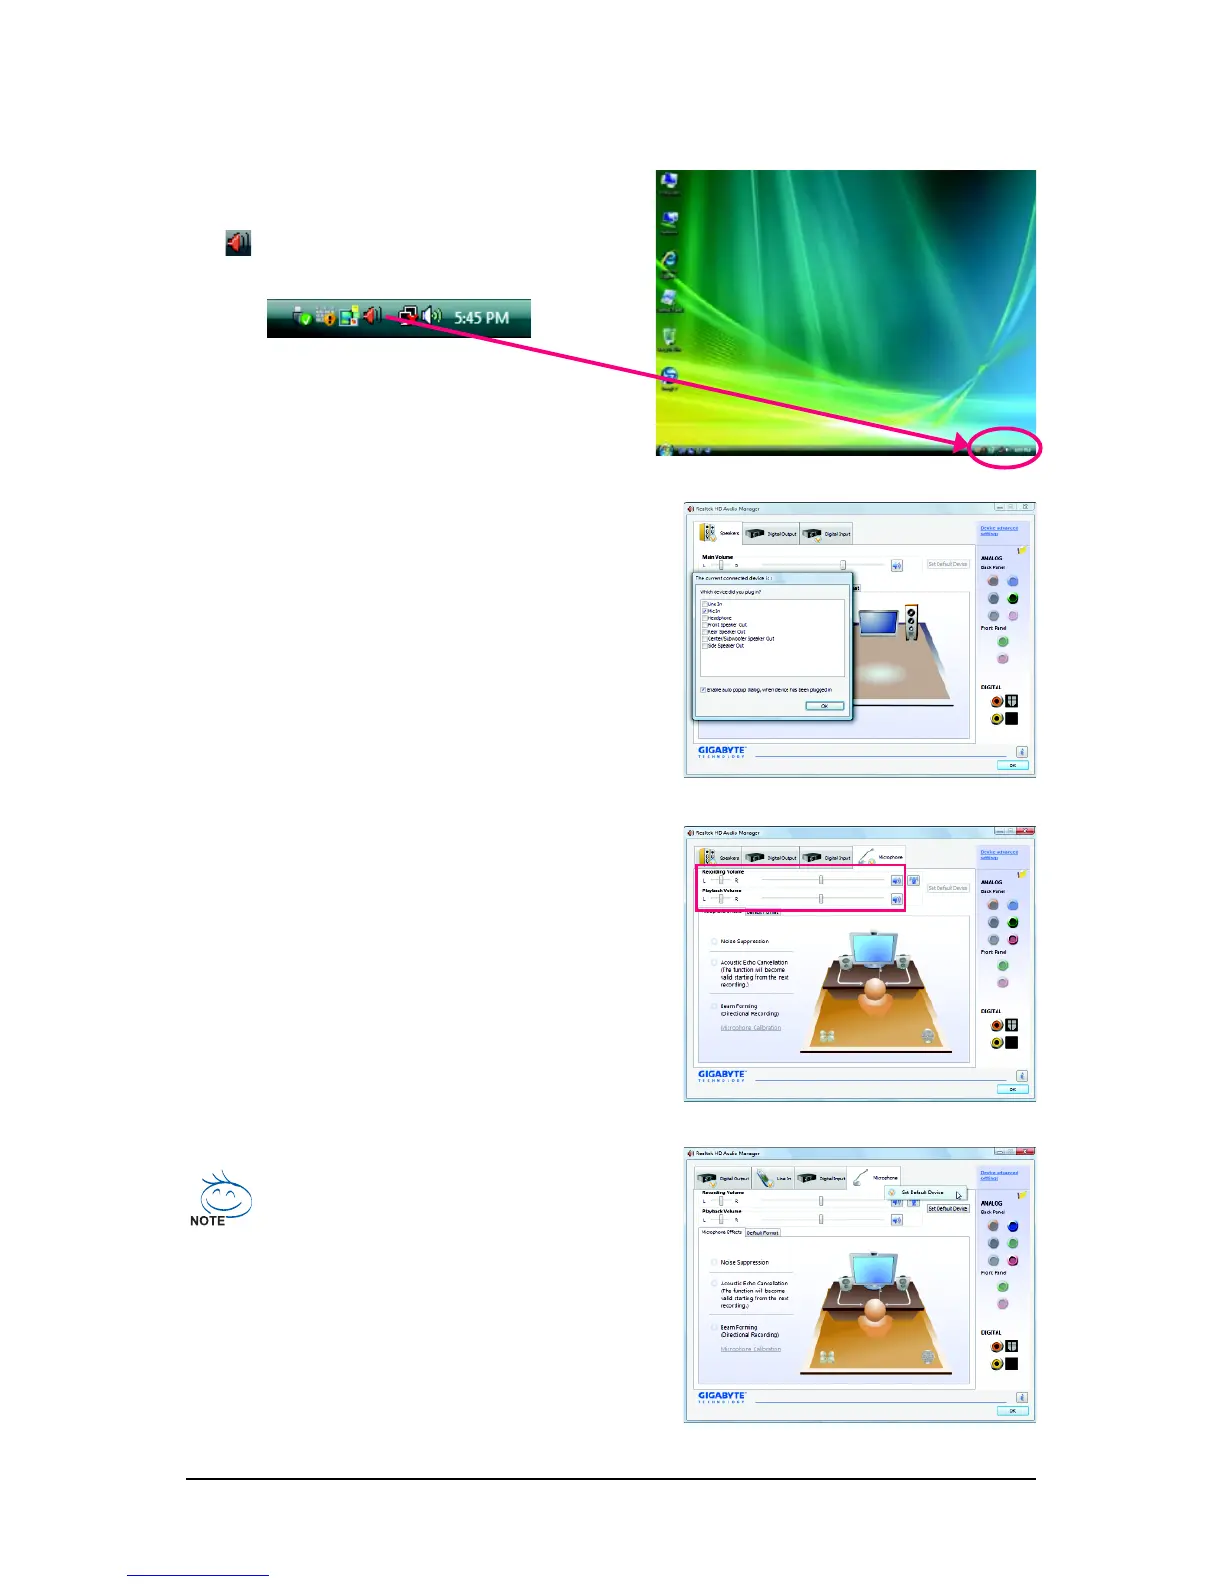
5-2-3 Configuring Microphone Recording
Step 2:
Connect your microphone to the Mic in jack (pink)
on the back panel or the Mic in jack (pink) on the front
panel. Then configure the jack for microphone
functionality.
Note: The microphone functions on the front panel
and back panel cannot be used at the same time.
Step 3:
Go to the Microphone screen. Do not mute the
recording volume, or you'll not be able to record the
sound. To hear the sound being recorded during the
recording process, do not mute the playback volume.
It is recommended that you set the volumes at a
middle level.
Step 1:
After installing the audio driver, the HD Audio Manager
icon will appear in the notification area. Double-
click the icon to access the HD Audio Manager.
If you want to change the current sound input
default device to microphone, right-click on
Microphone and select Set Default Device.
 Loading...