- 7 -
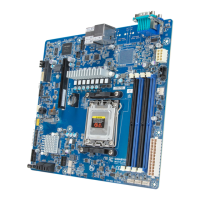
Step 1:
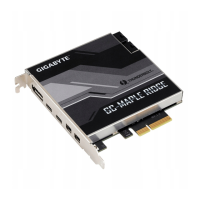
Install the GC-TITAN RIDGE 2.0 add-in card in the PCIEX4 slot.
步驟1:
將GC-TITAN RIDGE 2.0卡安裝至PCIEX4插槽。
步骤1:
将GC-TITAN RIDGE 2.0卡安装至PCIEX4插槽。
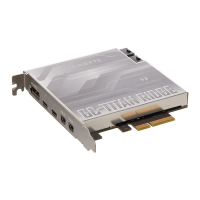
Step 2:
Connect one end of the USB cable to the USB connector on the
GC-TITAN RIDGE 2.0 card.
步驟2:
將USB排線的一端接至GC-TITAN RIDGE 2.0卡的USB連
接埠插座。
步骤2:
将USB扁平电缆的一端接至GC-TITAN RIDGE 2.0卡的USB
接口插座。
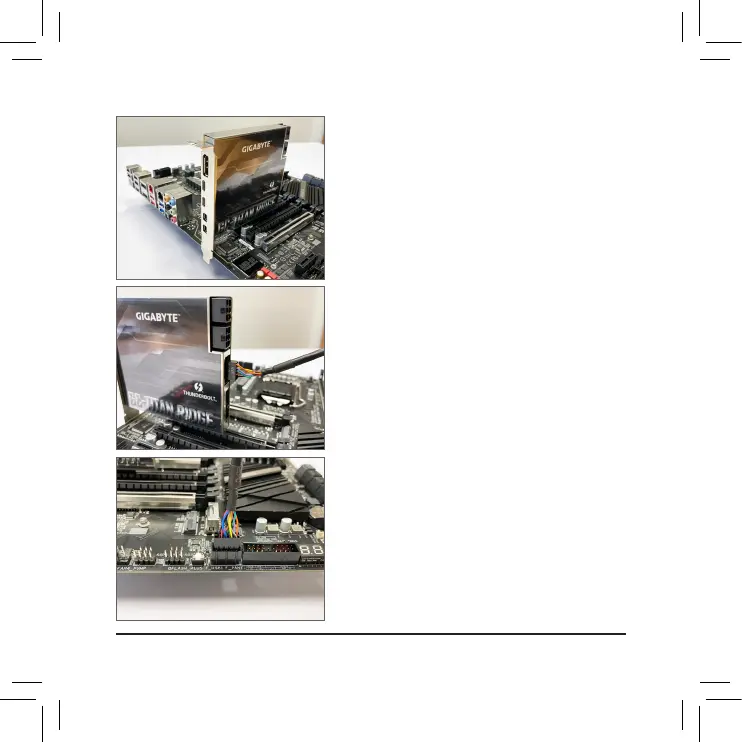
Step 3:
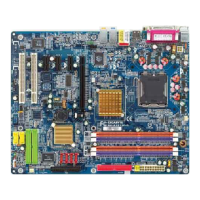
Connect the other end of the USB cable to the F_USB connector
on the motherboard.
步驟3:
再將USB排線的另一端接至主機板的F_USB插座。
步骤3:
再将USB扁平电缆的另一端接至主板的F_USB插座。
 Loading...