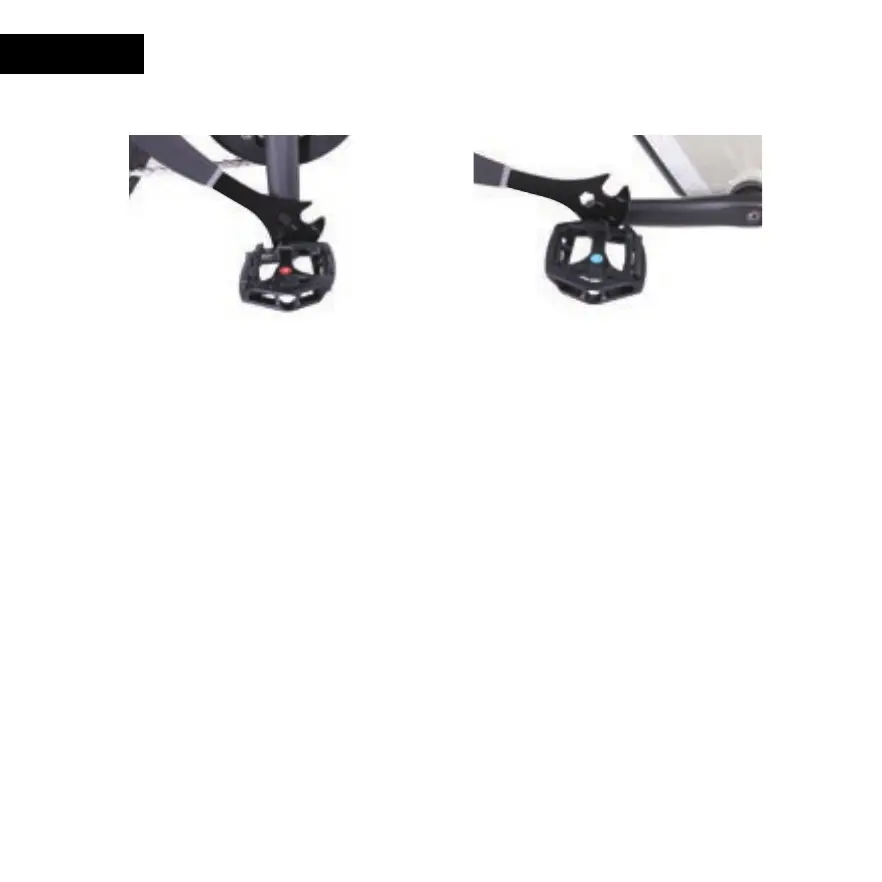
4. PEDALS
1. Drive side of bike select R-Right pedal
2.
3.
Insert pedal into Crank/Drive side
and start to turn CLOCKWISE.
Once hand tight apply pedal wrench to
pedal and tighten and secure.
1. NON drive size of bike select L-Left pedal
2.
3.
Insert pedal into Crank Arm/NON- Drive side
and start to turn COUNTER CLOCKWISE.
Once hand tight apply pedal wrench to pedal
and tighten and secure.
MATCH PEDAL and CRANK ARM CAREFULLY
Right pedal is applied to drive side/side with crank and gears and threads/twist on CLOCKWISE
Left pedal is applied on NON-DRIVE side/side with disk rotors and twist COUNTERCLOCKWISE
USE PEDAL WRENCH AND CONFIRM PEDALS ARE TIGHTENED AND SECURE
Check frequently
15
 Loading...