GB - 14
CHECKING THE HYDRAULIC FLUID LEVEL
A check of the hydraulic fluid level should be made daily.
NOTE: The oil level can be checked with dipstick check.
To Check: first remove any dirt that may be around the
cap on the tank.
The oil level should be between two marks on dipstick.
Centered between the marks is best.
Add oil through the dipstick tube as needed. Do not
overfill.
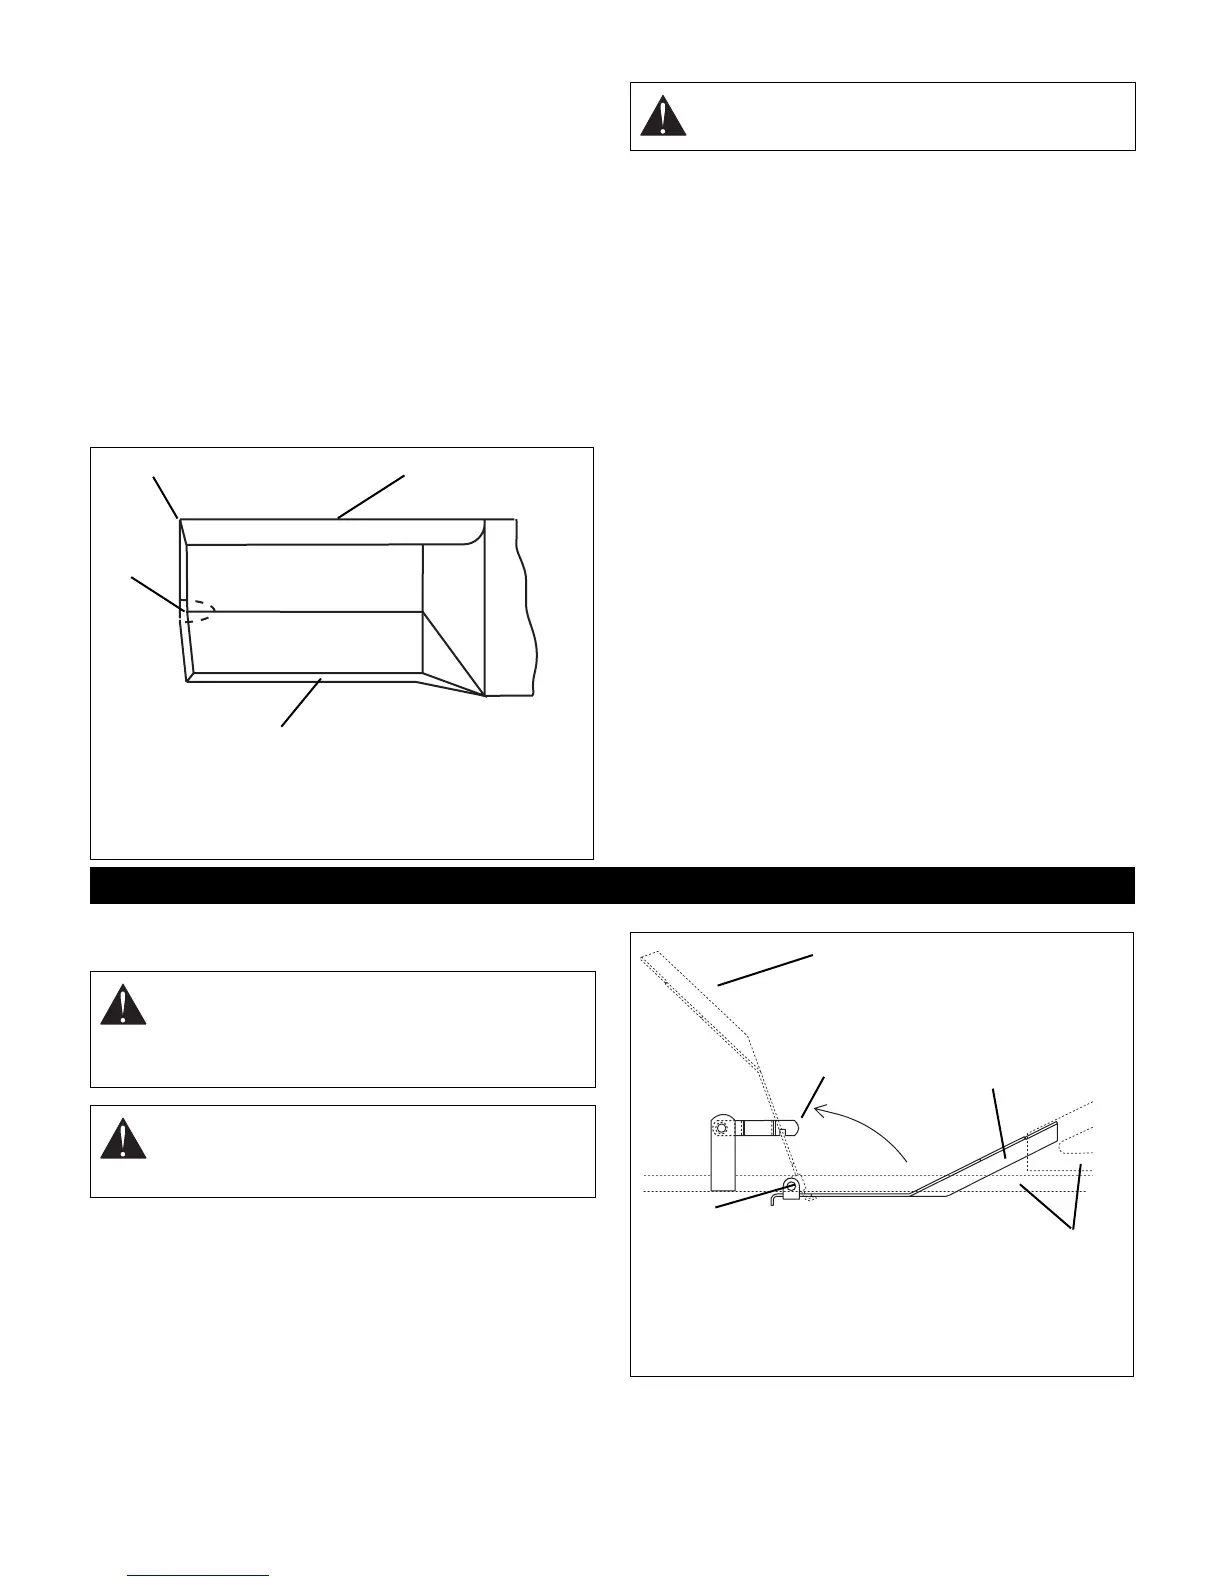
MOWER BLADES
NOTE: If mower is used under sandy soil conditions,
replace blades when air lifts become eroded through at
ends (Figure 11).
Sharpen the Mower Blades
1. Turn the engine off. Remove the ignition key. Remove
the ignition wire from the spark plugs.
2. Remove the bolts, lock washer, the flat washers, and
the blades from the spindle shafts.
3. Sharpen the beveled edges of the blades in a straight
line. Do not change the angle of the beveled edge. If
more than 0.5 inches (12.7mm) are removed from
the width of a blade, discard the blade. Make sure the
sharpened blades are balanced. Balance must be
held within 1.3 inch ounces.
4. Put the blades, the flat washers, lock washers, and
the bolts back on the spindle shafts.
5. Tighten the bolts to a torque of 70 ft. lbs.
6. Put the ignition wires back on the spark plugs.
BELTS
Belt Access
1. Properly stop and park unit (refer to Operation
Section).
2. Lower the mower.
3. Place seat in most reward position.
4. Remove belt covers.
5. Place foot board in open position (Figure 7).
6. Secure raised footboard with latch.
1. Cutting Blade
2. Square Corner
3. Air Lift Erosion
4. Air Lift
1
2
3
4
OT0791
Figure 11
CAUTION: Use sturdy gloves or padding to
protect hands when working with mower blades.
SERVICE AND ADJUSTMENTS
WARNING: MOVING PARTS can cut or
amputate body parts. ALWAYS wait for moving
parts to stop before performing maintenance or
service.
CAUTION: DAMAGED OR WORN BELTS may
result in injury and/or damage to unit. Check
belts for excessive wear or cracks often.
1. Footboard in open
position
2. Footboard in closed
position
3. Support Frame
4. Pivot
5. Latch
2
3
1
4
5
Figure 7
 Loading...