2.
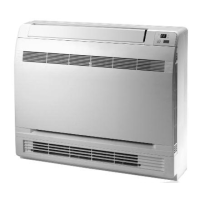
Cut the wall hole with a 5° to 10° downward slant to the outdoors. See Wall Hole Size table below.
3. Insert a wall sleeve (field supplied) into hole to to prevent damage to refrigerant pipes, insulation,
condensate drain hose and wiring.
4.
Proper weather proofing of the wall surface and wall sleeve is essential to assure a trouble-free
installation. Apply sealant, caulking or equivalent weather proofing material around the perimeter of
the wall sleeve (interior & exterior) to eliminate outdoor air and water leaks into the indoor space.
PIPING INSTALLATION
Drill Hole in Wall
1. Carefully remove indoor unit from wall mounting hooks.
NOTE: Expandable foam insulation may be added to fill large wall gaps.
Apply per manufacturer's instructions.
S
eal Hole
Hole Size
Indoor Outdoor
Wall Hole Diagram
Wall
Hole Sleeve
Unit Size
Wall
Hole Size
(BtuH) Dia
-
inch (mm)
9,000 2 1/4 (55)
12,000 2 1/4 (55)
18,000 2 3/4 (70)
Mounting Indoor Unit
1.
Carefully lift and set the unit on the 2 wall hooks.
The wall hooks should catch metal mounting
bracket on the rear of the unit.
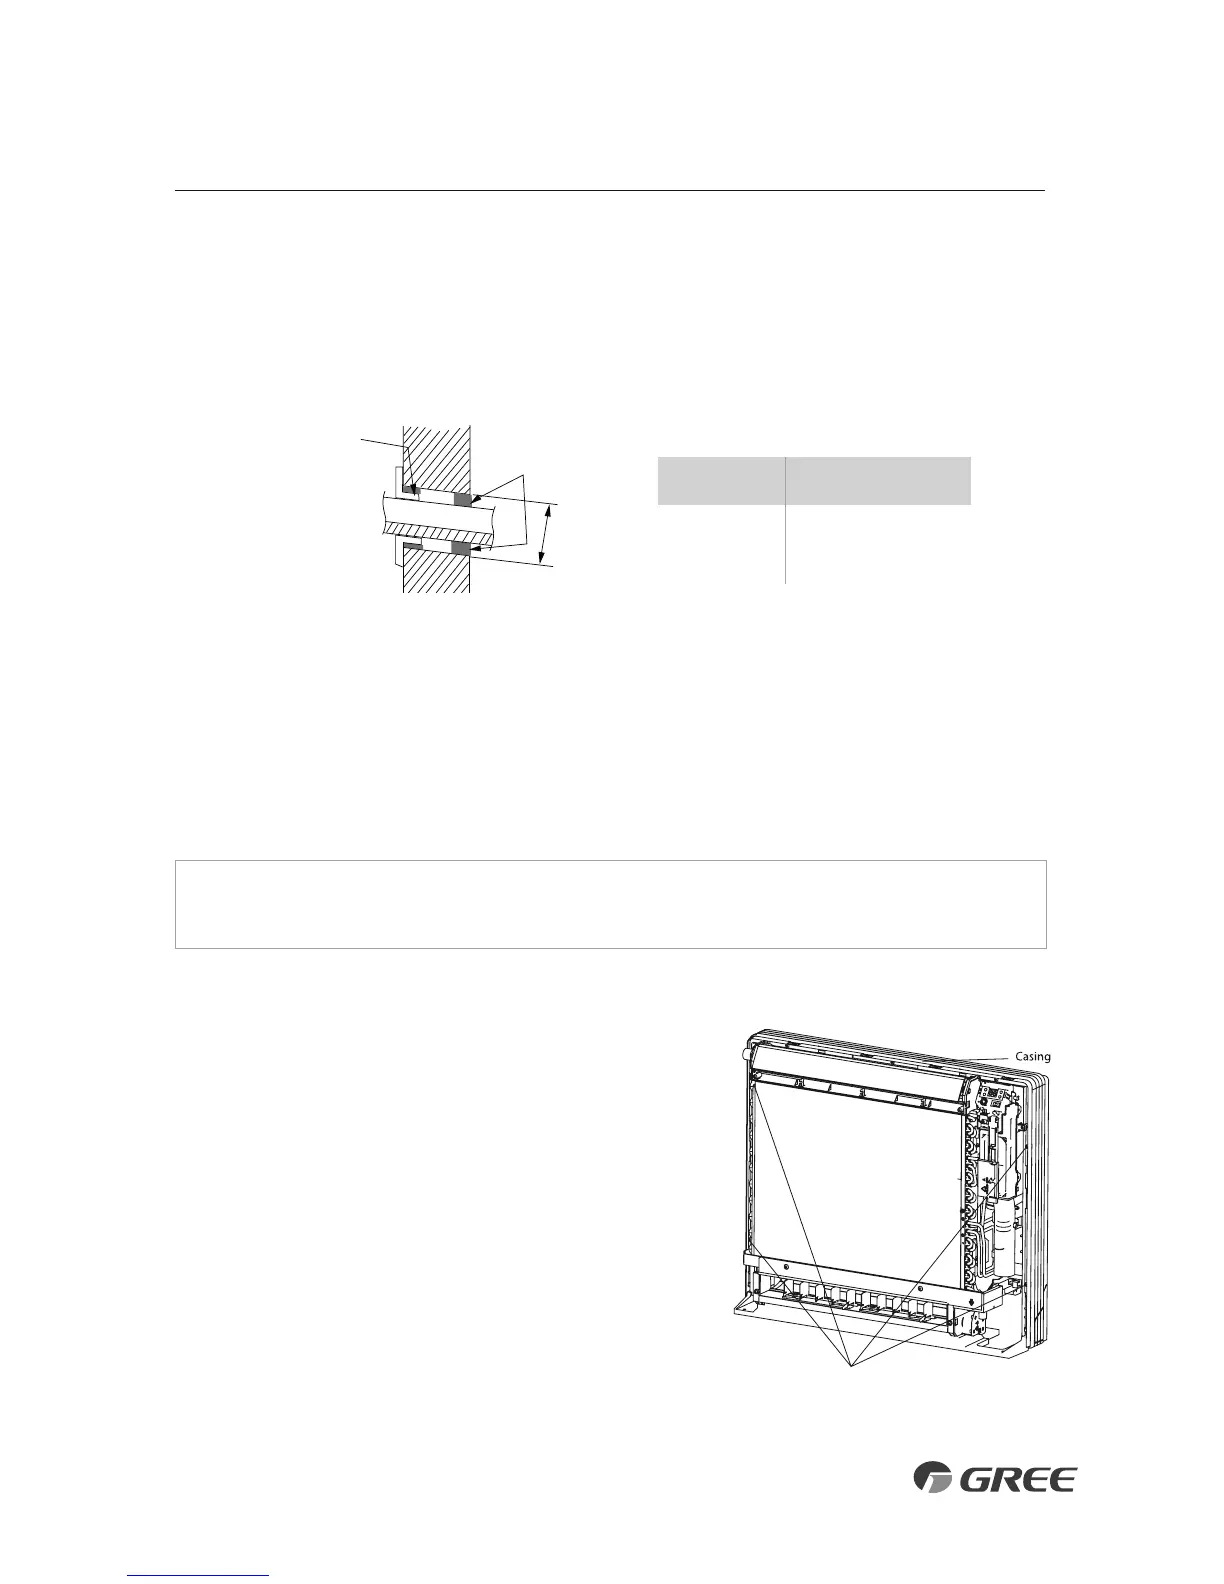
2.
Locate 4 mount holes in the indoor unit.
Refer to figure.
3.
Secure unit to wall with 4 screws
(field supplied).
4 screw locations
9
 Loading...