12
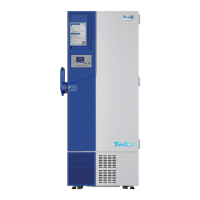
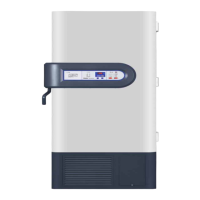
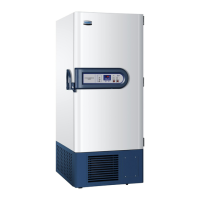
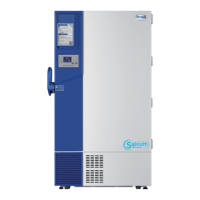
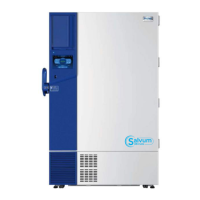
Freezer parts and control panels
Pocket organizer
document storage
LED board
Door handle
(with lock)
Door card
board (optional)
Front protection
panle of refi geration
compartment
CasterLeveling leg
USB port
Freezer parts
•DW-86L579BP/729BP/829BP/959BP
37
• To prevent electric shock or injury to operators, the AC power supply to the freezer
must be disconnected completely before any repair and maintenance work is to be
performed.
• During any repair maintenance work, do not inhale medical particles or aerosols near
the equipment as they might be harmful to your health.
1.Cleaning the freezer
• Clean the unit once a month.This can help the exterior look new.
• Use a dry cloth to wipe away loose dust inside and outside of the freezer. If the unit is rather dirty,
use a clean doth soaked with a neutral detergent to clean the unit. Then use a dry cloth to wipe
away any residual detergent solution.
• Never pour water onto or into the unit. Doing so can damage the electric insulation and cause
failure.
• Compressors and other mechanical parts are hermetically sealed. They do not need lubrication.
Users should remove the frost on the chamber and clean the condenser fi lter as often as possible.
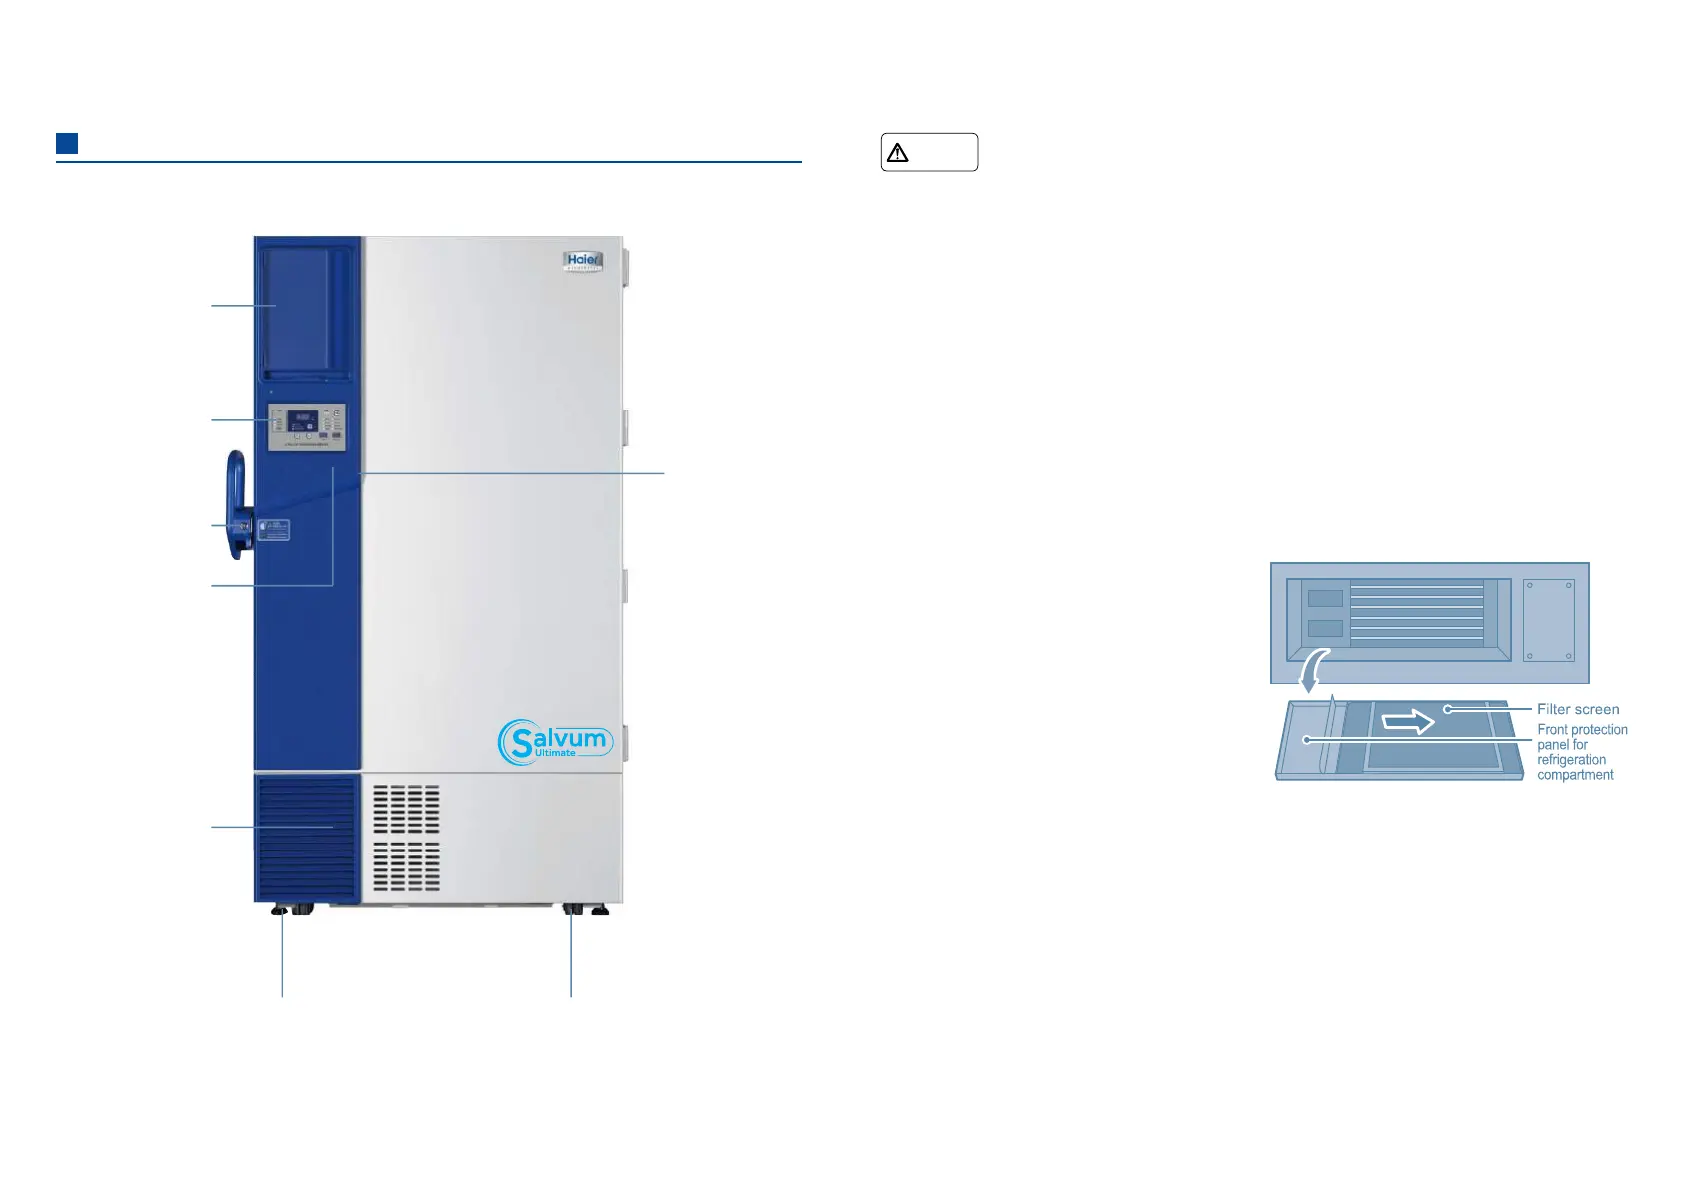
2.Cleaning the condenser fi lter
Clean the condensor fi lter when the control panel shows an signal for "Hot Condensor" and the
alarm fl ashes. Even if the light is not on, the condensor fi lter should be checked regularly according
to the suggestion from the distributor.
To clean the fi lter, follow the procedure below.
1. Pull off the front grill cover.
2. Pull out the fi lter screen.
3. Use water to wash the fi lter screen.
4. After the fi lter screen is dry, reinstall it back in
its original position and close the cover.
5. If the “Hot Condenser” light is on before
cleaning, check the light to make sure that it
shuts off after cleaning. If it does not shut off ,
please contact after-sales service personnel.
Cleaning maintenance
Warning
3.Defrost
Frost and ice can form in between the door gasket and frame to form an air gap, which can
decrease the refrigeration eff ect of the unit. Please use the provided plastic scraper to defrost the
interior doors.
To defrost the units, please refer to the instruction as follows.
•Turn off any backup refrigeration system if there is one.
•Remove the samples from the unit that needs to be defrosted. Move them to another unit or a
container for temporary storage.
•Turn off the power supply.
•Open the outer door and inner doors to let the unit thaw for a period of time.
•Use a dry doth to soak up and remove any water on the fl oor of the unit.
 Loading...