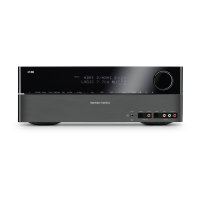
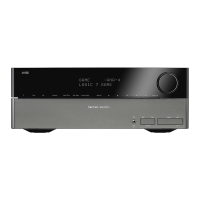
7
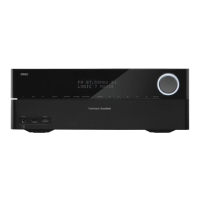
AVR
Connections
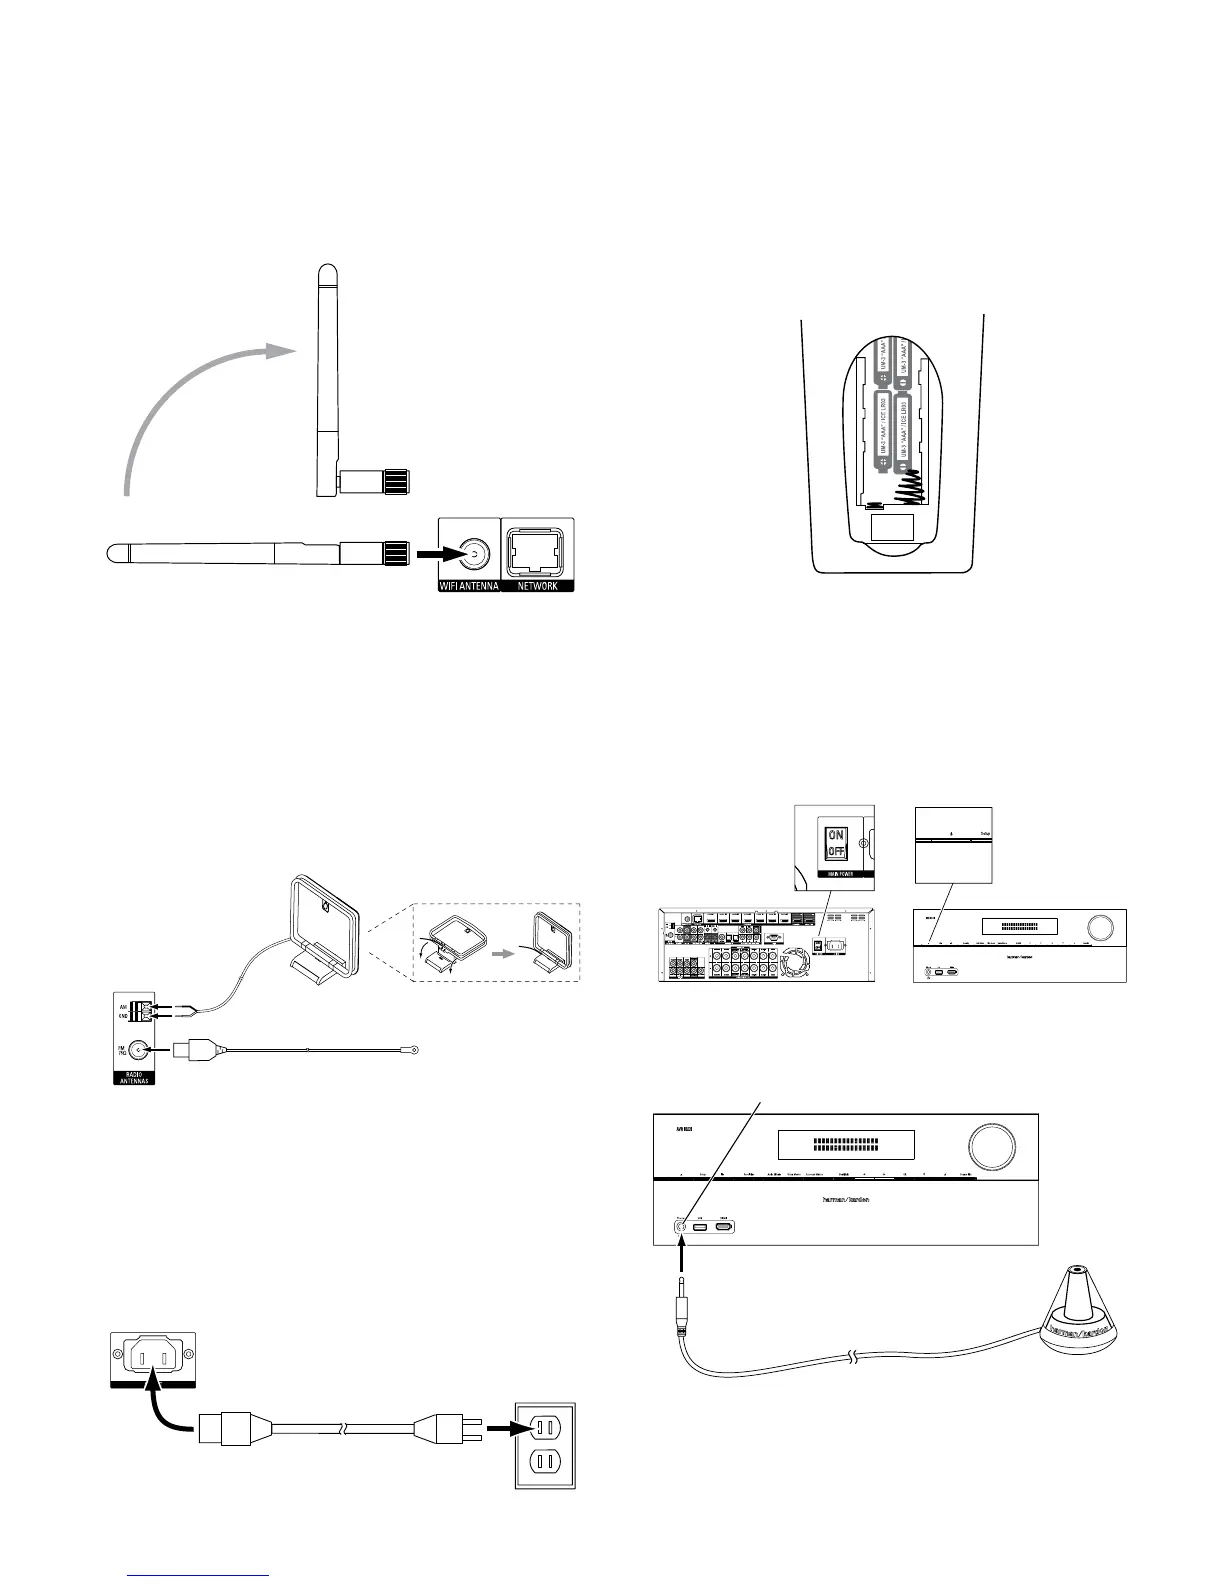
AVR 3700/AVR 370 only:
If your home network is Wi-Fi
®
, attach the supplied Wi-Fi antenna to the AVR. You do not
need to make a wired network connection.
For complete network setup instructions, download the complete AVR 3700, AVR 370,
AVR 370C, AVR 2700, AVR 270, AVR 270C Owner’s Manual from www.harmankardon.
com.
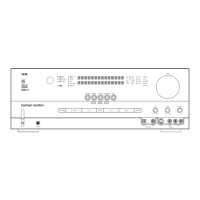
Connect the Radio Antennas
• Connect the supplied FM antenna to the AVR’s FM 75Ω antenna connector. For the best
reception, extend the FM antenna as far as possible.
• Bend and fold the base of the supplied AM antenna as shown and connect the antenna
wires to the AVR’s AM and Gnd connectors. (You can connect either wire to either
connector.) Rotate the antenna as necessary to minimize background noise.
AVR
Antenna
Connectors
AM Antenna
(supplied)
FM Antenna
(supplied)
Bend and fold base
NOTE: To connect RS-232, multi-zone, remote IR and trigger equipment, please download
the AVR 3700, AVR 370, AVR 2700, AVR 270 Owner’s Manual from www.harmankardon.
com.
Connect to AC Power
Connect the AC power cord to the AVR’s AC Input connector and then to a working, non-
switched AC power outlet.
AVR AC
Input Connector
Power Cord
(supplied)
AC Power
Outlet
Set Up the AVR
Install the Batteries in the Remote Control
Remove the remote control’s battery cover, insert the four supplied AAA batteries as shown in
the illustration, and replace the battery cover.
NOTE: Remove the protective plastic from the AVR’s front panel so it doesn’t reduce the
remote control’s effectiveness.
Turn On the AVR
1. Set the rear-panel Main Power switch to “On.” (The front-panel Power indicator will
glow amber.)
2. Press the front-panel Power button.
Main Power
Switch
Power
Button
Configure Your Speakers
1. Plug the supplied EzSet/EQ™ microphone into the AVR’s Headphone connector.
AVR Headphone
Connector
EzSet Microphone
(supplied)
2. Place the microphone at ear height in your listening position.
3. Turn on your TV and select the TV input where you connected the AVR in Connect Your
TV, on page 3.
 Loading...