AVR
8
Connections
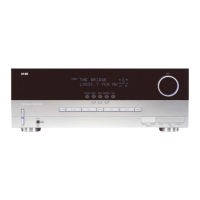
4. Press the remote control’s AVR button. The AVR’s on-screen display (OSD) setup menu
will appear on the TV. (Note: If you have used a composite video connection to your
TV, the OSD menus will not appear on your TV. Follow the steps below using the AVR’s
front-panel display.)
Select the Source Device
Select the Source Device to Enjoy
Setup Source Devices
Setup Source Devices Connected to the AVR
Speaker Setup
Speaker Optimization, EQ
Zone 2
Manage and Control Zone 2
System
General AVR Settings
Settings Lock
Manage System Lock
5. Use the remote’s arrow and OK buttons to select “Speaker Setup.”
Automatic Setup – EzSet/EQ
Automated Speaker Setup and EQ
Manual Setup
Manually Adjust Speaker Settings
Speaker Setup
6. Select “Automatic Setup – EzSet/EQ.”
7. Select “Continue.”
8. Follow the instructions that appear on the screens. Remain quiet while the test noise
plays through the speakers.
Assign Connectors to the AVR’s Source Buttons
1. Review the input connections you listed on the Source Buttons and Assigned
Connectors table, on page 4. Note what changes (if any) you want to make from the
default connector assignments that appear on the list.
2. Turn on your TV and select the TV input where you connected the AVR in Connect Your
TV, on page 3.
3. Press the remote control’s AVR button. The AVR’s on-screen display (OSD) setup menu
will appear on the TV. (Note: If you have used a composite video connection to your
TV, the OSD menus will not appear on your TV. Follow the steps below using the AVR’s
front-panel display.)
Select the Source Device
Select the Source Device to Enjoy
Setup Source Devices
Setup Source Devices Connected to the AVR
Speaker Setup
Speaker Optimization, EQ
Zone 2
Manage and Control Zone 2
System
General AVR Settings
Settings Lock
Manage System Lock
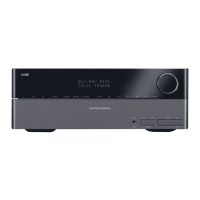
4. Use the remote’s arrow and OK buttons to select “Setup Source Devices,” and select
a source button with connectors that you want to re-assign from the list that appears.
Press the OK button.
Select the Source Device
Select the Source Device to Enjoy
Cable/Sat
DISC
DVR
USB
iPod
FM Radio
AM Radio
TV
Game
Media Server
Setup Source Devices
Setup Source Devices Connected to the AVR
Speaker Setup
Speaker Optimization, EQ
Zone 2
Manage and Control Zone 2
System
General AVR Settings
Cable/
Sat
Settings Lock
Manage System Lock
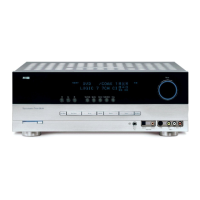
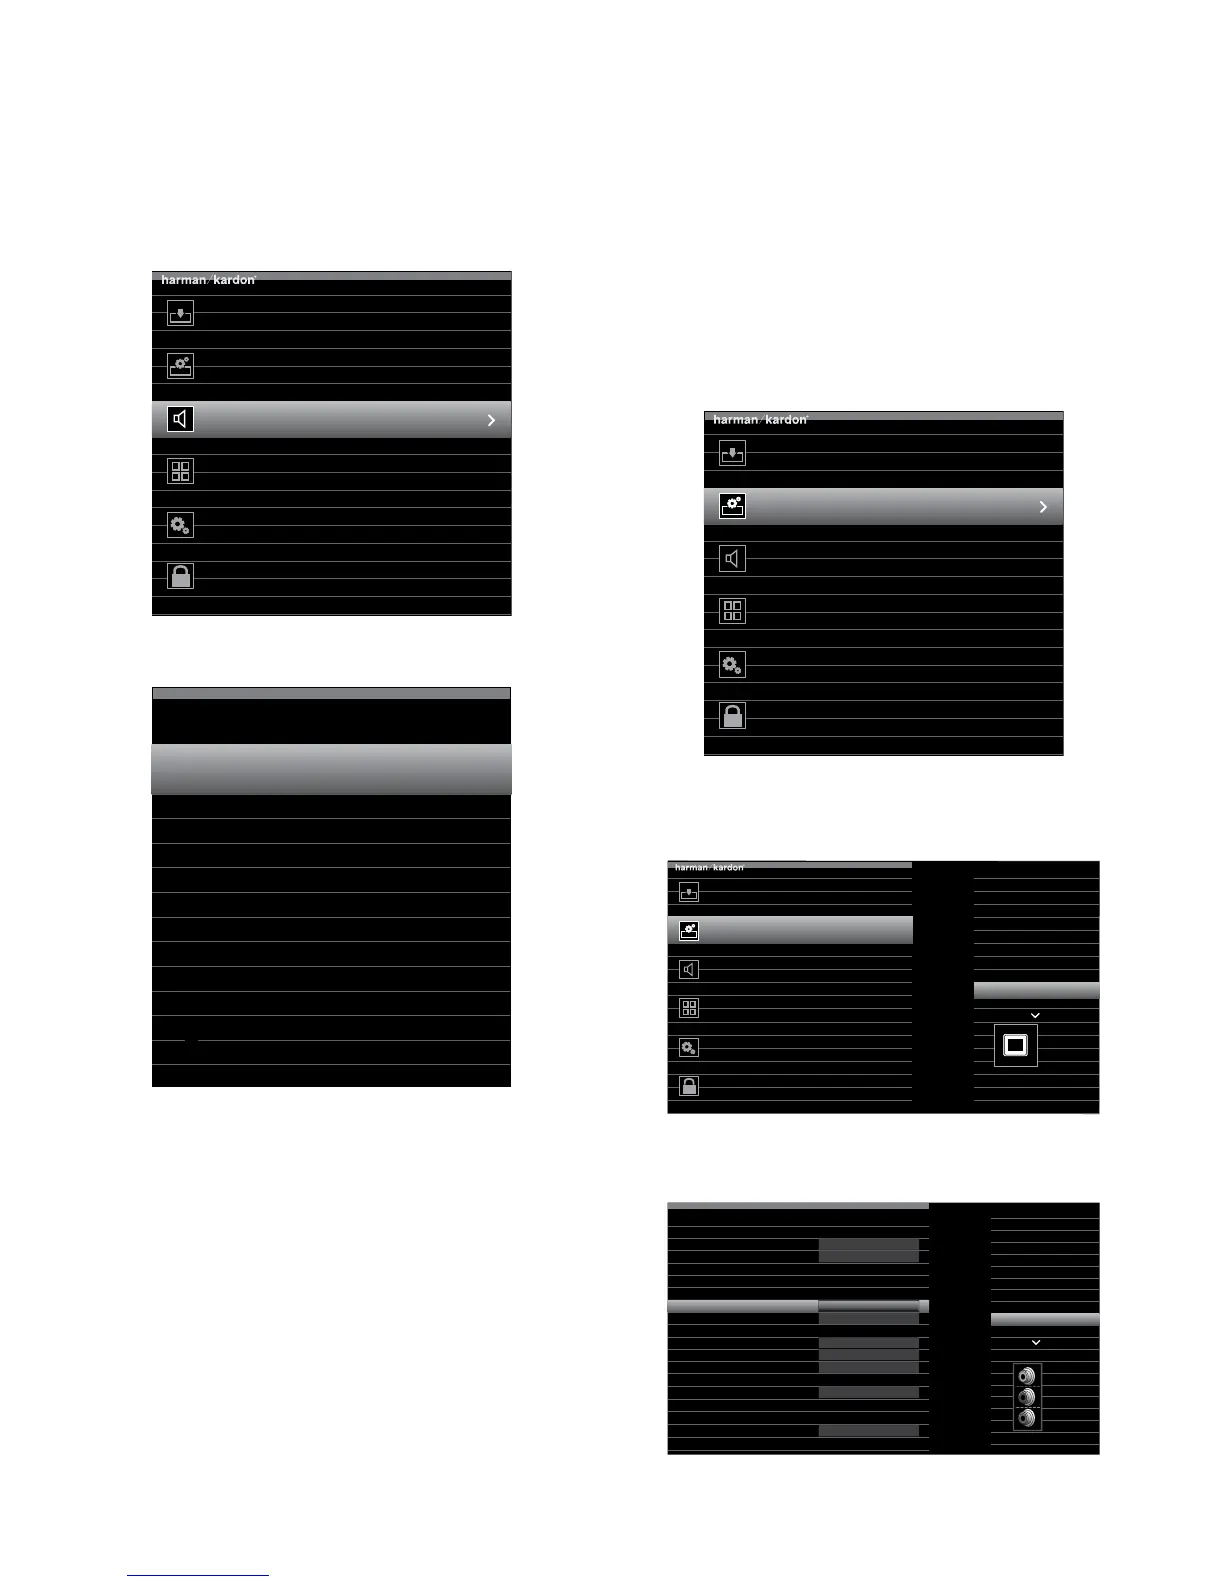
5. Select “Video Input From Source” and select the video input connector you want to
assign to the source button. Press the OK button.
Game
Audio Effects
Video Modes:
Surround Modes:
Off
Auto Select
1080p – 60Hz
No Video Input
Off
Game
Analog 1
PCM
HDMI 3
HDMI 3
HDMI 1
HDMI 2
HDMI 3
HDMI 4
HDMI 5
HDMI 6
HDMI 7
HDMI Front
Component
Composite 1
Audio Input from Source:
Video Input from Source:
Audio Input from Source:
Change Name:
Adjust Lip Sync
Zone 2 Audio:
Resolution to Display:
Resolution from Source:
HDMI Bypass:
 Loading...