EN DE
11
approved to be installed in a recess in the wall or
floor.
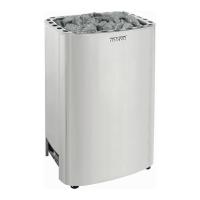
3.2. Fixing heater to Floor
The heater is fixed to the floor at its two legs, at
the legs’ fixing points.
Before fixing the heater, the minimum safety dis-
tances to inflammable materials should be taken into
consideration. See Table 1 and Figure 3.
3.3. Safety Railing
If a safety railing is built around the heater, the mini-
mum distances given in table 1 must be observed.
3.4. Installation of Control Unit and Sensor
Detailed instructions for the installation of both the
unit and the sensor are delivered with the control
unit.
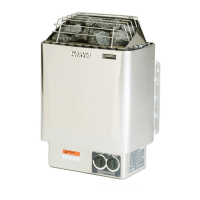
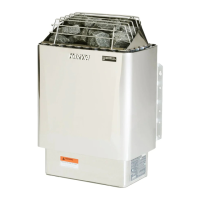
3.5. Electrical Connections
The heater may only be connected to the electrical
network in accordance with the current regulations
by an authorised, professional electrician.
The heater is semi-stationarily connected to the
junction box on the sauna wall. The connection
cable must be of rubber cable type H07RN-F or its
equivalent.
NOTE! Due to thermal embrittlement, the use
of PVC-insulated wire as the connection cable of
the heater is forbidden. The junction box must be
splash-proof, and its maximum height from the floor
must not exceed 50 cm.
If the connection and installation cables are higher
than 100 cm from the floor in the sauna or inside
the sauna room walls, they must be able to endure
a minimum temperature of 170 °C when loaded
(for example, SSJ). Electrical equipment installed
higher than 100 cm from the sauna floor must be
approved for use in a temperature of 125 °C (mark-
ing T125).
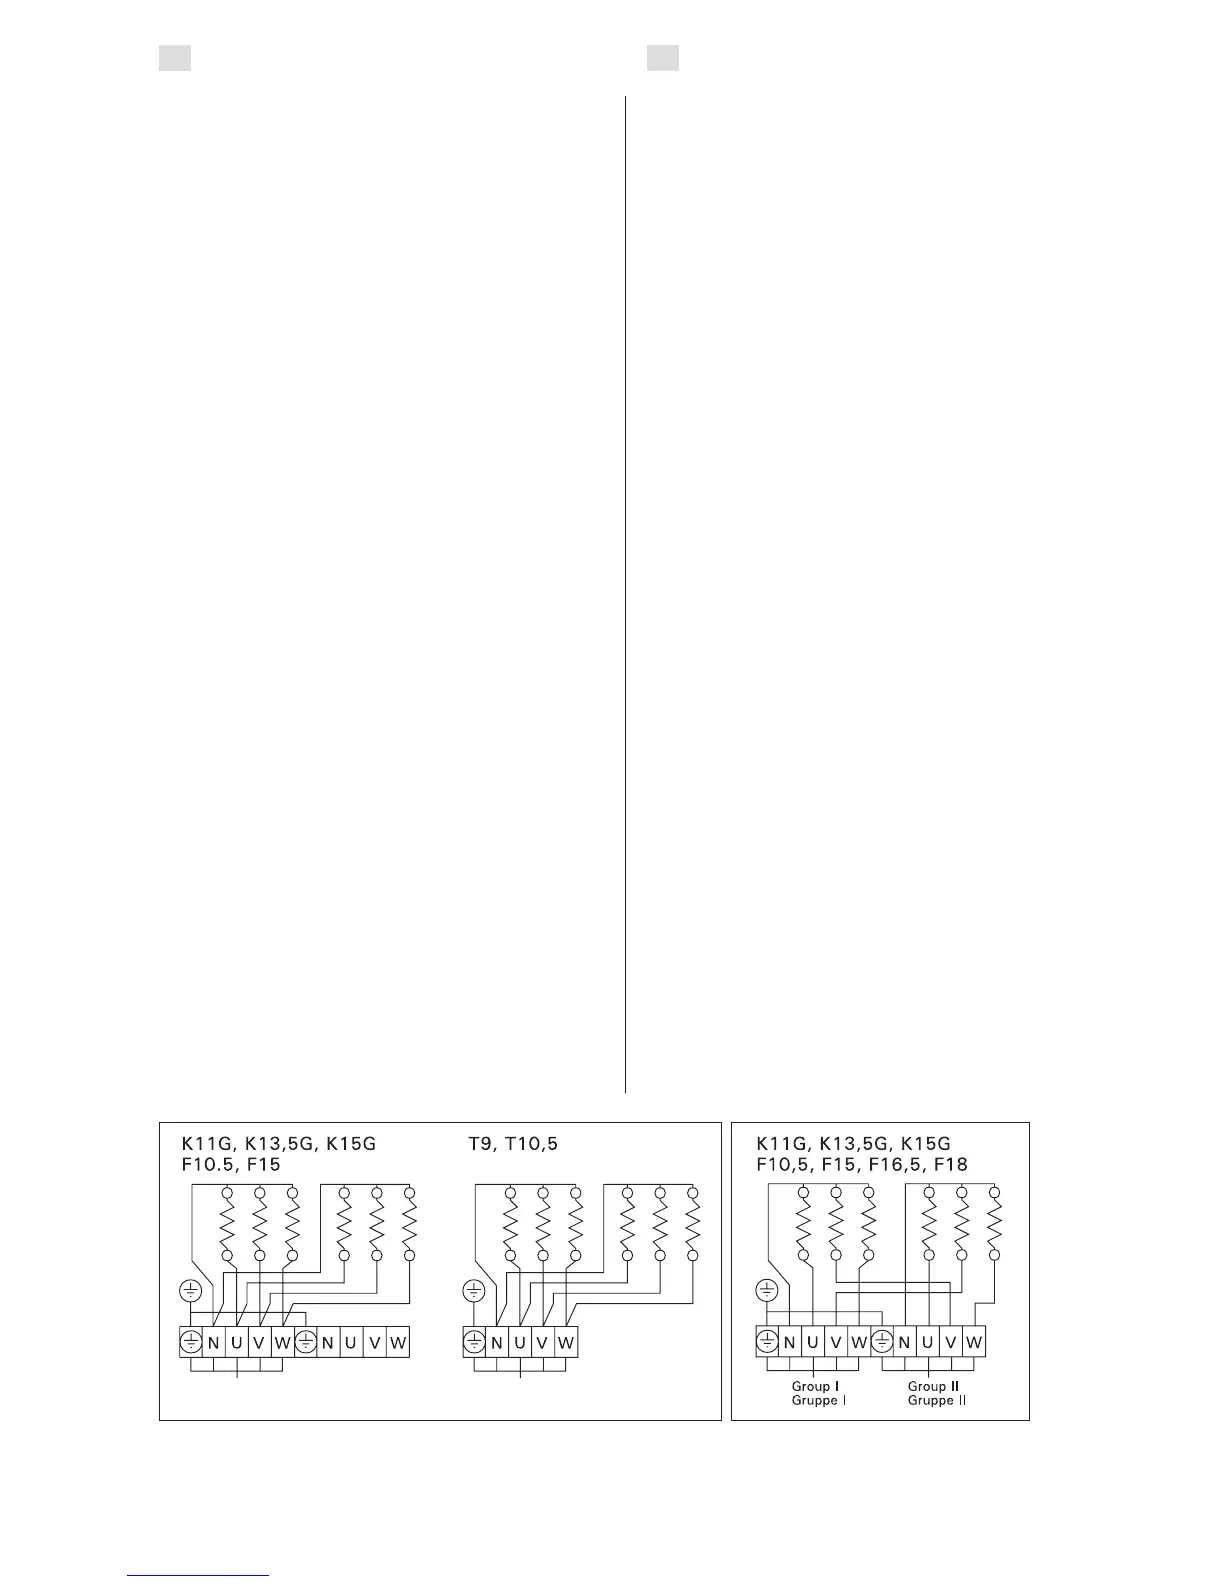
The wiring diagrams are included in the control
unit’s installation instruction.
Further instructions concerning exceptional ins-
tallations can be obtained from local electrical au-
thorities.
Installation in Wand- oder Bodenvertiefungen
zugelassen.
3.2. Montage des Saunaofens am Boden
Der Saunaofen wird mit zwei Füßen am Boden
montiert, an den Befestigungsstellen der Füße.
Vor der Montage des Saunaofens müssen
die Mindestsicherheitsabstände zu brennbaren
Materialien beachtet werden. Siehe Tabelle 1 sowie
Abbildung 3.
3.3. Schutzgeländer
Falls um den Saunaofen ein Schutzgeländer gebaut
wird, muß dies unter Berücksichtigung der in Tabell
1 angegebenen Mindestsicherheitsabstände gesche-
hen.
3.4. Installation des Steuergeräts und des Fühlers
Genaue Informationen zur Installation des Steuerge-
räts und des Fühlers werden mit dem Steuergerät
geliefert.
3.5. Elektroanschlüsse
Der Anschluß des Saunaofens ans Stromnetz darf nur
von einem zugelassenen Elektromonteur unter Beach-
tung der gültigen Vorschriften ausgeführt werden.
Der Saunaofen wird halbfest an die Klemmdose
an der Saunawand befestigt. Als Anschlußkabel
wird ein Gummikabel vom Typ H07RN-F oder ein
entsprechendes Kabel verwendet.
ACHTUNG! PVC-isolierte Kabel dürfen wegen ihrer
schlechten Hitzebeständigkeit nicht als Anschlußkabel
des Saunaofens verwendet werden. Die Klemmdose
muß spritzwasserfest sein und darf höchstens 50 cm
über dem Fußboden angebracht werden.
Falls der Anschluß oder die Montagekabel in die
Sauna oder die Saunawände in einer Höhe über
100 cm über dem Boden münden, müssen sie belastet
mindestens eine Temperatur von 170 °C aushalten
(z.B. SSJ). Elektrogeräte, die höher als 100 cm
vom Saunaboden angebracht werden, müssen für
den Gebrauch bei 125 °C Umgebungstemperatur
zugelassen sein (Vermerk T125).
Die Schaltbilder befinden sich in der Installations-
anleitung des Steuergeräts.
Genauere Anweisungen zu abweichenden Mon-
tagen erhalten sie von den für Elektroinstallationen
verantwortlichen lokalen Behörden.
Figure 5. The heater’s electrical connections
in two groups
Abbildung 5. Elektroanschlüsse des
Saunaofens in zwei Gruppen
Figure 4. The heater’s electrical connections
Abbildung 4. Elektroanschlüsse des Saunaofens
 Loading...