EasyManua.ls Logo

Hayward GLX-PCB-PRO User Manual

Hayward GLX-PCB-PRO
2 pages
To Previous Page IconTo Previous Page
Page #2 background imageLoading...
Page #2 background image
USE ONLY HAYWARD GENUINE REPLACEMENT PARTSUSE ONLY HAYWARD GENUINE REPLACEMENT PARTS
NOTE: This board may
contain more inputs than
the board it replaces. Do
not re-use old connectors
and be sure to make
proper wiring connections.
Hayward Pool Products
400 Connell Drive, Suite 6100
Berkeley Heights, NJ 07922
Phone (908)-355-7995
www.hayward.com
Question and Answer IconNeed help?

Do you have a question about the Hayward GLX-PCB-PRO and is the answer not in the manual?

Hayward GLX-PCB-PRO Specifications

General IconGeneral
BrandHayward
ModelGLX-PCB-PRO
CategoryControl Unit
LanguageEnglish

Summary

Compatibility

Circuit Board Replacement

Record System Settings

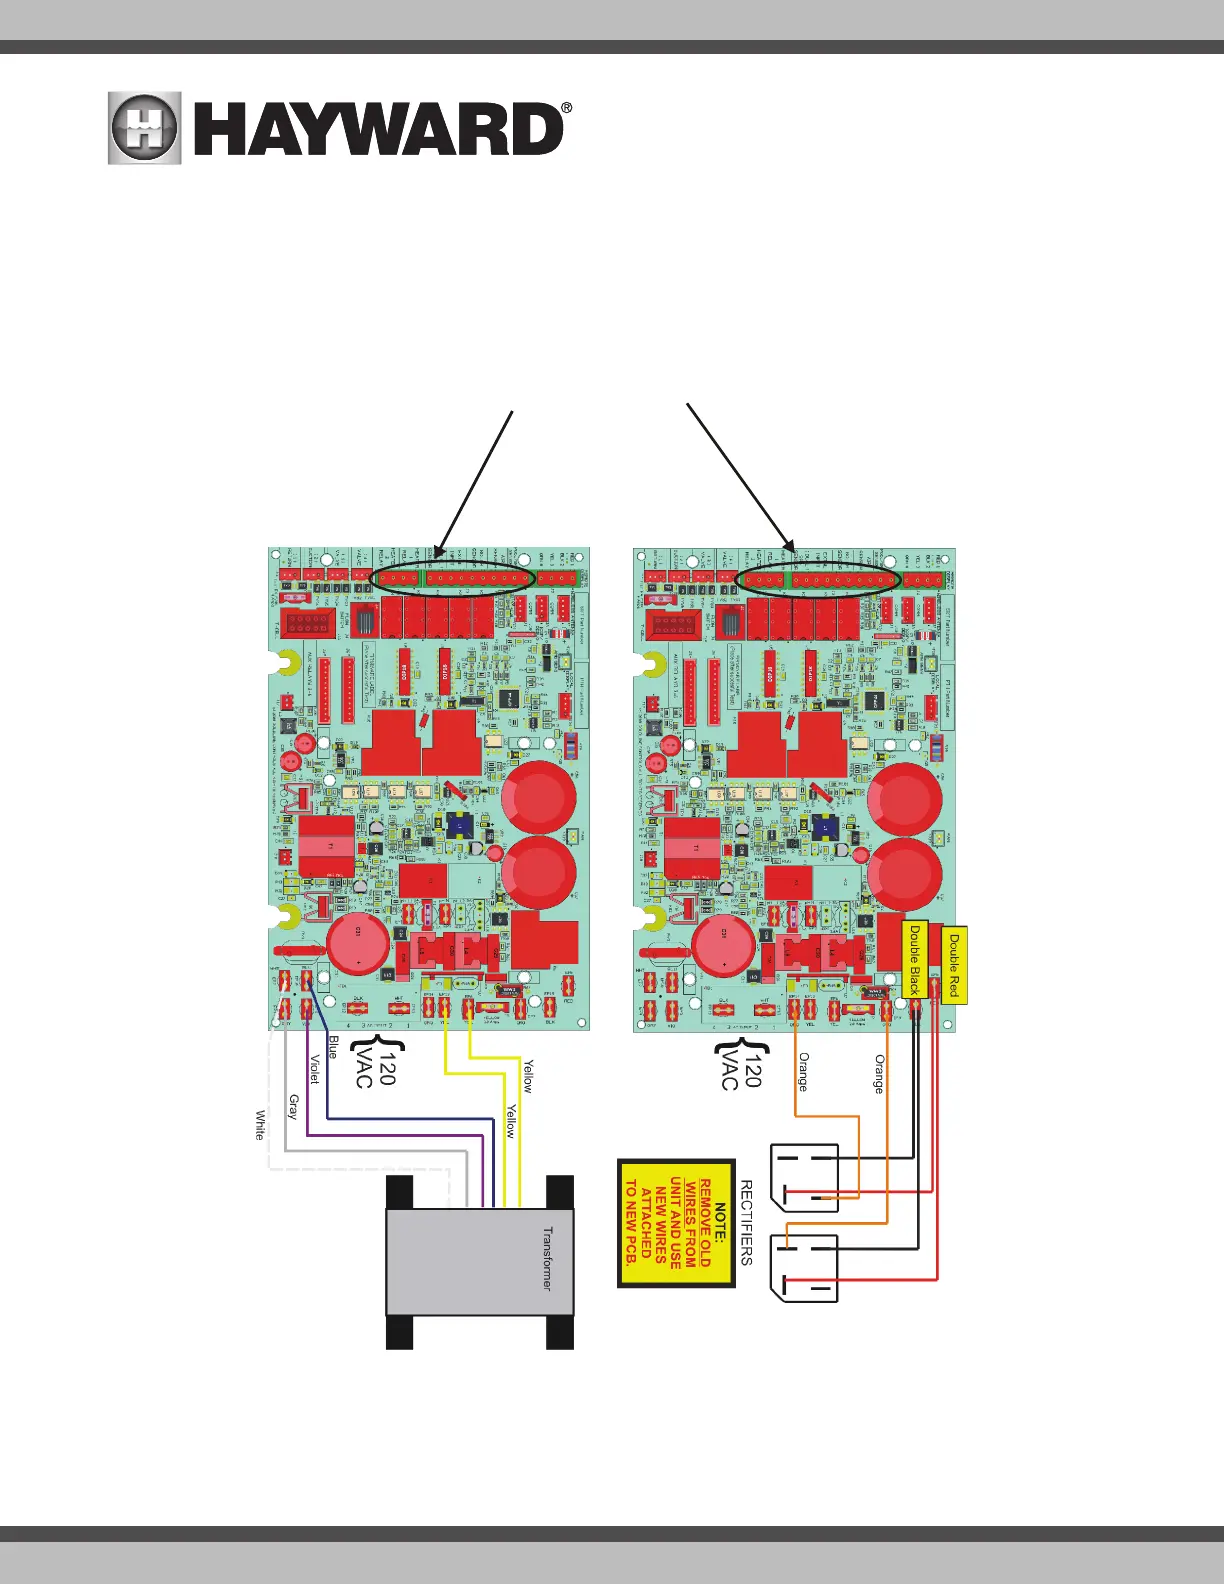
Record all programming information from the old PCB before replacement.

Remove Old Board

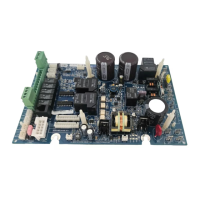
Instructions for safely removing the old circuit board, including power off and wire disconnection.

Install New Circuit Board

Install the new PCB, connect transformer and sensor/display wires.

Power On and Reset Configuration

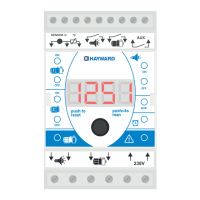
Turn on power, confirm operation, and reset configuration parameters to default values.

Related product manuals